 Sialkot, Pakistan
 Worldwide enquiries

A hoodie can match the colour and chest logo in a mockup and still feel wrong when someone wears it. The body may be too long, the dropped shoulder may pull the sleeve down, or a firm waistband may turn a straight silhouette into a balloon shape. For a streetwear brand, those differences affect the product customers actually receive.
Before approving a boxy hoodie sample, turn the look you want into a repeatable fit specification. Review the silhouette, measure the finished garment, test it on an appropriate wearer, and check the size range. Then send one clear decision to the manufacturer. A sample approval should identify exactly what is accepted and what still needs changing.
This guide focuses on fit approval for a custom streetwear hoodie. It does not provide a universal size chart or claim that one measurement works for every brand. The numbers, fabric and tolerances for your product must be agreed for your own brief.
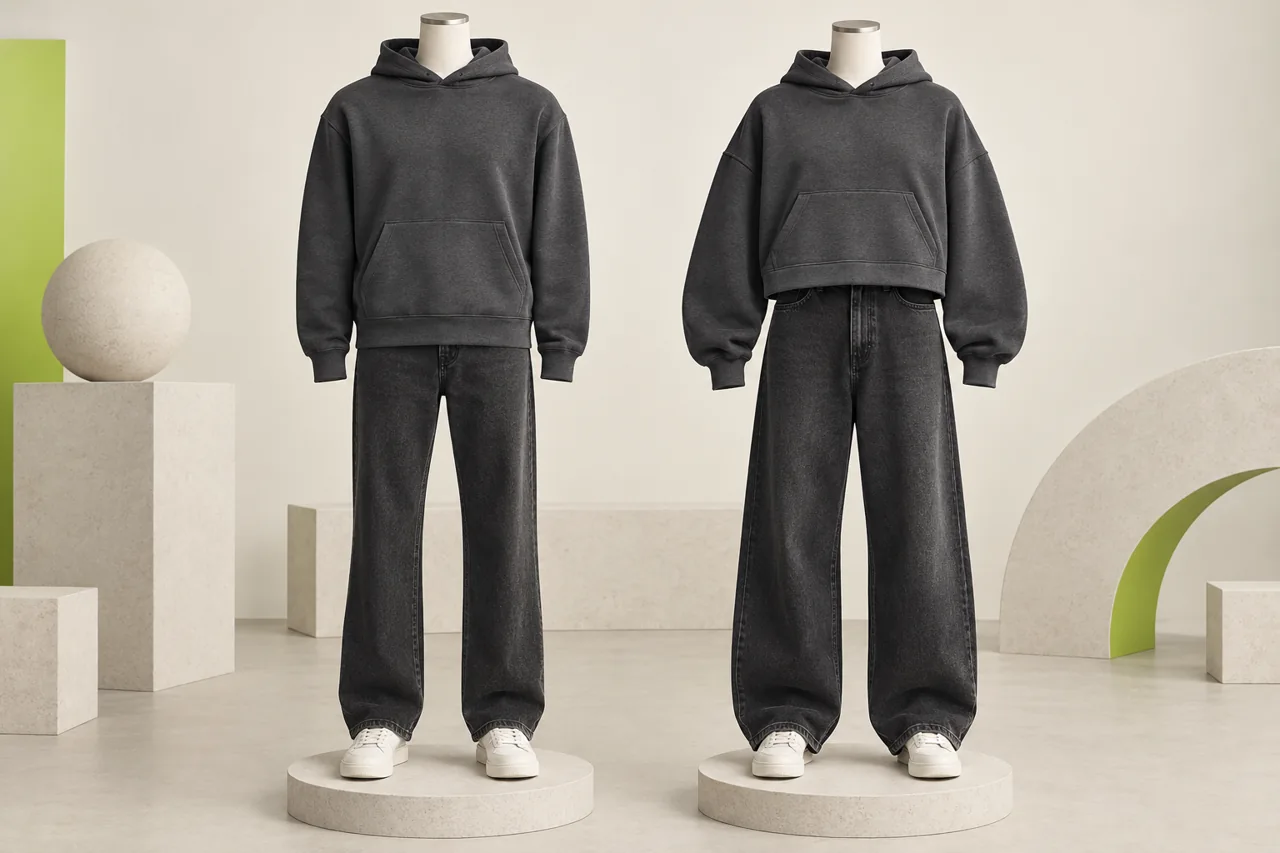
Images in this guide are illustrative concepts, not photographs of a customer's order or a verified factory visit.
1. Define what boxy means for your brand
Start with the intended customer and the way the hoodie will be worn. A shorter, wider body over high-rise trousers creates a different balance from a long oversized hoodie layered over shorts. Both may be described casually as oversized, but they should not share an approval brief by default.
Write down the features you want the sample to achieve:
- Body shape: straight, gently tapered, or gathered into a ribbed hem.
- Length: the intended hem position on the wearer, with the measurement point specified separately.
- Shoulder: where the shoulder seam should sit relative to the upper arm.
- Sleeve: the desired volume, sleeve length and cuff position.
- Hood: its shape when down and the coverage expected when worn up.
- Layering: a T-shirt underneath, a heavier base layer, or another defined combination.
Reference photographs are useful, but explain what you like in each one. A photo may demonstrate the shoulder shape while showing the wrong body length. Label those differences rather than sending a collection of conflicting pictures and asking the factory to combine them.
A useful brief might say: “We want a wide, straight body with a hem sitting near the waistband of the intended trousers, a dropped shoulder, and sleeves that finish at the wrist without a large stack of fabric.” The next step is to convert that description into an agreed measurement sheet and sample.
Browse the Athletic Rush hoodie collection to start a product discussion, then clarify which construction and fit details are required for your own version. An existing product picture is a starting reference, not automatic confirmation of your custom specification.
2. Separate garment measurements from body measurements
A chest measurement taken around a person is not the same as a width taken across a hoodie lying flat. Keep the two clearly labelled. If a document uses “chest” without a method, ask whether it means body circumference, finished-garment circumference, or flat half-chest width.
For the sample review, use a finished-garment measurement sheet. Lay the hoodie on a flat surface, smooth it gently and avoid stretching the fabric or rib. Measure using the same method as the manufacturer. Record the sample size, sample reference, date and fabric condition so a later comparison is meaningful.
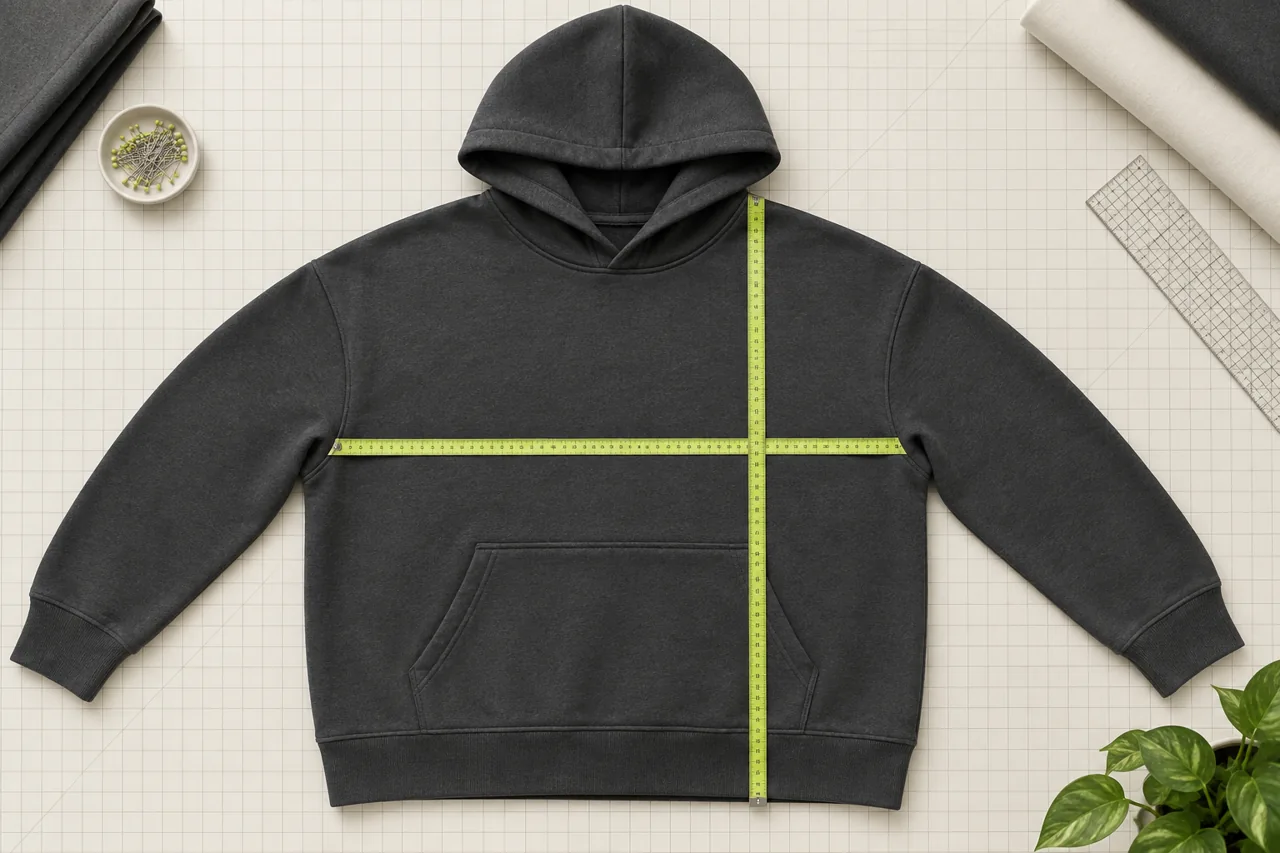
The following points are a useful starting checklist. Agree the exact method and tolerance for each point rather than treating this list as a complete technical specification.
| Measurement point | Define the method | What it helps you judge |
|---|---|---|
| Half chest | State how far below the armhole the flat width is taken | Body volume and layering room |
| Body length | Identify the start and end points and whether rib is included | Cropped or longer proportion |
| Shoulder width | Define the seam-to-seam measurement across the back | Dropped-shoulder placement |
| Sleeve length | Specify shoulder-seam or centre-back method | Sleeve reach in relation to shoulder drop |
| Upper sleeve width | Agree the location and flat measurement method | Arm volume and ease of movement |
| Hem width | Record whether the rib is relaxed or extended | Straight fall or gathered effect |
| Cuff opening | Identify relaxed measurement and construction | Wrist fit and ease of putting it on |
| Hood dimensions | Identify height, width and opening points | Coverage and the way the hood rests |
Do not compare a sleeve measured from the shoulder seam with one measured from centre back. On a dropped-shoulder hoodie, the position of the shoulder seam contributes to the total reach. Changing shoulder width while leaving the sleeve untouched can move the cuff even when the sleeve measurement itself still passes.
3. Review the sample in the intended fabric
Fit is partly a fabric decision. A soft fabric that falls close to the body can create a different silhouette from a firmer fabric in the same pattern. Rib recovery, hood layers, pocket weight and decoration can also affect how the garment hangs.
Ask which parts of the sample match the proposed bulk product and which are substitutes. If the sample uses a temporary fabric, a different rib or an unlined hood, record that limitation. You may be able to discuss some pattern points, but you should not assume the final drape is approved.
Separate these decisions in the feedback:
- Pattern fit: width, length, shoulder position and sleeve balance.
- Material behaviour: drape, stretch, recovery and the hand feel of the actual fabric.
- Construction: seam placement, rib attachment, pocket and hood assembly.
- Decoration: the effect of the intended print, embroidery or other treatment on the garment.
For example, a hem that looks too gathered may need a rib-width adjustment, a different rib quality, or a change in the relationship between rib and body. Simply making the whole body wider may introduce another problem. Describe the observed effect and ask the manufacturer to identify a proposed correction before approving it.
If a wash or finishing process is planned, clarify whether the reviewed garment has already received it. Any agreed washing evaluation should follow the proposed care instructions and record before-and-after measurements. Do not invent a universal shrinkage allowance or compensate for an unknown change by guessing a larger size.
4. Fit the hoodie on a relevant wearer
A hanger and a flat measurement sheet cannot show the complete wearing experience. Use a wearer representative of the target fit group and record their relevant body measurements with consent. Record which sample size they are wearing and what is underneath it. Keep those conditions consistent during repeat reviews.
Photograph the front, side and back at a similar camera height and distance. Avoid wide-angle close-ups that distort proportions. Use the same neutral pose first, followed by a few simple movements. You are comparing the garment, so changes in pose, trousers and camera angle should not become the reason it appears different.

Check the hoodie with arms relaxed, reaching forward, raising the arms and sitting down. Note whether the cuff pulls back excessively, the hem moves beyond the intended coverage, or tension appears at the underarm. Some movement of fabric is normal; your decision should relate to the intended fit and use rather than an expectation that the hoodie never shifts.
Put the hood up as well as leaving it down. Check whether it pulls the neckline backwards, restricts comfortable head movement or rests awkwardly at the back. Try the intended layering combination. A sample that looks right over a thin T-shirt may not provide the room expected over a heavier layer.
Do not approve a whole customer size range from a single person wearing the base size. This first fitting establishes a reference; size-range checks still have a separate role.
5. Inspect the details that change the silhouette
The main body measurements may be acceptable while small construction details change the overall look. Review these details before using “fit approved” as a complete production instruction.
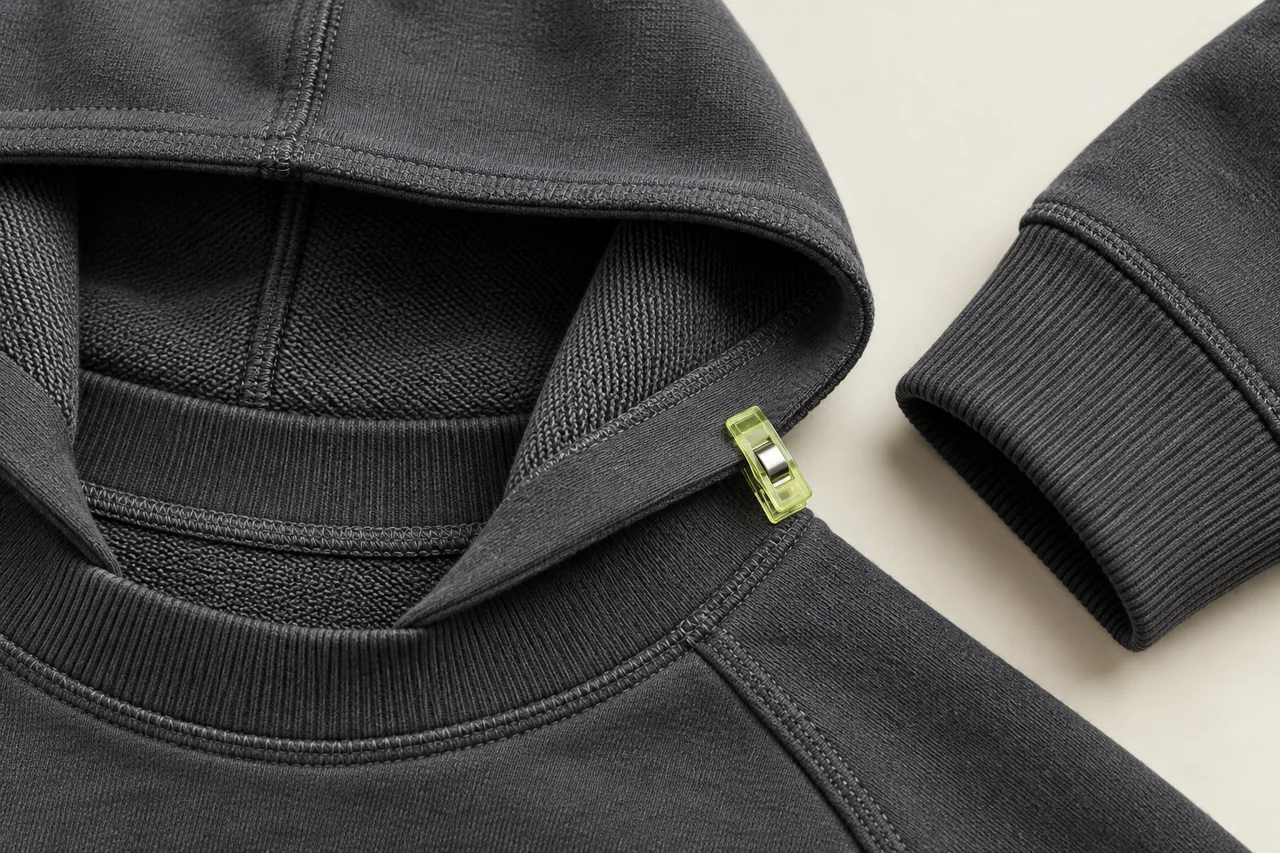
Hood and neckline: Look at how the hood sits when down, the opening when up, and the weight around the neck. Record the required lining and construction so the bulk hood does not become a different product.
Pocket: Check its position against defined garment points, not only its distance from the bottom of a photograph. Confirm that its opening is usable and that it does not pull the body into an unintended shape. A pocket that works on the base size may need separate consideration at the ends of the size range.
Hem rib: View the hoodie from the side. If the body blouses above the rib, decide whether that is part of the approved silhouette. Measure the relaxed rib and record how it is intended to work with the body panel.
Cuff and sleeve: Assess the amount of sleeve fabric above the wrist and whether the cuff returns to the intended shape after normal use during the fitting. An overly tight cuff and an overly long sleeve should not be treated as the same problem.
Seams and symmetry: Compare left and right sleeves, shoulder placement and pocket position. If something appears twisted, re-lay the garment and compare it with the measurement sheet before deciding whether it is a pattern, sewing or presentation issue.
6. Check the size range before releasing bulk
A successful base-size sample is not proof that every size will keep the same intended proportions. Ask how the garment will be graded and which size samples or measurements will be available for review. Agree the review coverage with the manufacturer before committing the production order.
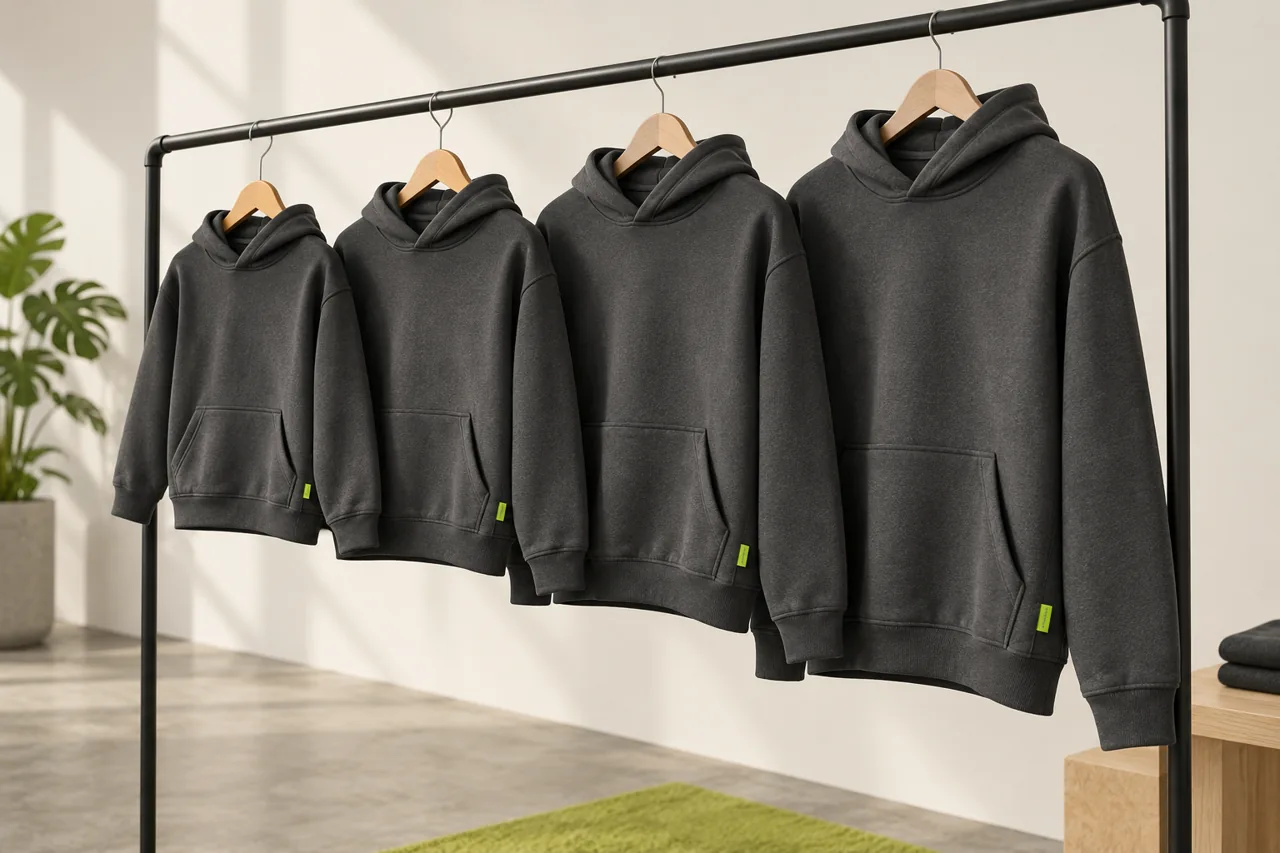
For a boxy silhouette, pay attention to how body width changes in relation to body length, shoulder width and sleeve reach. Adding the same amount everywhere is not a substitute for an agreed grading plan. The right progression depends on your fit group, pattern and product intent.
Where practical, review garments at the smaller and larger ends as well as the base size. Compare measurements and perform relevant fittings. If the range includes substantially different fit groups, discuss whether separate patterns or specifications are needed rather than extending one pattern indefinitely.
Keep the customer-facing size information consistent with the approved product. A finished-garment chart should say that it contains garment measurements and explain how to measure. A size recommendation should not be presented as a guarantee for every body shape. If the fit is intentionally cropped or wide, show that clearly in the eventual product photography and description.
7. Send one correction sheet, then approve the revision
Avoid spreading fit decisions across several chats and screenshots. Create one current feedback sheet with a sample reference, size, date and numbered comments. Attach clear images and link each comment to the measurement or construction point it concerns.
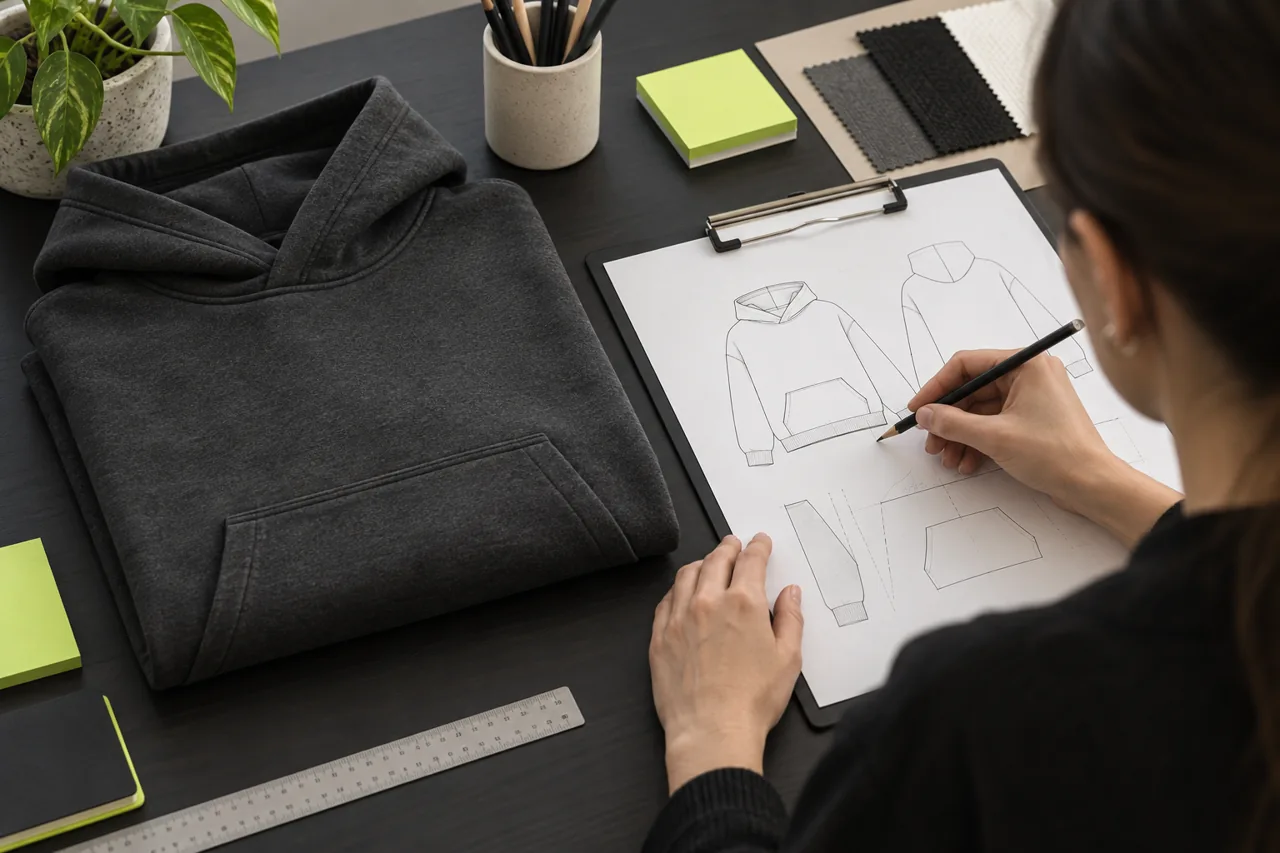
A practical comment describes the observation, the intended result and the next check. For example: “The relaxed hem gathers more than intended in the side photo. Please propose a rib-to-body adjustment that gives a straighter fall, and show the revised sample with the same measurement method.” That is clearer than “make it more premium” or “fix the shape.”
Use measurements for agreed corrections, but do not dictate several conflicting changes at once. If you request a shorter body, confirm whether the pocket must move and whether the rib is included in the length. Ask the manufacturer to acknowledge the full revision and flag any effect on price, sampling or the production schedule.
Keep fit, fabric, colour and artwork approval distinguishable. “Artwork approved” does not mean the physical fit has passed. If any element is conditional, name it and agree how it will be closed before bulk release. A new sample should have a new reference so nobody produces against the rejected version.
Final approval checklist for a streetwear brand
Before you release bulk production, confirm that your approval record contains:
- The exact product, sample reference and revision being approved.
- The intended fit description and agreed measurement sheet.
- Measurement methods, units and tolerances for the relevant points.
- The approved fabric, rib, hood and pocket construction references.
- The completed movement review and agreed size-range checks.
- The current decoration files and any remaining separate approvals.
- Written closure of corrections and acknowledgement from the manufacturer.
- A retained reference sample or another mutually agreed reference arrangement.
Keep the approved reference available for later production checks. If an order changes after approval, record what changed and whether another sample or check is necessary. A small-looking revision to fabric, finishing or shoulder placement can affect more than its own line on the sheet.
Questions brands often ask
Is a boxy hoodie just a regular hoodie in a larger size?
Not necessarily. Sizing up a regular pattern can add length and sleeve reach along with width. A deliberate boxy fit may require a different relationship between width, body length and shoulder placement. Review the actual pattern outcome rather than relying on the size label.
Can we approve the fit from photographs alone?
Photographs help communicate shape and corrections, but they cannot confirm feel, movement or the accuracy of every measurement. If physical approval is not possible, record exactly what the remote review covers and what remains unverified. Do not describe an image-only review as a complete physical fitting.
Should every measurement have the same tolerance?
Do not assume so. Agree tolerances with the manufacturer for the relevant measurement points, material and construction. Keep the measuring method consistent before judging whether a sample is inside or outside the agreed limit.
Does approval guarantee that every bulk garment will be identical?
Approval establishes the reference for production; it does not replace production control or inspection. Agree how finished garments will be checked against the specification and how discrepancies will be handled. For a later delivery review, see the team uniform delivery inspection checklist; its documentation approach can be adapted to your hoodie order.
Discuss your hoodie sample with Athletic Rush
Send your intended silhouette, reference images, size range, quantity, fabric preference and the stage your sample has reached. Include a measurement sheet or clearly labelled sample feedback if available. Ask for confirmation of sampling scope, costs and timing for your specific project rather than assuming a standard offer applies.
Email kamran@athleticrush.co or message Athletic Rush on WhatsApp: +92 327 9008337. A clear fit brief helps both sides understand what the next sample needs to prove before bulk production is approved.