 Sialkot, Pakistan
 Worldwide enquiries

The cartons have arrived and the team wants its new kit. Before opening every bag or sending jerseys home with players, give the order a structured receiving check. It is much easier to identify a missing size, a duplicated number or a measurement question while the garments, packaging and approved order records are still together.
This team uniform delivery checklist takes a club buyer from the unopened shipment to a clear handout list. It covers the checks you can organise yourself and the information to send Athletic Rush if something needs investigation. Use the specifications and reporting terms agreed for your own order; the guide does not replace them.
Prepare a clean table, the final order confirmation, the approved player roster, the measurement chart and the approved sample or artwork. Choose one person to maintain the master record so several helpers do not count the same garments twice.
1. Record the delivery before unpacking
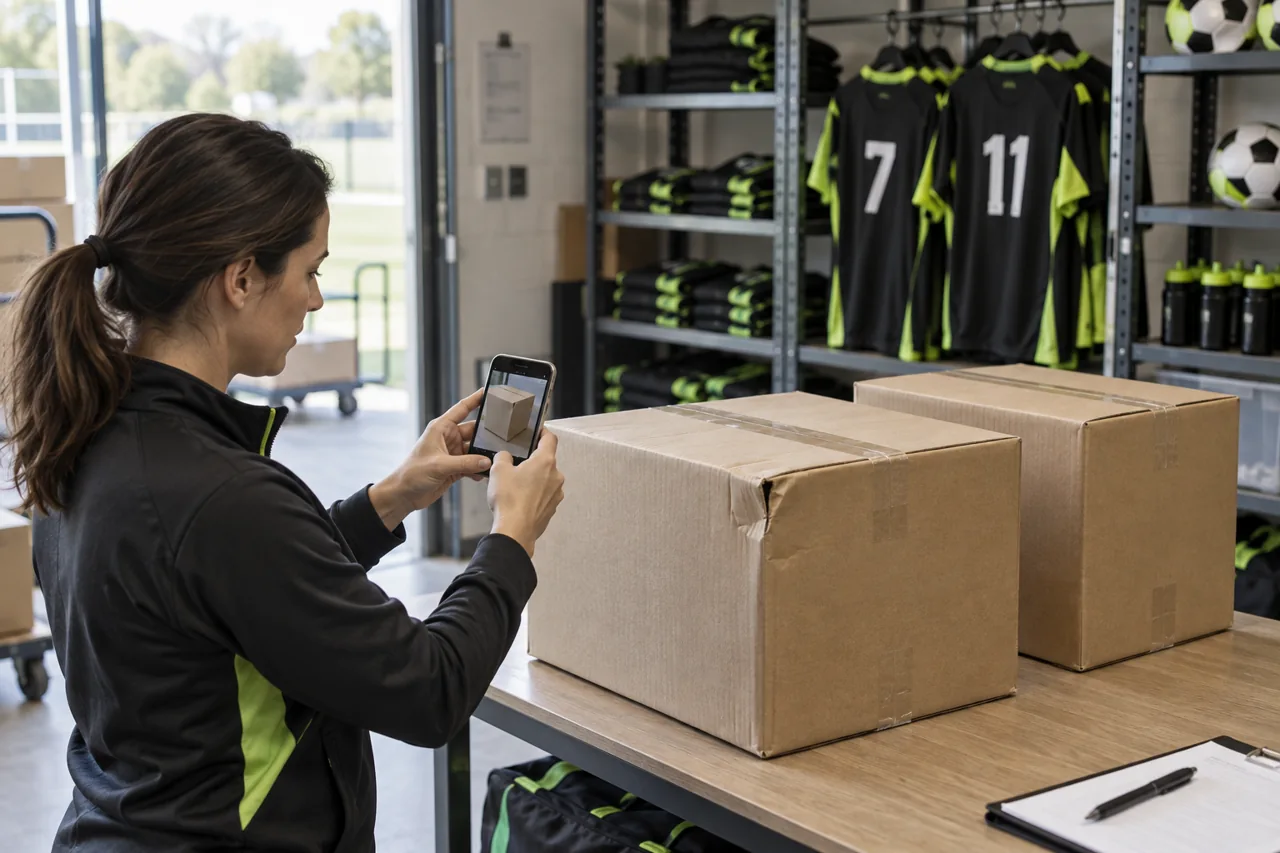
Start with the shipment as received so the packaging and its contents can be linked later.
Record the arrival date and number of cartons received. Compare that count with the shipment information you have. Photograph any visible damage, opened seals or wet areas before unpacking, and keep the relevant packaging while the matter is reviewed. Follow any instructions from the carrier and supplier for recording a delivery concern.
A damaged carton does not automatically mean the garments are damaged. Conversely, a clean carton does not establish that every item inside is correct. Keep packaging observations separate from garment findings so your report describes what you actually saw.
Open cartons carefully without cutting into the contents. Assign a simple reference to each carton and keep the packing list with that group while you check it. If the delivery is split across several shipments, identify which part you are inspecting before recording anything as missing.
Record now: delivery date, carton count, shipment reference, packing-list reference and photographs of any concern. Do not post labels containing personal addresses or phone numbers publicly; send relevant records directly to the supplier when needed.
2. Reconcile quantities by garment and size
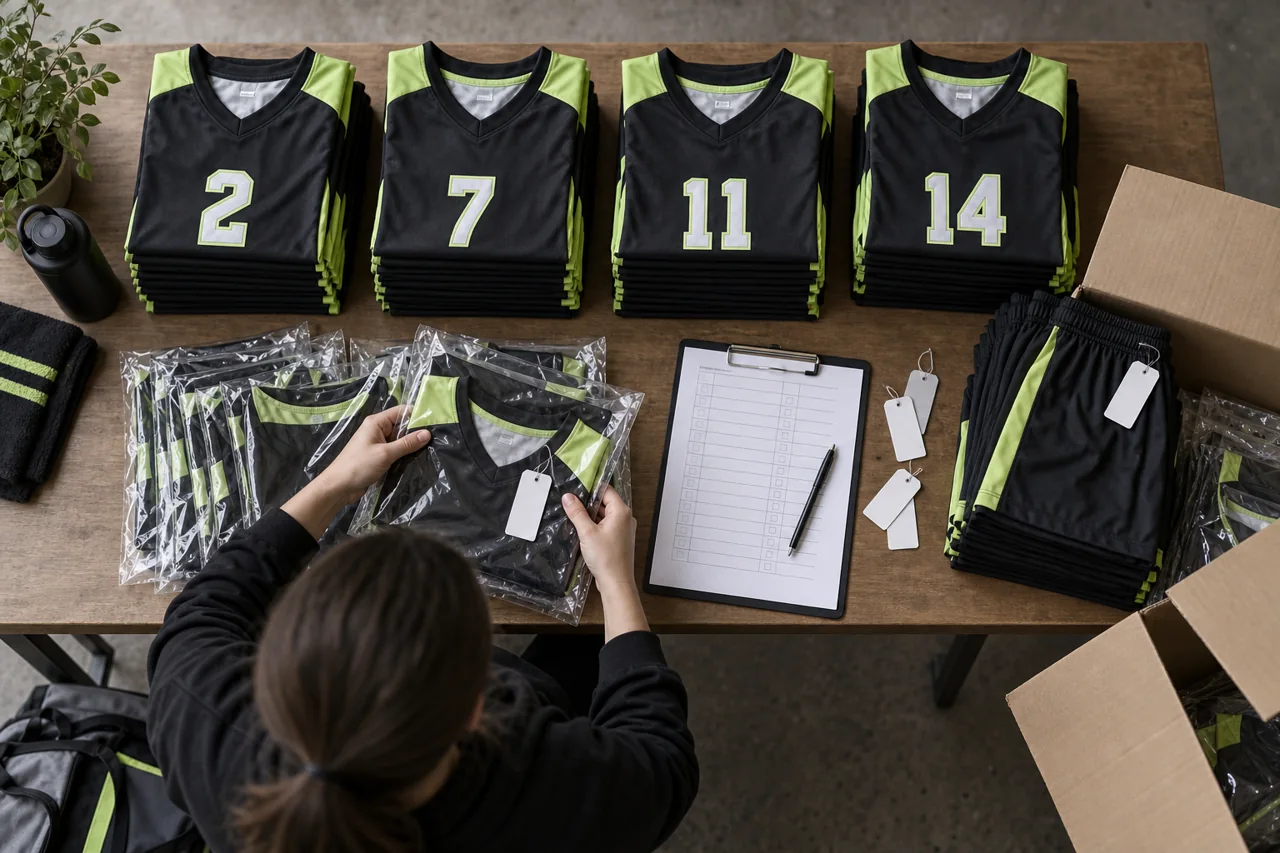
Count the actual garment types and sizes, not just the total number of bags.
Separate jerseys, shorts, trousers, dresses and additional items into distinct groups. Count each size within each group and compare the result with the final confirmed order. A kit sold as a set still needs its components checked: twenty jerseys and nineteen shorts are not twenty complete sets.
Use three columns: ordered, received and difference. If a count is unexpected, recount that group with another person and check the remaining cartons or shipment notes before reporting a shortage. Record an extra item too; it may explain an apparent mismatch elsewhere.
| Item | Ordered | Received | Difference | Next check |
|---|---|---|---|---|
| Match jersey, size M | 8 | 8 | 0 | Continue to roster check |
| Match shorts, size M | 8 | 7 | -1 | Recount and check shipment notes |
| Match shorts, size L | 6 | 7 | +1 | Confirm whether one size was substituted |
The figures above are an example of a receiving record, not an Athletic Rush order or fulfilment claim.
The example shows why a total-piece count can hide a size problem. There are fourteen shorts in both the order and the delivery, but the size breakdown differs. Keep the actual findings intact instead of quietly assigning an unexpected size to a player.
3. Match every personalised garment to the final roster
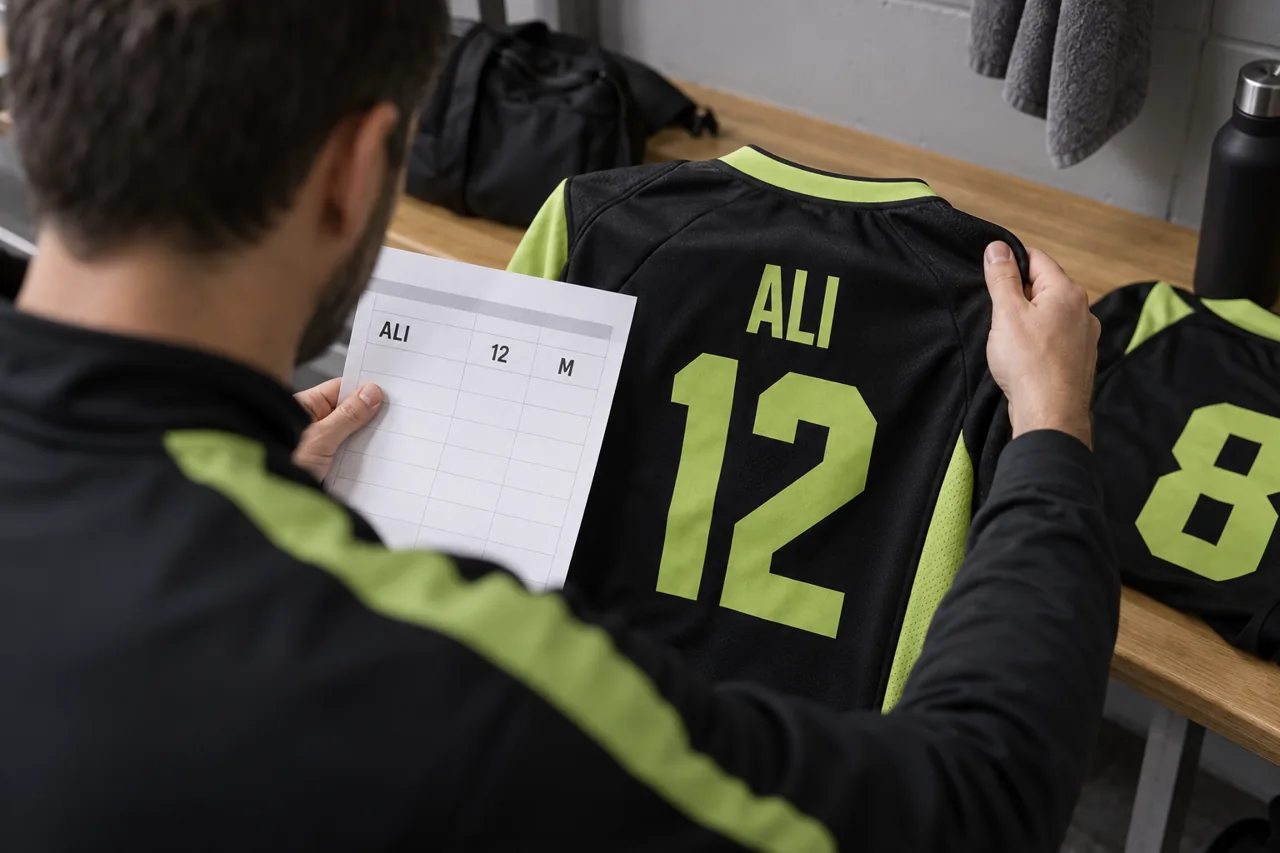
Use the final approved roster as the reference for names, numbers and size allocations.
Check spelling, capitalisation, accents where applicable, numbers and size labels against the version approved for production. Read each line rather than relying on a familiar name at a glance. Similar names and adjacent numbers are easy to confuse when many jerseys are spread across a table.
Confirm that the front and back identifiers belong to the same player where both are used. Review sponsor marks and team badges against the approved artwork, including their version and placement. If a mark looks unexpected, compare it with the approved proof before deciding which part is wrong.
Keep an item reference for any concern. For example, “carton 2, jersey 03, size M” gives the supplier something specific to investigate. Avoid changing the master roster to match an unexpected garment; record the difference beside the approved entry instead.
If your club changed a player's size after approving the production list, include that history in the enquiry. It helps distinguish a production question from a later allocation change. Our size chart and player roster guide explains how to keep those versions controlled.
4. Measure consistently before drawing a fit conclusion
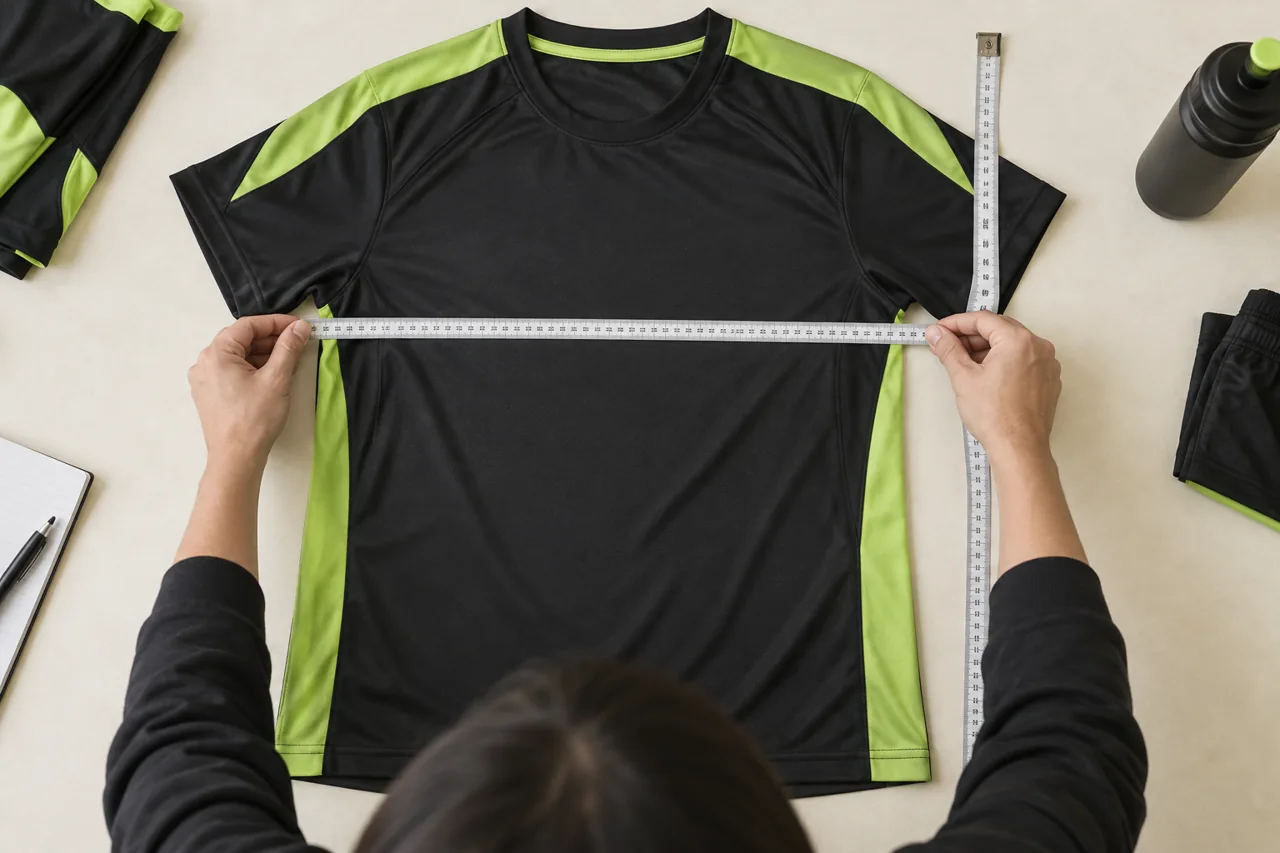
Measure using the same points and method as the approved garment chart.
A garment label tells you the assigned size, not the measurement method. Lay the item flat, smooth it gently without stretching it, and use the agreed points of measurement. Record the result alongside the specified measurement and tolerance, if one was agreed.
Do not compare a flat chest width with a body circumference as if they were the same measurement. Equally, do not pull a stretchy garment tight to make it match a number. If the chart is unclear about the starting point or how the garment should be positioned, ask before judging the result.
Begin with the checks specified in your order. If you use a sample of garments for an initial review, remember that it cannot establish the condition of every unchecked item. Where a discrepancy appears, expand the check to related sizes or garments and document how many you reviewed.
When a player reports a fit concern, compare the garment measurement with the approved chart and the player's recorded size selection. The next action may differ depending on whether the garment is outside the agreed specification or the original size selection no longer suits the player.
Record actual numbers and units. A message saying “all the shirts are small” is much less useful than the garment references, measured points and number of items checked. The fabric selection guide also explains why fit, stretch and garment construction need to be considered together.
5. Inspect appearance and construction under useful light
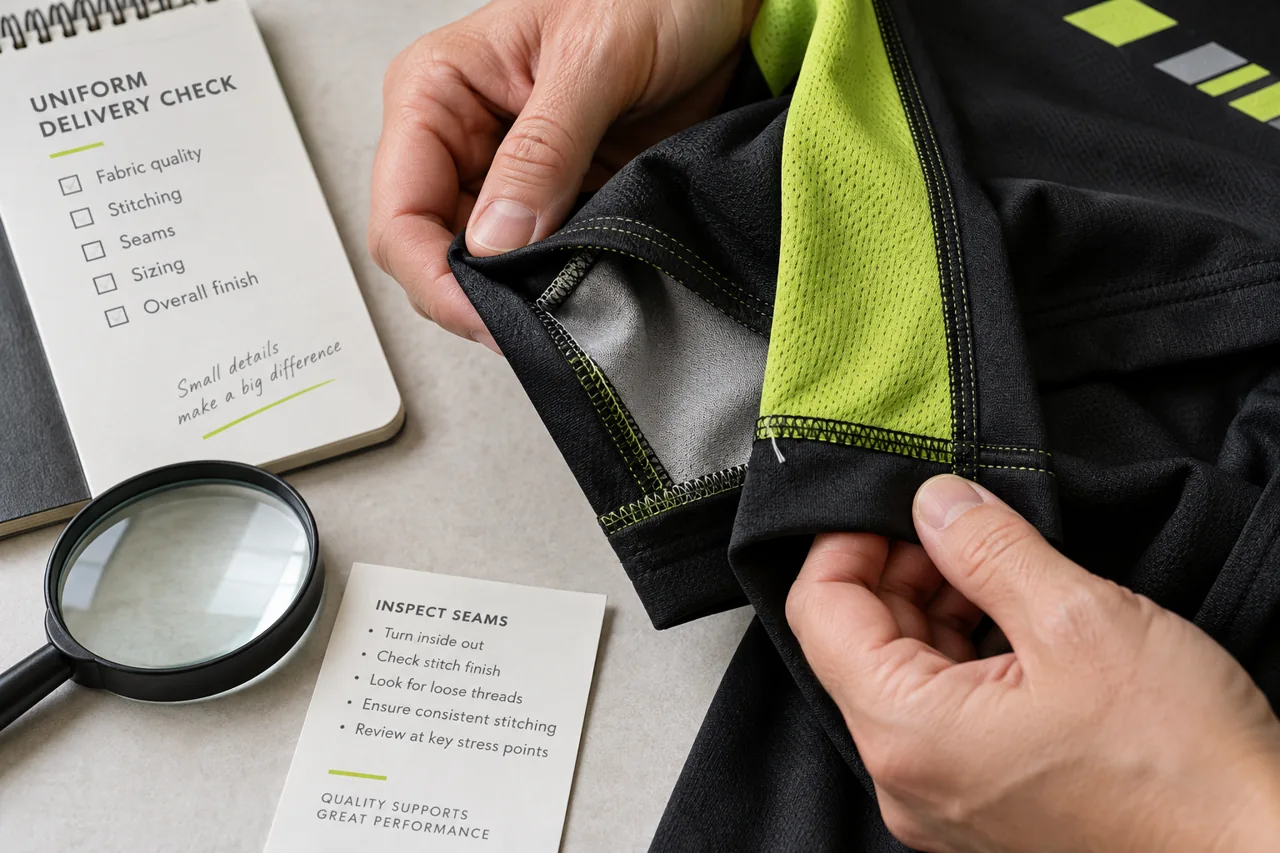
Turn the garment as needed to inspect the seams and finishing, not only the printed front.
Compare colours and decoration with the approved reference under consistent lighting. A phone screen is a weak substitute for a physical colour or garment reference. If you send photographs, include an overall view and explain the lighting rather than relying on a single close crop.
Look over the neckline, sleeve openings, hems, side seams and any closures. Note visible holes, open stitching, stains, printing concerns or unexpected trims. Describe the location and extent of a finding without guessing its cause. A visible loose thread and an open seam are different observations and should be recorded separately.
Check the garment inside and out where relevant. Avoid cutting, repairing, washing or otherwise altering an item with a concern before asking the supplier how to proceed. Keep the sample in its received condition where practical so the same issue can be assessed.
Use the artwork preparation guide to locate the relevant approved logo and placement files. A documented reference makes an appearance discussion much clearer than comparing with an unrelated photograph from another team.
6. Send one clear issue record, then organise the handout
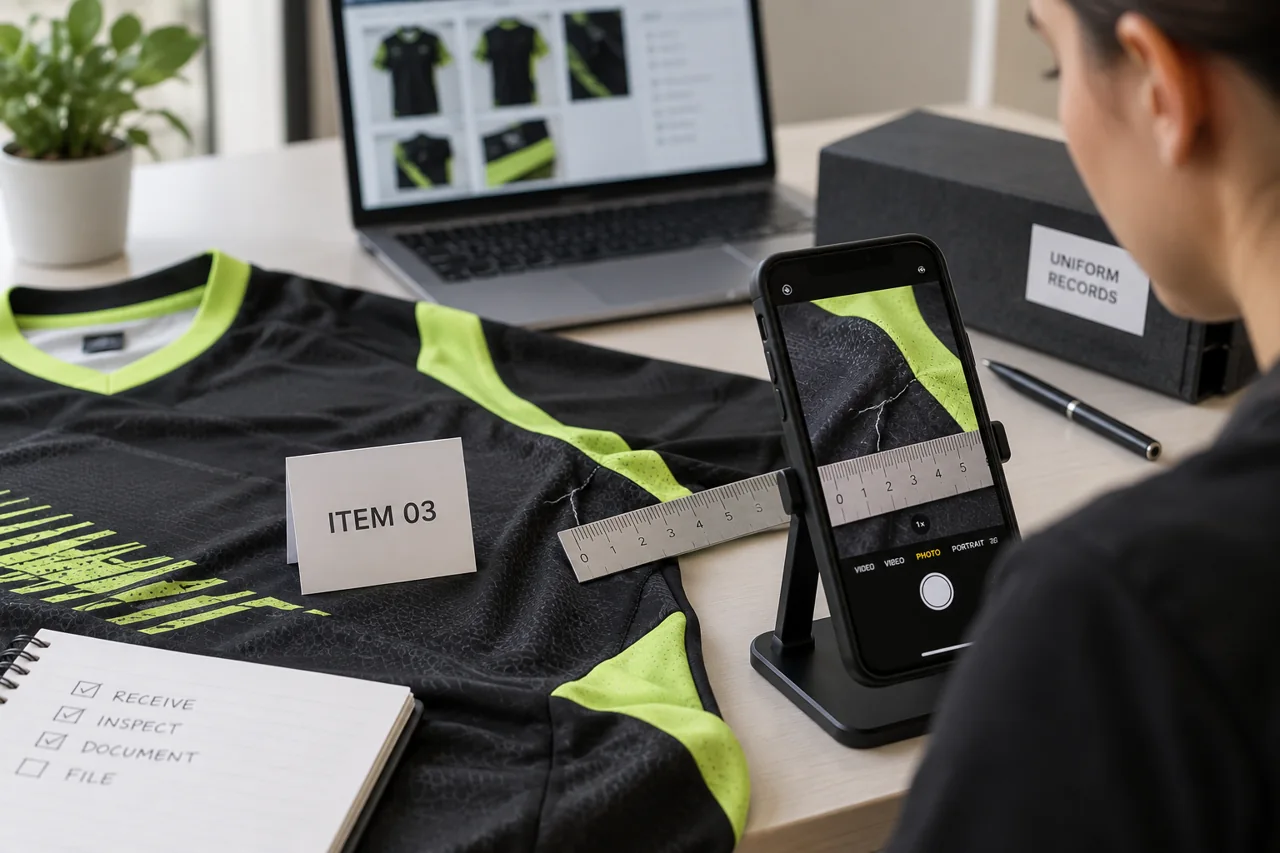
Link each photograph to an item reference and a short factual description.
If something needs attention, keep the affected garments together and send one organised report rather than several disconnected messages. Include the order reference, delivery date, affected item references and quantity, expected specification and actual observation. Add clear photographs: an overall garment view, a view showing the location and a close-up with scale if that helps.
For a measurement question, show the tape's starting point and the garment position. For a name or number question, include the relevant approved roster entry. For a quantity question, attach the reconciled count rather than a photograph of unopened boxes alone.
A message you can copy
We received order [reference] on [date], comprising [number] cartons. During our receiving check we found [specific observation] affecting [quantity and item references]. The approved reference is [roster, measurement chart or sample version]. We have attached overall and close-up photographs plus our count or measurement record. The affected items are set aside in their received condition. Please review and advise the next steps. Our planned team handout date is [date].
Send the report to kamran@athleticrush.co or WhatsApp +92 327 9008337. Ask the supplier to acknowledge the report and clarify the next step. Any remedy or timing depends on the findings and your agreed order terms; do not assume a replacement or refund before the issue has been reviewed.
For garments ready to distribute, create a handout record with player name, garment type, size, number and collection status. Keep unresolved items visibly separate so another helper does not distribute them accidentally. Confirm which unaffected items can be handed out if an issue is still being discussed.
Your final receiving checklist
- Delivery and carton information recorded, with any visible concern documented.
- Garment quantities reconciled by type and size, including split shipments.
- Personalisation checked against the final approved roster and artwork.
- Required measurements checked using the agreed method and units.
- Appearance and construction reviewed, with findings tied to item references.
- Any issue sent with supporting evidence and affected garments set aside.
- Handout list updated so each player receives the intended kit.
Store the completed record with your approved specifications. If you need additional garments later, it also gives you a reliable starting point for a team uniform reorder.
Common receiving questions
Should we give the kit to players as soon as it arrives?
Complete your receiving checks first. Once garments are distributed, it becomes harder to reconcile counts, compare them consistently and collect evidence for a question.
Is checking one jersey enough?
It only tells you about that jersey. Follow the inspection scope agreed for the order and check each personalised item against its allocation. If an initial check finds a pattern, investigate the related items rather than assuming the rest match.
What if the total quantity is correct but the sizes differ?
Record the count by size, compare with the final order and check whether a change was agreed. A correct overall total does not resolve a size-level difference.
Should we wash a garment to see whether a problem disappears?
Ask the supplier first when there is an unresolved delivery concern. Altering its received condition can make comparison harder. For routine care, follow the instructions supplied with the garments.
All images are AI-generated educational scenes with fictional people and example garments. They illustrate a receiving process and do not depict an actual Athletic Rush shipment or reported customer issue.