 Sialkot, Pakistan
 Worldwide enquiries

A woven brand label is a small component with a visible effect on the finished garment. A logo may look sharp on a screen but lose clarity at neck-label size. A fold may hide the last line of text, or a label that feels comfortable loose may become bulky after attachment. The useful approval is therefore not just “the artwork looks good”. It is approval of the label as it will be used.
For a clothing brand, club merchandise range or private-label collection, decide the label's purpose, finished dimensions and attachment before signing off the sample. Then check the woven result at its actual size and on the intended garment. Keep the approved version identifiable so that the same decision can be used for production and future orders.
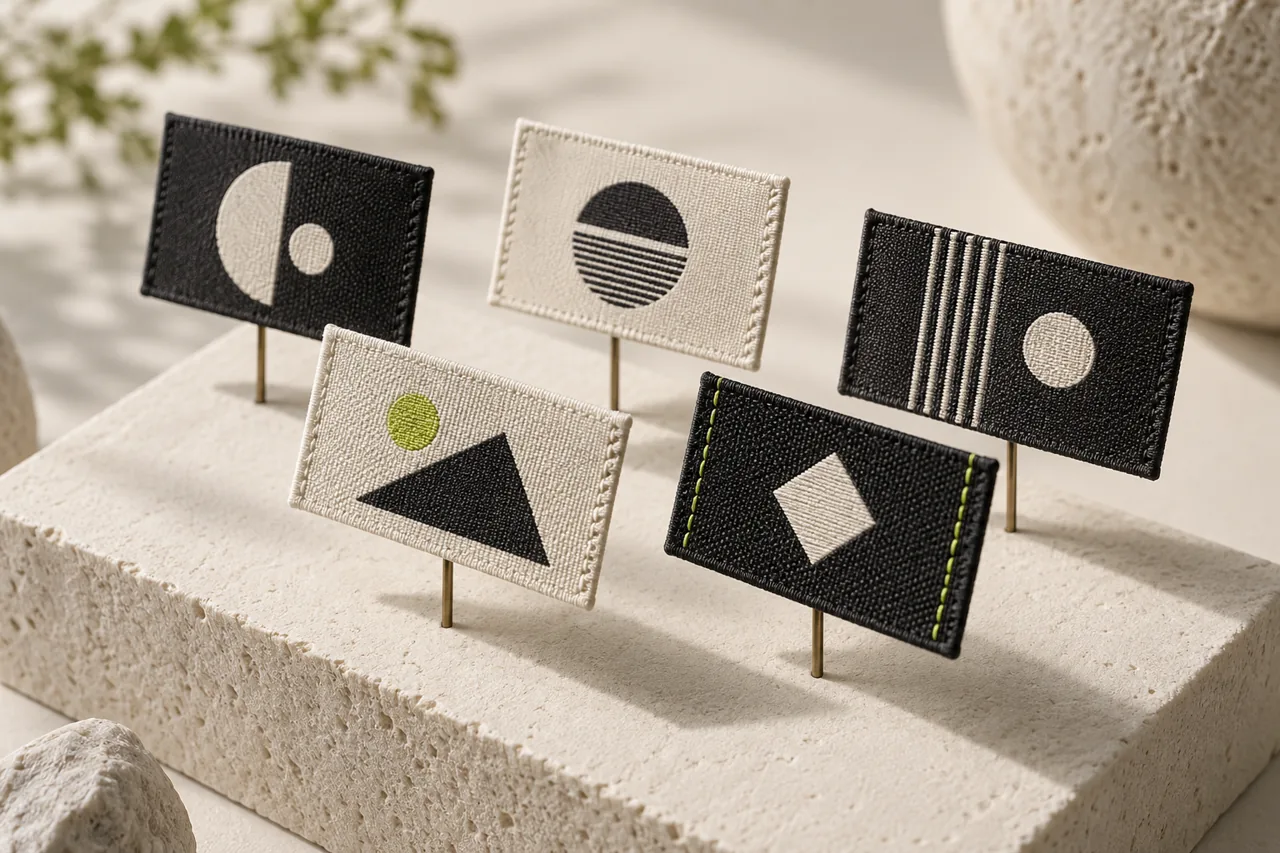
This guide focuses on woven brand-label development and practical sample review. It is not a destination-market labelling checklist. Brand artwork, size information and any required product information should each be reviewed for their intended role. All images below are illustrative design concepts, not photographs of a customer's order or verified production samples.
Decide what this label needs to communicate
Begin with the location and purpose. A main neck label introduces the brand. A small hem flag may carry only a symbol. A separate size tab has a different job from a large decorative patch. Trying to place the brand name, slogan, website, collection name and size on every label can make each item harder to read.
Write a short priority list. Which element must be recognised first? Which information could be moved to a separate trim or omitted from this brand label? Decide this before reducing the artwork to fit a small rectangle. The goal is a clear hierarchy at the finished size, not a miniature copy of a complete marketing graphic.
For example, a sweatshirt brief could specify a main neck label with a brand mark and a separate size tab. A small external seam flag could use only the mark. Those are different label references even if they share the same colours. Confirm the number of each trim required per garment so quotation and assembly instructions match.
Do not copy product claims from a template. Any wording about origin, material or certification needs its own verified basis. A designer's default text is a starting point to replace, not a statement about your finished product.
Separate overall size from the visible design area
Specify dimensions in one agreed unit and explain what they describe. The unfolded piece, the folded label and the visible area after sewing are not necessarily the same size. A request for a “40 mm label”, for example, leaves room for misunderstanding if nobody says which width is being measured. That number is an illustration of the ambiguity, not a recommended label size.
Ask for a drawing showing the outer dimensions, fold positions, sewing areas and the artwork that will remain visible. Keep important letters and symbols away from areas that will be folded or stitched. Have the supplier confirm the space needed for the selected construction rather than applying an assumed margin to every style.
Use a paper mock-up to assess proportion against the garment, but use the actual woven sample to judge the finished result. Paper can help answer whether a neck label looks too large. It cannot confirm how the woven threads, edges or folded layers will feel.
Record the intended viewing position as well. A flag seen from outside a side seam needs a different orientation check from a flat label viewed inside a neckline. Mark which edge is the top and which side faces outward.
Check the artwork at actual size
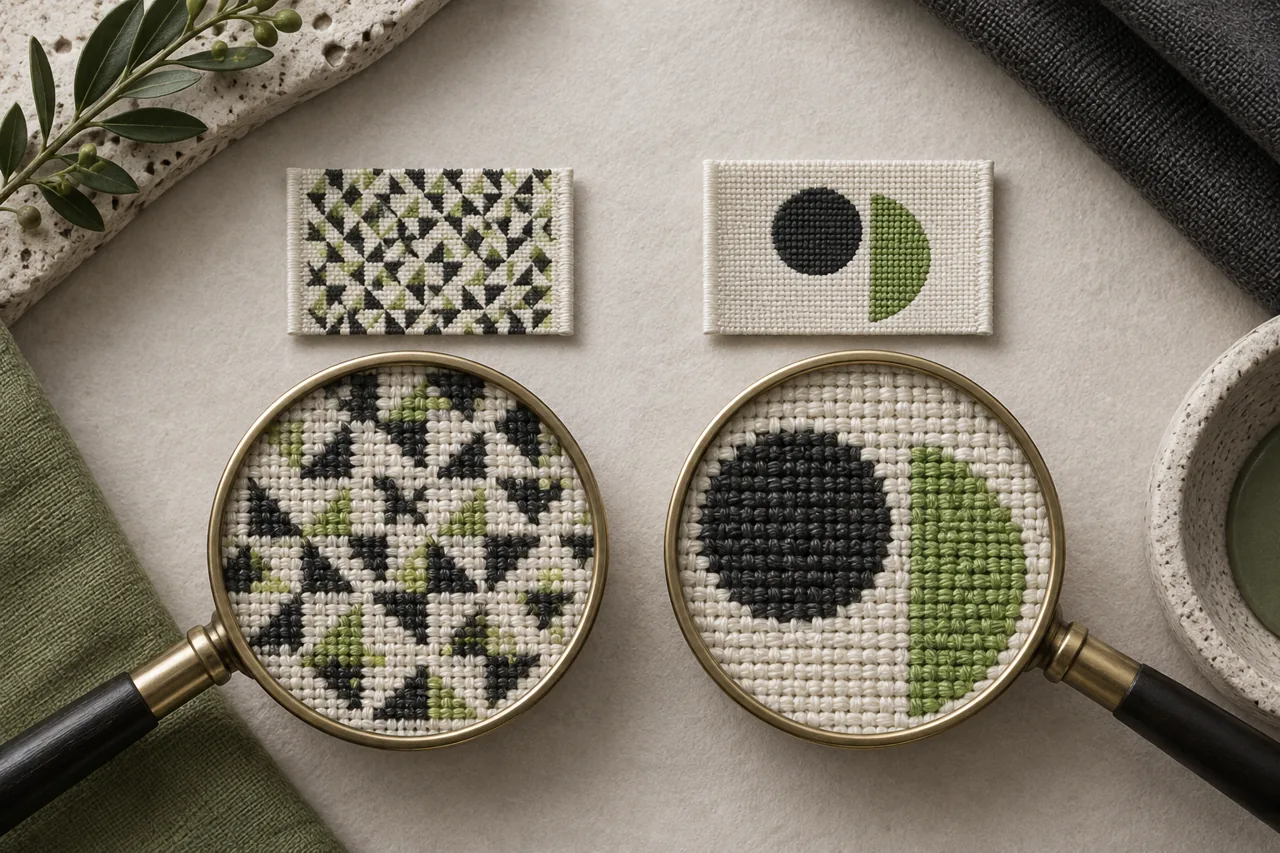
Review the label without relying only on an enlarged digital image. Start at normal viewing distance, then inspect close details. Can the brand name be read? Does the symbol remain recognisable? Are narrow gaps still separate, or have several fine lines merged into one visual block?
If the result is crowded, simplify the design before assuming that a larger file will solve it. Consider removing a secondary line, increasing spacing or using a clearer version of the mark. Ask the supplier to confirm what can be reproduced in the proposed woven construction. A large digital canvas does not by itself guarantee more detail in a physically small label.
Check spelling, punctuation and the direction of all text against a controlled artwork file. If several people review the sample, give everyone the same revision. Avoid accepting an image from an old conversation simply because the colours look familiar.
When a logo has a light and dark version, approve the correct version for the label background. Do not assume reversing the colours will preserve every fine detail. The physical sample should settle whether the contrast works for that version.
Match the fold to the attachment
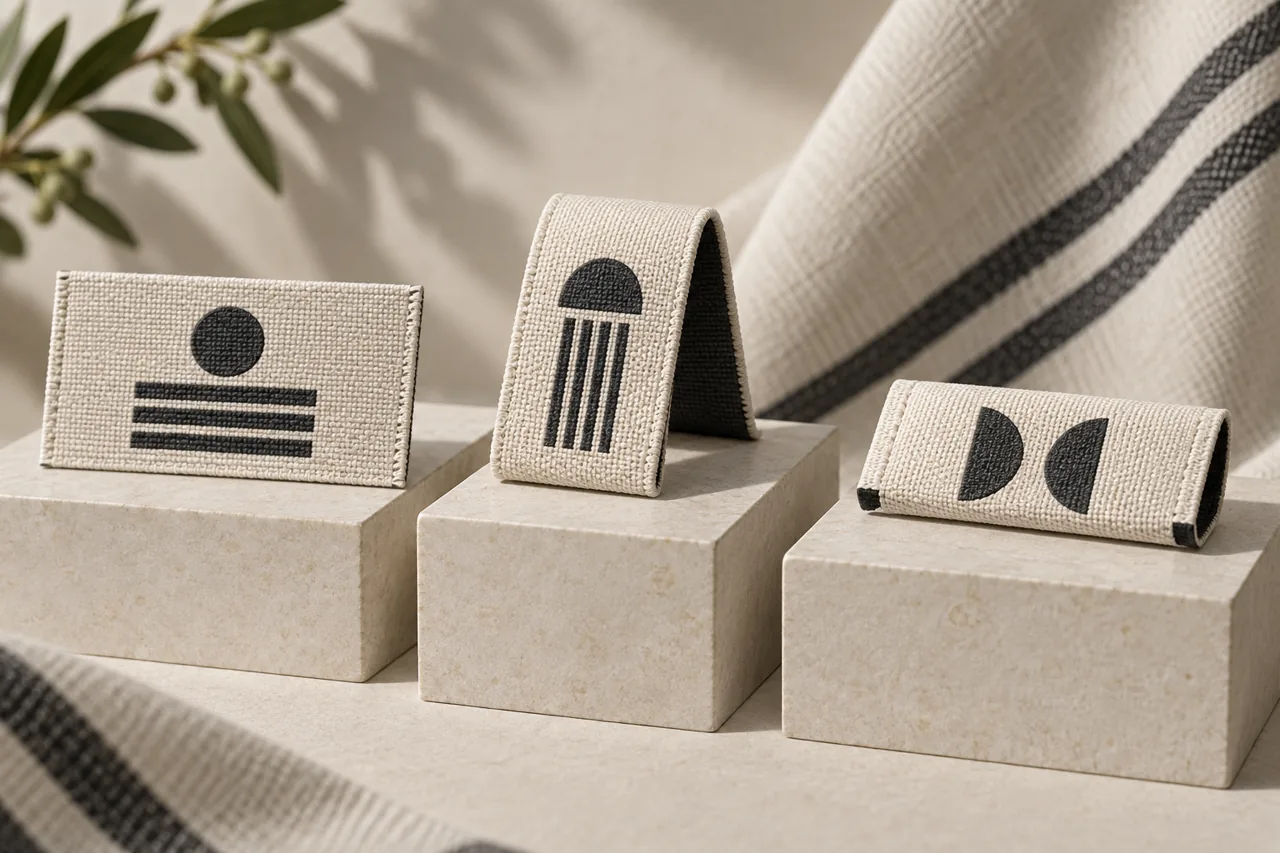
Common constructions include a flat label, a centre fold and an end fold. A centre fold bends the label at its middle; an end fold turns the ends inward. The supplier's label fold guide illustrates these distinctions. Names alone are not an attachment specification: confirm the drawing and a physical example for your order.
For a centre-fold style, check both visible faces and where the joined ends will be captured. For an end-fold label, confirm which edges are folded and where stitches will sit. For a flat label, show the planned stitch placement and how the edges will be finished. Avoid approving a loose trim without knowing how it will be attached.
Keep fold and attachment decisions connected to the garment. A thick folded construction may behave differently at a lightweight jersey seam than at a sweatshirt facing. If a label will be used across several products, review those applications separately rather than assuming one successful neck sample covers every location.
The illustration shows simplified construction concepts. Your supplier's dimensioned drawing and actual sample take precedence over its proportions.
Sew the sample into the intended position
A loose label can pass an artwork check and still sit badly after sewing. Request an attachment sample on the actual garment or an agreed representative section. Review the position relative to the neck seam, facing, waistband or hem, rather than measuring from an unclear point on a photograph.
Look for straightness, consistent margins and an unobstructed design. Check whether stitches run through a letter, the edge lifts, or the folded part peeks out unexpectedly. Inspect the reverse side as well as the face: the appearance inside a garment matters when it is handled or turned inside out.
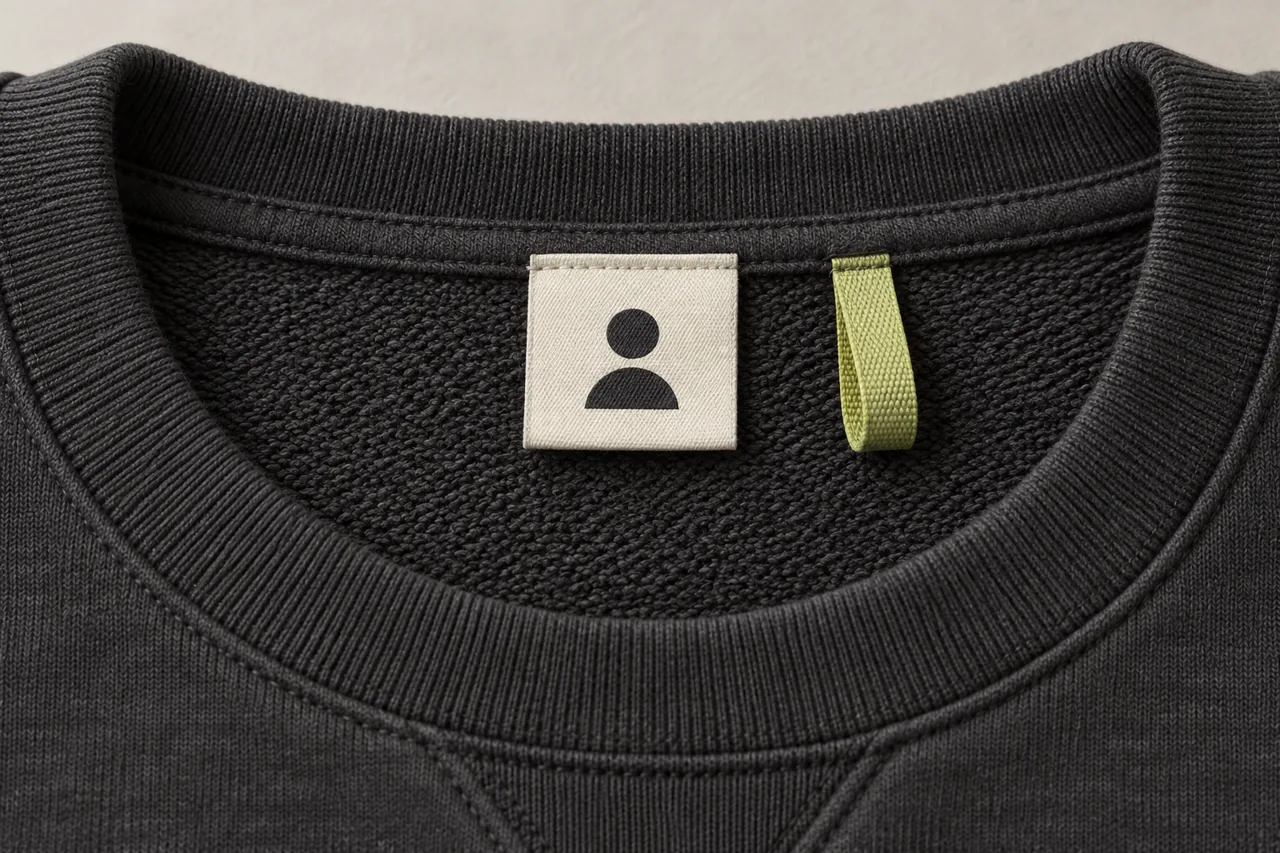
For a neck label, assess the complete arrangement with any separate size tab and hanging loop. Make sure the layers do not bunch together. For a hem flag, check that the intended face is outward and that the label does not twist into the seam. For an external patch, review how the garment hangs after attachment.
Give the sample maker location-specific feedback. “Move the neck label slightly” is difficult to reproduce. A better correction identifies the reference seam, proposed offset and the revision drawing, with dimensions agreed by both sides.
Assess edge feel and the whole garment
Handle the sample and examine each edge and corner. Check for rough contact points, loose threads, stiffness or an attachment that creates unnecessary bulk. A smooth-looking photograph cannot confirm comfort, so include a suitable physical wear assessment when the label will contact the body.
If the location feels uncomfortable, describe whether the concern comes from the label itself, a folded corner or the seam that holds it. These may need different changes. Ask the supplier for an alternative construction and assess the revised sample; do not promise that a particular finish will suit every wearer.
If a care check is included in approval, agree the method with the supplier and follow the garment's proposed care instructions. Record what changes in the label and in the surrounding fabric after that agreed process. This practical check does not establish a universal durability rating or replace any testing required for the product.
Keep any approval limitations visible. If only artwork and dimensions have been reviewed, do not mark comfort and care performance as approved without having assessed them.
Approve colour alongside the garment
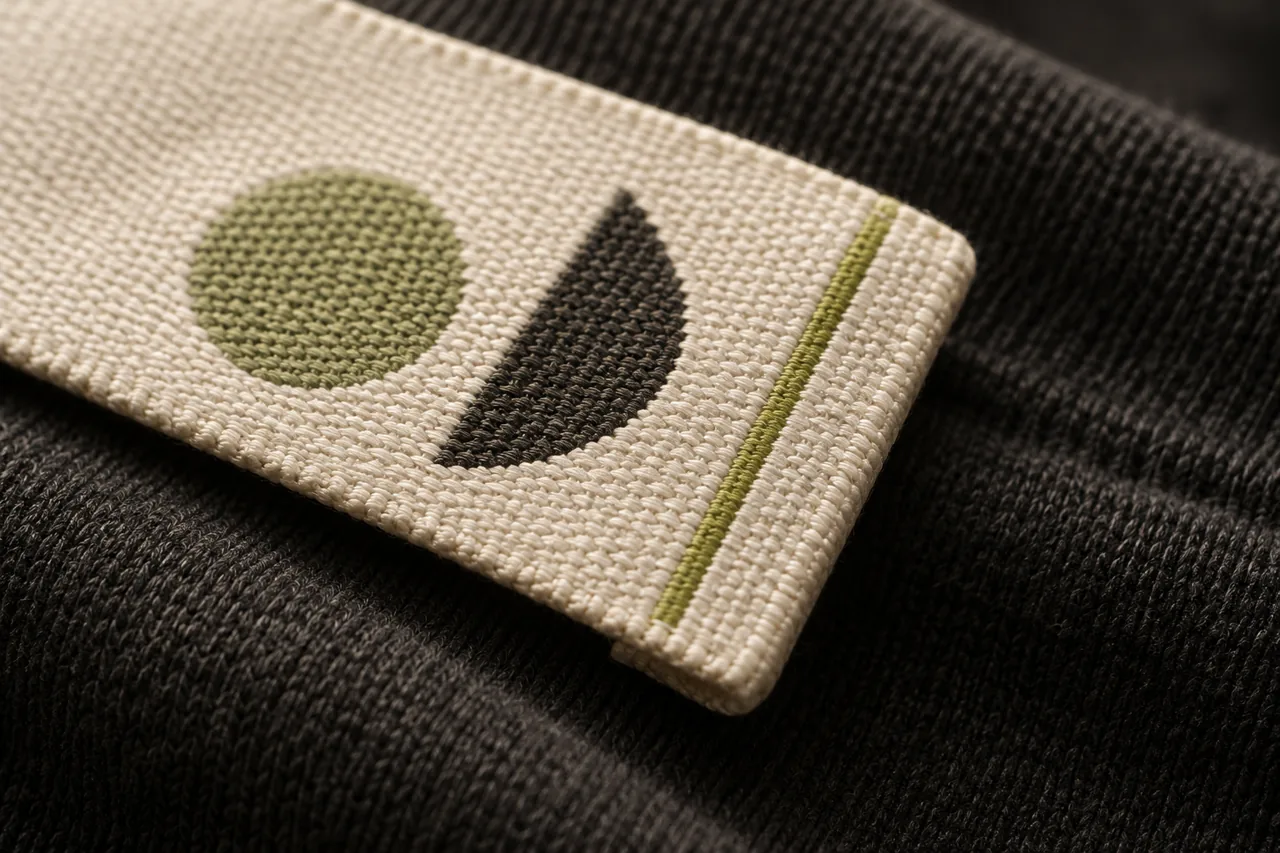
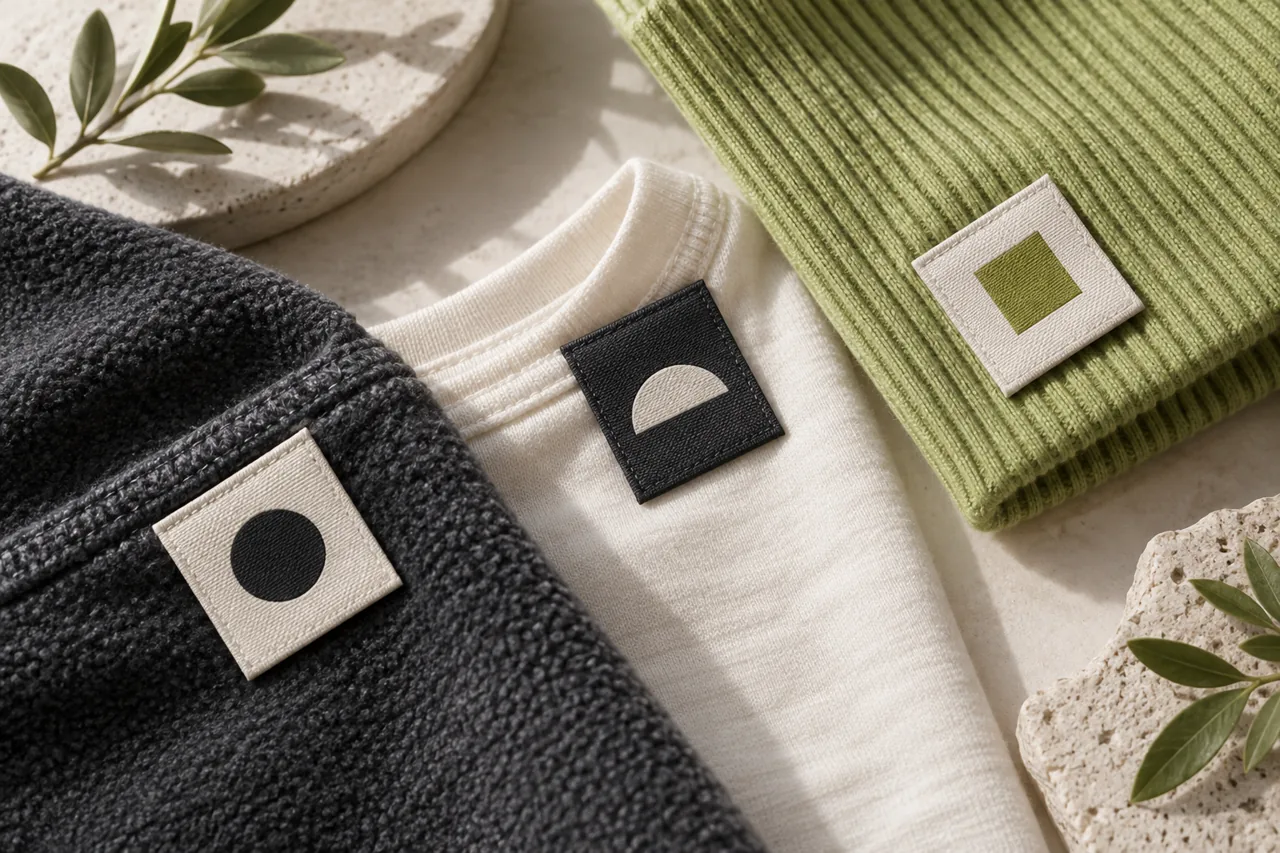
Compare the woven sample with the intended garment colour under consistent lighting. A label that looks clear on a white desk may have a different effect on charcoal fleece or coloured rib. Review contrast, not only whether the label colour looks attractive by itself.
Use an agreed physical reference for the target where available, and identify that reference in the approval record. A screenshot can communicate direction, but screen brightness and display settings should not be the only basis for a colour decision. Ask the supplier to explain the available thread choices and confirm the selected sample.
If the same brand label is used across light and dark garments, decide whether one colourway works for the whole collection or whether separate versions are needed. Give each approved version its own identifier. “Same label, different background” is not enough if the artwork colours and contrast also change.
For repeat orders, retain a reference sample and the order details. Compare the proposed repeat against the approved record rather than memory. If the garment fabric or label construction changes, check the combination again.
Use one approval sheet for every label reference
Keep a concise record that purchasing, design and assembly can all understand. It should identify what is approved and what is still open. Avoid a single message saying “all okay” when several trims or colourways are being discussed.
| Approval field | What to record | What prevents confusion |
|---|---|---|
| Label reference | A unique style and revision identifier | Separate neck, hem and size-tab records |
| Artwork | Exact file version and approved wording | One controlled file for every reviewer |
| Dimensions | Overall, folded and visible measurements as applicable | Clear units and measurement points |
| Construction | Fold, edge finish and attachment proposal | Drawing plus physical sample reference |
| Colour | Background and design thread references | Approved physical colourway |
| Placement | Garment, location and reference seam | A marked attachment drawing or sample |
| Quantity | Labels per garment and order breakdown | No assumption that each trim uses the same quantity |
| Status | Approved items, corrections and untested items | A dated decision from the nominated contact |
When requesting a correction, preserve the features that already work. For example: “Keep the approved colourway and fold. Increase the clear space around the brand mark within the agreed visible area and send a revised woven sample.” The supplier can then confirm whether that change is feasible without a size or construction adjustment.
Before bulk approval, reconcile the label references with the garment order. A correct label in the wrong size group or product can still create an avoidable problem. For delivered goods, our team uniform inspection guide provides a practical way to document checks before distribution.
Start the visual brief in the label designer
The Athletic Rush Label & Hangtag Designer provides woven-label templates and controls for artwork text, colours and logo placement, with a PNG export option. Use it to communicate the intended appearance and keep the corresponding design reference with your enquiry.
A digital preview is a visual brief, not proof that the design is ready to weave or that its final wording is suitable for every market. Send the intended finished dimensions, attachment location and construction questions with the artwork. Confirm those details with the production team before treating the design as approved.
Keep the scope clear if your project also includes care labels or hangtags. Approving the woven brand label does not automatically approve those separate items. The designer page itself identifies its label text as draft material requiring final review for the destination market.
Common questions
Is a digital proof enough to approve a woven label?
It can confirm the intended layout and wording, but it cannot demonstrate actual woven detail, edge feel or attachment behaviour. Agree which physical sample checks are needed before giving final production approval.
Should every garment use the same label size?
Not necessarily. Consider the available area, garment construction and purpose. A hem flag and an inside neck label have different jobs. Check representative products before extending one approval across the collection.
Can the size be included in the main brand label?
Discuss that arrangement with the supplier and record each required version and quantity. A separate size tab is another option. Choose deliberately so the artwork and order breakdown do not become ambiguous.
What if the logo loses detail when woven?
Review the physical sample at actual size. Discuss simplification, spacing, size or construction alternatives with the supplier and approve the revised result. Do not judge only from an enlarged screen image.
What should I send with a label enquiry?
Include the brand artwork, intended garment and location, approximate dimensions, preferred fold if known, colour direction, quantities and target date. State which details are undecided so the team can propose a suitable sampling route.
Discuss your private-label trims
Explore Athletic Rush private-label development and share the garment and label references for your collection. Confirm sample scope, construction, price and timing before authorising production.
Email kamran@athleticrush.co, message us on WhatsApp, or start a manufacturing enquiry. A clear label brief helps keep the small details consistent with the garment you intend to deliver.