 Sialkot, Pakistan
Your hoodie logo looks sharp, but the fabric around it looks pulled. Should you approve the sample? Check the complete, relaxed garment before deciding. Record where the ripples appear, inspect the reverse, compare the sample after the agreed care process, and ask for a revised sew-out on the intended material. A close-up of attractive stitches is only one part of embroidery approval.
For clothing-brand buyers, the useful decision is whether the embroidered area meets an agreed appearance and comfort reference on the hoodie you will actually sell. A photograph alone cannot identify the machine adjustment needed or prove that a correction will hold in production.
This guide covers three decisions: what you are seeing, what evidence to request, and when a corrected sample is ready for approval. If the artwork itself is still being developed, start with our streetwear embroidery design guide.
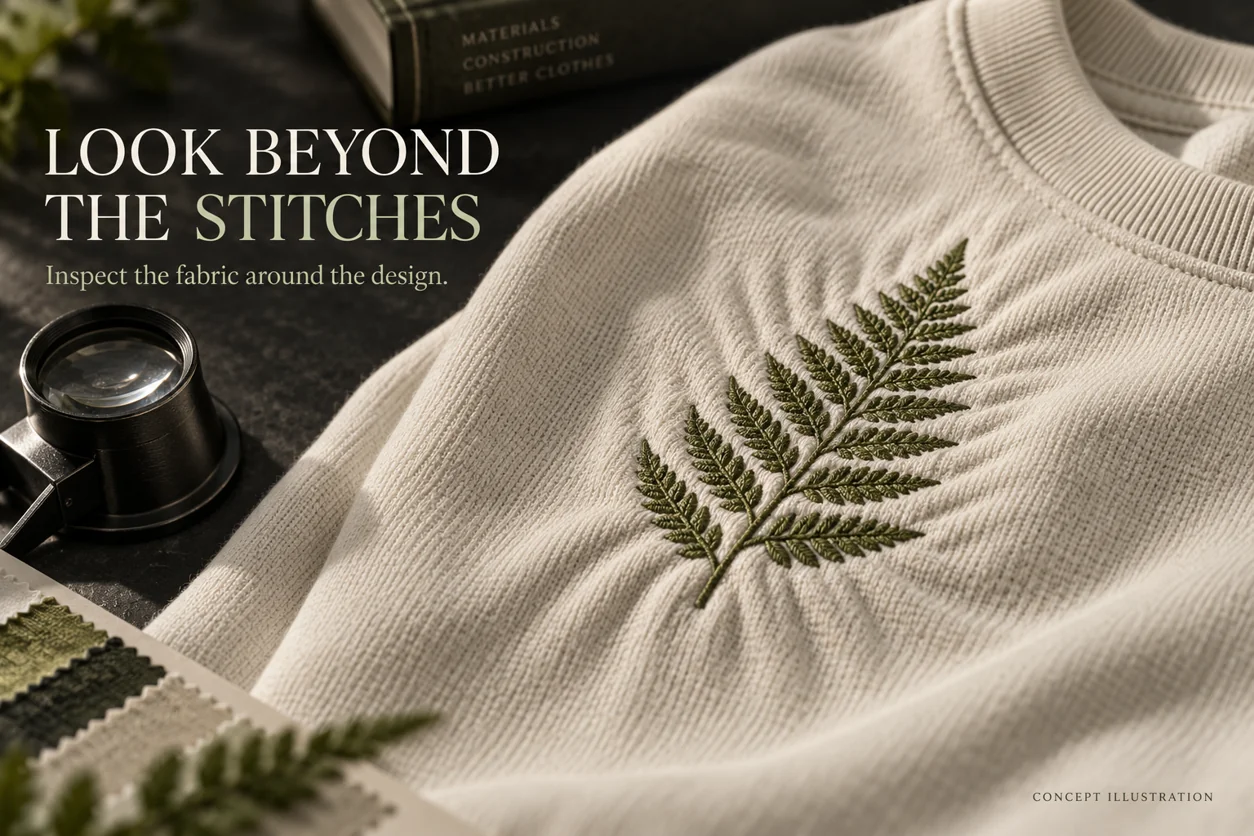
All six images are original conceptual illustrations. The botanical practice motif is not a brand logo. These are not photographs of Athletic Rush inventory, customer orders or measured test results.
1. Describe the fabric problem before naming a cause
In this guide, embroidery puckering means visible gathering or rippling of the cloth around or within the stitched area. Use that description carefully: a packing crease, the fold of a garment hanging on a body, and an impression left by a hoop are different observations. They should not automatically receive the same correction instruction.
Place the hoodie on a clean, level surface with the body resting naturally. Do not stretch the chest, pin the hem, or press down around the motif to make the picture look smoother. Take one whole-garment photograph and one closer view before handling it further. This preserves a useful starting record.
Then note the location in plain language. “Ripples extend from the lower-right edge of the chest embroidery” is more actionable than “quality is bad.” If an issue is visible only in a tightly cropped, strongly side-lit photograph, record that condition too. Agree how the finished garment should look under ordinary viewing conditions as well as during close inspection.
Separate a stitch-area ripple from a hoop impression
Look at whether the visible mark follows the embroidery edge or a broader frame shape. Photograph both without assuming their cause. Ask the supplier to identify the mark and explain the proposed treatment or production change. Do not approve a promised fix before seeing the result on a physical sample.
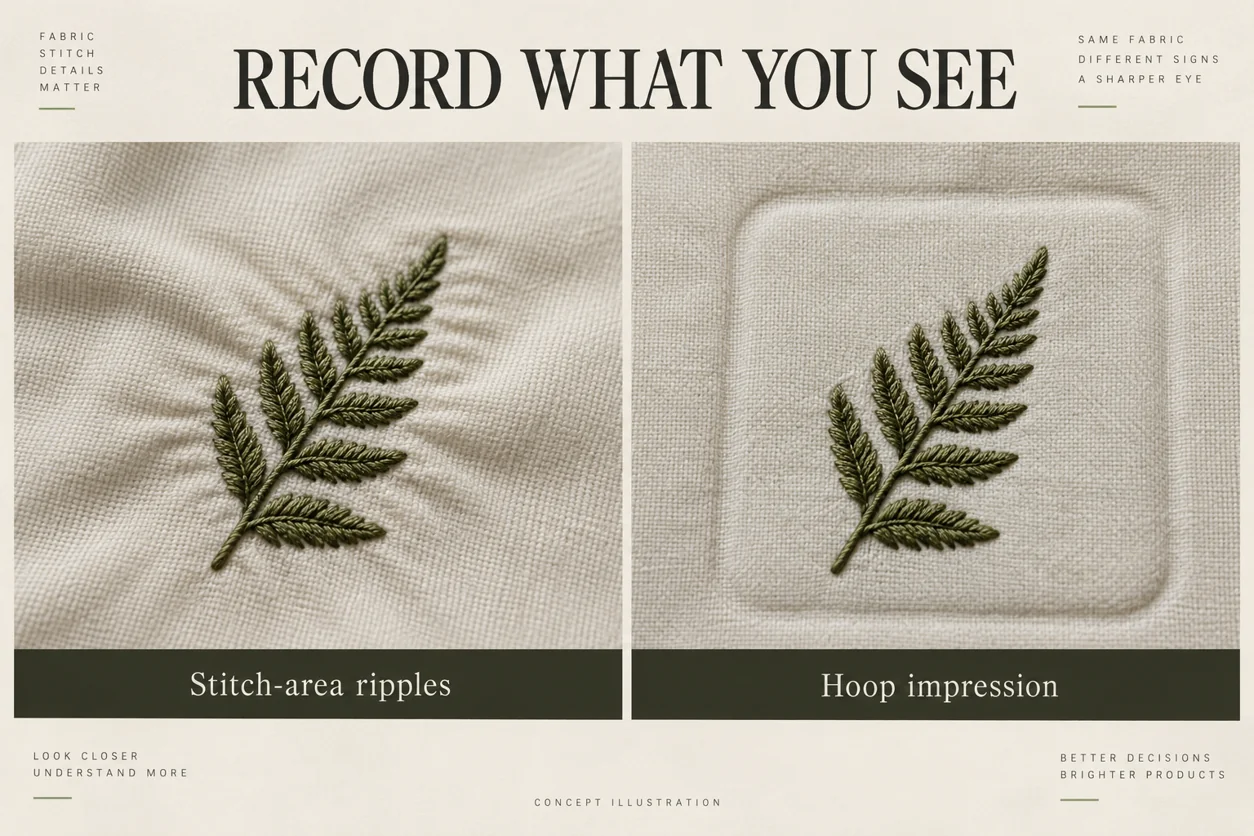
This comparison helps describe observations; it does not diagnose a real sample or establish an acceptance threshold.
| What you observe | What to record | Useful next request |
|---|---|---|
| Ripples start beside the stitched outline | Location, relaxed garment view and close-up | Review the embroidery setup and return a revised garment sample |
| A broad frame-shaped mark sits outside the motif | The entire outline and its distance from the embroidery | Identify the mark and show the result after the proposed finishing process |
| The hoodie looks smooth only when pulled flat | Unstretched photograph and how it was held in other pictures | Review the sample resting naturally and on the intended wearer |
| The reverse feels bulky or an edge is uncomfortable | Inside view and the exact point noticed during wear | Review support and finishing with both appearance and comfort in mind |
| A concern appears after care | Before/after records and the care procedure used | Compare retained samples and return a corrected sample for the same review |
Use a named garment example
Imagine a cream French terry hoodie with a small left-chest motif. The embroidery outline is clear, but short diagonal ripples appear below it when the garment rests flat. Your first feedback should identify that location and condition. Keep the artwork size and placement in the record so the revision is compared against the same brief.
Now imagine an oversized brushed-fleece hoodie with a large back graphic. Its approval record should show the whole back and the garment on a wearer, not just a cropped image of one letter. Do not transfer the first hoodie's acceptance automatically to this different garment. Treat each example as a separate sample decision; the names describe the proposed products, not products tested for this article.
2. Ask the supplier to review the system, not guess one setting
Madeira's puckering guidance identifies several interacting factors, including digitizing, thread tension, needle selection, backing and hooping. It recommends testing on the chosen fabric and avoiding stretching the textile when hooping. This supports a practical buyer response: request an explained trial and a new sew-out rather than prescribe a universal tension number or backing recipe.
Ask which variables were reviewed and what changed in the revision. The supplier or digitizer should choose technical settings for the actual combination. Your role is to keep the desired artwork, garment and acceptance reference clear, then judge the returned result.
Review stitch planning without asking for “more stitches”
Embroidery underlay is the foundation stitching beneath the visible cover stitches; backing is the supporting material behind the textile. They are different parts of the system. Wilcom explains that suitable underlay helps stabilize fabric and reduce pulling and puckering. Its guidance also cautions against treating increased cover-stitch density as the default answer when fabric shows through.
For a buyer, this means the correction request should preserve the intended visual result while allowing the digitizer to propose a tested solution. Do not insist that every revision keep the same stitch count. Conversely, do not accept a changed logo shape simply because the cloth looks flatter.
Request a clear before/after artwork or sample comparison if the supplier proposes larger lettering, a less filled area, a different border, or an altered motif. Those changes can affect the identity and look of the product and need your deliberate approval.
Inspect the reverse and the wearing experience
Turn the sample inside out and photograph the embroidered area. Record the support used, how its edges are finished and whether anything feels uncomfortable at the intended location. If the garment will be worn over a T-shirt, assess that arrangement; if it may be worn against skin, include that in the brief. Avoid relying only on a hand passing quickly across the reverse.
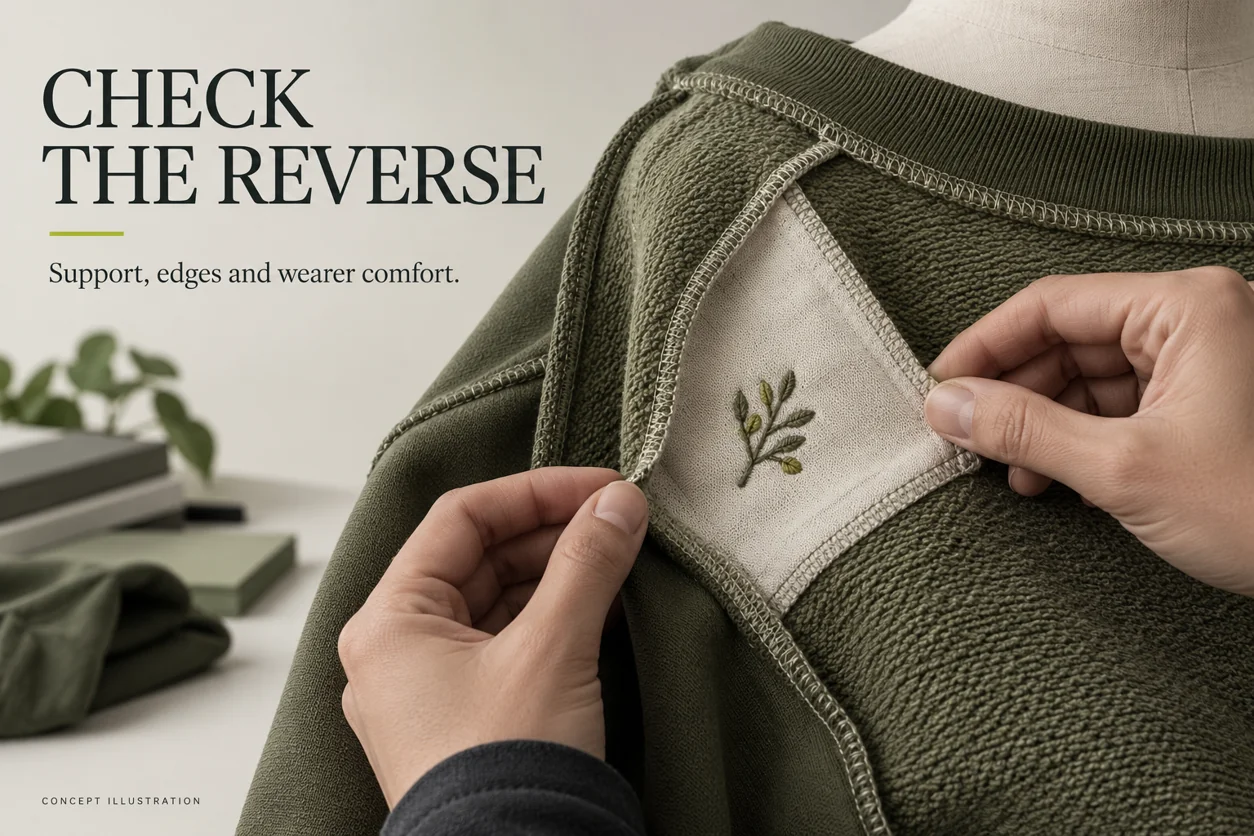
Inside construction should be reviewed with the sample's intended use, rather than judged from a decorative front photograph alone.
A flatter front is not the whole approval if the correction produces an inside finish the buyer dislikes. Ask the supplier to explain the support choice and show the complete sample. Do not specify a fixed number of backing layers simply from an online example or a design's stitch count.
The revision record should identify the intended fabric, artwork version and finished embroidery dimensions, thread reference, placement, and the supplier's setup revision identifier. A buyer need not collect every proprietary machine parameter to maintain a traceable sample history. However, the supplier should be able to repeat the approved setup and recognize when a material or process substitution requires review.
Check the real placement on the complete hoodie
A sew-out is useful for discussing the embroidered motif. A complete garment is needed to review how that motif sits in its intended position. Ask to see the sample front, reverse and on a suitable wearer, with the garment unstretched. Include a normal standing view and relevant everyday movement, such as reaching forward.
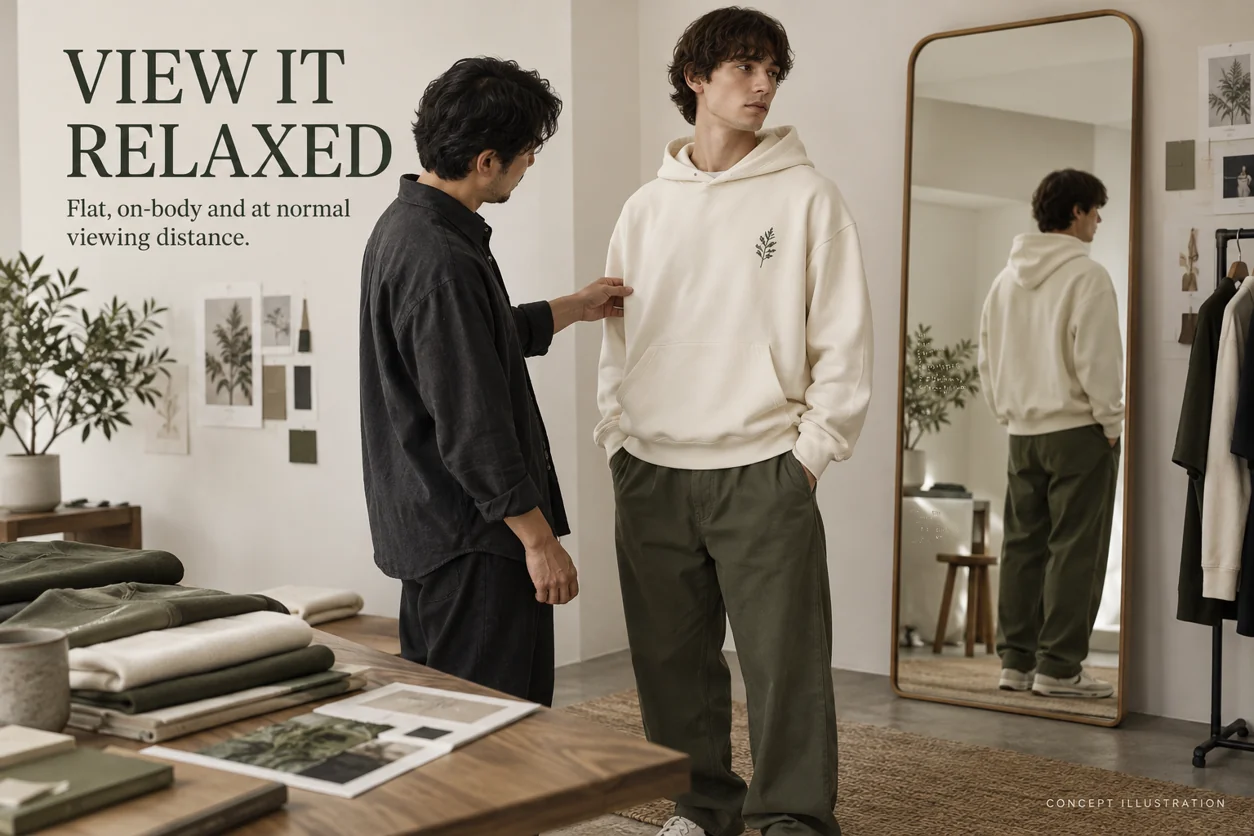
The whole-garment view connects close inspection with the product the customer will wear.
Record whether the concern remains in the same place, changes with posture, or disappears when the garment is released. These observations help the supplier investigate; they do not establish the root cause by themselves. If the embroidered area is near a pocket, zipper or seam, show those features in the photograph rather than cropping them out.
For a range using the same motif on several hoodie styles, agree which combinations need separate samples. A chest placement on a pullover and a placement alongside a full zipper should not be treated as visually identical. Our hoodie development page provides the broader garment context for a manufacturing enquiry.
3. Approve a documented revision, including agreed care checks
Keep the original sample identified while the replacement is made. Label the revised version separately and ask the supplier to summarize the changes. Otherwise, an attractive new photograph may leave you unsure which specification it represents.
Compare like with like: the same garment state, intended material, artwork dimensions, placement and viewing conditions. If any of those changed, write the change down and decide whether it is acceptable. A different garment or smaller motif may be a valid design choice, but it is a new decision rather than proof that the original setup was corrected.
Make the care comparison reproducible
Agree the care method appropriate to the proposed finished garment before reviewing the outcome. Record washing, drying and any finishing used, along with the sample identifier and when the photographs were taken. Follow the proposed care instructions; do not invent a harsh procedure and describe it as a universal hoodie test.
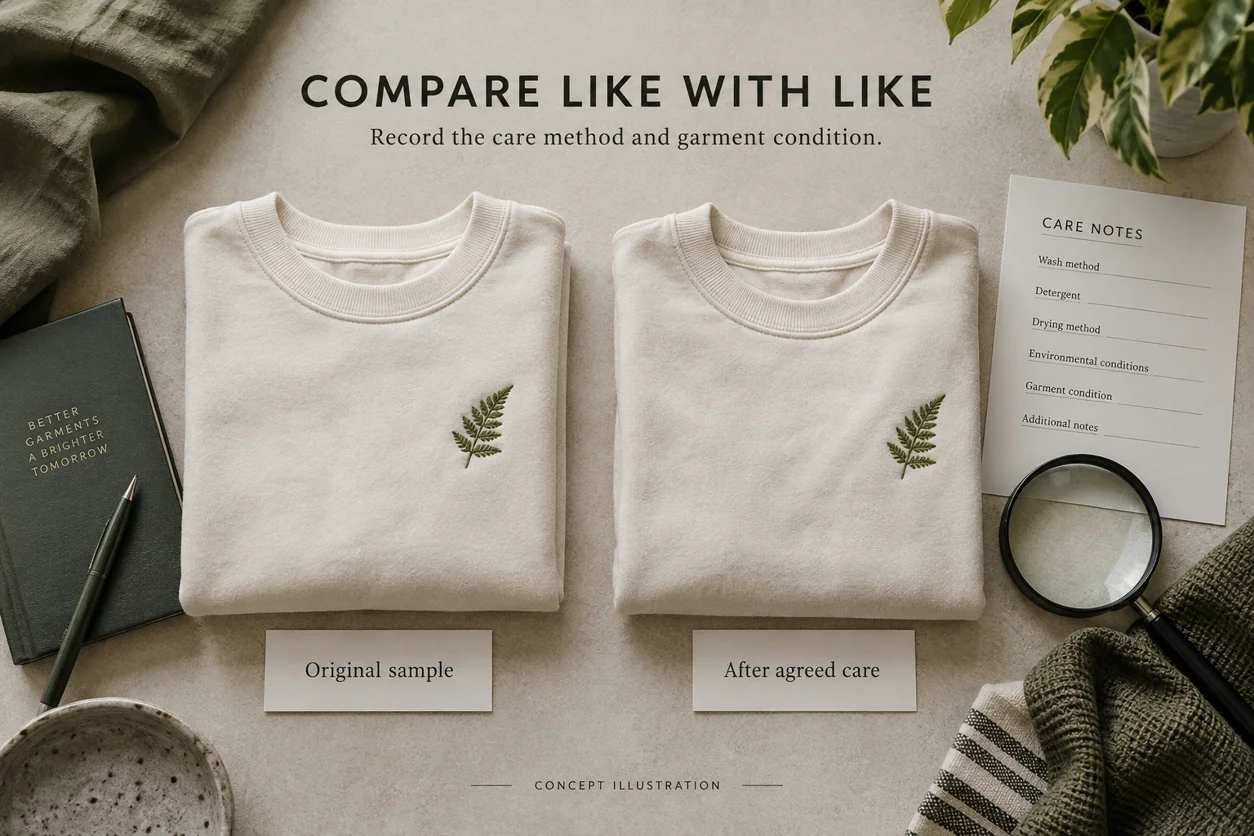
The image illustrates a comparison workflow. It makes no measured claim about washing performance or durability.
Check the embroidery and surrounding cloth again once the garment is dry and in the agreed review condition. Keep a whole-garment image, a close-up and an inside view. If pressing or steaming was used, include that fact. If you need an appearance standard immediately after drying without that finishing, specify it before the sample review.
Assess other agreed requirements at the same time: artwork legibility, placement, colour appearance, garment measurements and comfort. Passing one observation does not close an unrelated issue. For example, an acceptable embroidery area does not approve a changed body length or an incorrect thread colour.
Where formal performance evidence is needed, agree the method, conditions and acceptance criteria with the supplier or a qualified laboratory. A few development photographs are not a substitute for that evidence, and a single sample cannot establish a future bulk defect rate.
Write a correction the supplier can act on
Instead of “make the embroidery premium,” use a specific, bounded instruction. The following is an illustrative buyer note, not an actual customer message:
Sample H-02, left-chest embroidery: diagonal ripples are visible below the lower-right outline when the hoodie rests flat without stretching. See the whole-front and close-up photographs. Keep the approved artwork dimensions and placement. Please review the setup, identify the proposed changes, and return a revised complete sample with front and reverse photographs. Approval remains open until we review the physical sample and the agreed care comparison.
That note identifies the specimen, observation, constraint and next deliverable. It leaves the technical diagnosis with the person who can examine the materials and machine process.
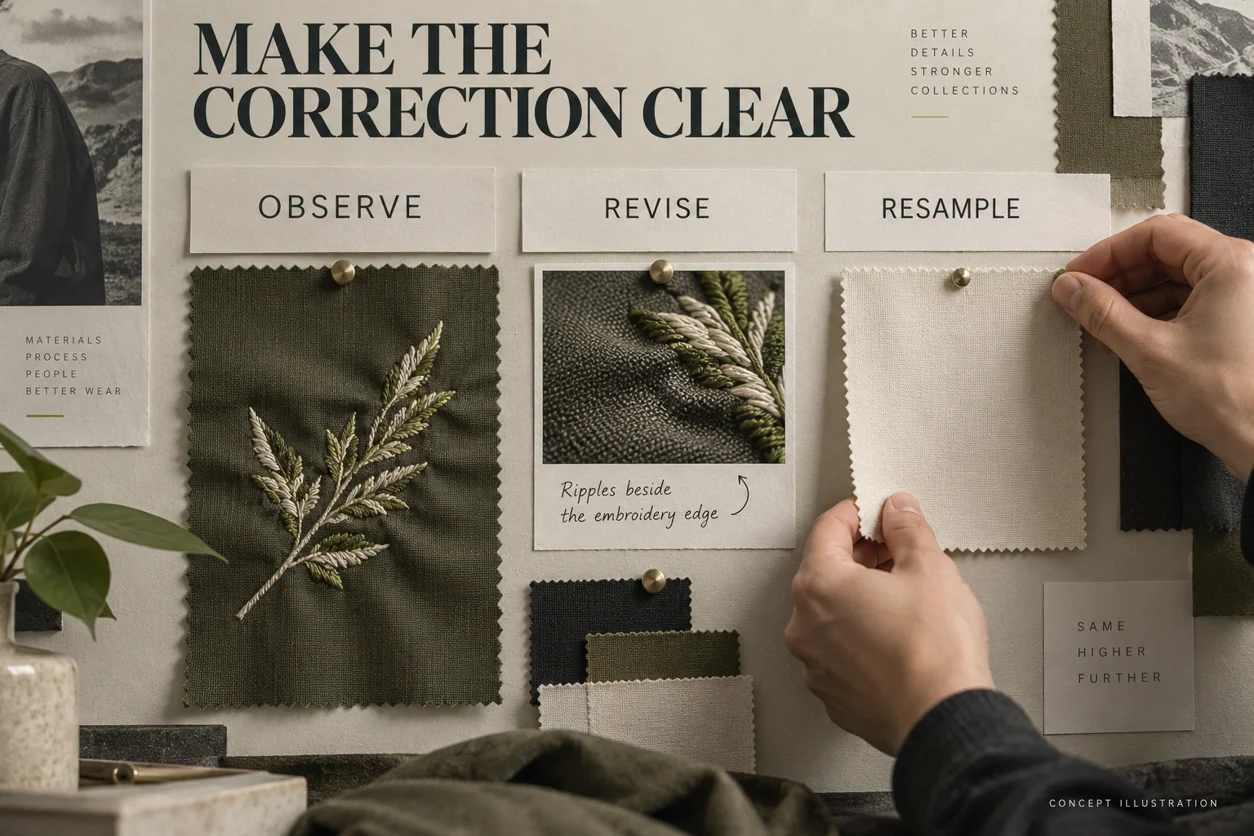
Separate sample acceptance from permission to start bulk
| Approval checkpoint | Evidence to keep | Decision to record |
|---|---|---|
| Artwork and garment identity | Version, dimensions, placement and material reference | The returned sample matches the intended product |
| Relaxed appearance | Whole-garment and close-up views under agreed conditions | Accept, revise, or request clearer evidence |
| Reverse and comfort | Inside photographs and relevant wearing notes | Support and finishing are acceptable for the intended use |
| Agreed care review | Procedure, sample identity and observations | Accept the outcome or repeat the revision review |
| Production reference | Identified physical sample and closed correction list | Explicitly release this specification for bulk, with any limits stated |
Agree the bulk inspection arrangement before production starts: who checks, which requirements are reviewed and what happens if a concern appears. The approved sample should remain available for comparison. If a supplier changes the material or decoration setup, agree how that change will be reviewed before treating the result as equivalent.
Do not apply a universal “zero visible texture” rule without defining how the product will be inspected. Equally, do not accept unexplained gathering because someone calls it normal. Use a mutually understood physical reference, inspection conditions and written decision for your particular garment.
Questions clothing brands often ask
Can I tell the cause of puckering from a photograph?
You can document where and under what conditions the cloth looks distorted. A photograph usually does not establish which setup factor caused it. Ask for the supplier's investigation and a revised sample instead of choosing a machine setting from the image.
Should I ask for extra backing to solve it?
Ask for a tested support proposal rather than a fixed layer count. Review the returned sample on both sides and during wear. The front appearance, inside finish and intended garment use should all remain acceptable.
Is a smooth sample straight from the hoop enough?
Request a view of the finished garment released from the hoop and resting naturally. Include the complete placement and the agreed care review before closing sample approval. Record any finishing applied so the comparison is clear.
Do I need a new sample if I change the hoodie material?
Treat the new combination as requiring review rather than assume the old approval covers it. State what changed and agree the necessary sew-out and garment checks with the supplier. Keep the original reference so differences are visible.
Your next buyer decision
Before approving an embroidered hoodie, you should be able to identify the garment and artwork version, describe the relaxed appearance, review the reverse and comfort, and trace the agreed care observations to the same sample. If a concern remains, send an observation-led correction and keep approval open until the revision is checked.
To discuss an embroidered hoodie sample with Athletic Rush, share your artwork, intended garment, placement and clear front/reverse photographs of the issue. Email kamran@athleticrush.co or contact us on WhatsApp. The next step is to agree the sample brief and review conditions for your product.