 Sialkot, Pakistan
 Worldwide enquiries

A logo that looks sharp on a phone screen is not automatically ready to stitch onto a T-shirt. Before ordering embroidered streetwear, agree on the artwork at its actual size, the garment fabric, the position and the physical sample you will approve. These decisions belong together: changing one can change the result.
For clothing brands, the practical route is simple: simplify where necessary, define the finished dimensions, have the design digitized for the intended garment, then approve a real stitched sample before bulk production. A digital mockup explains your intention; the physical sample shows whether that intention works in thread.
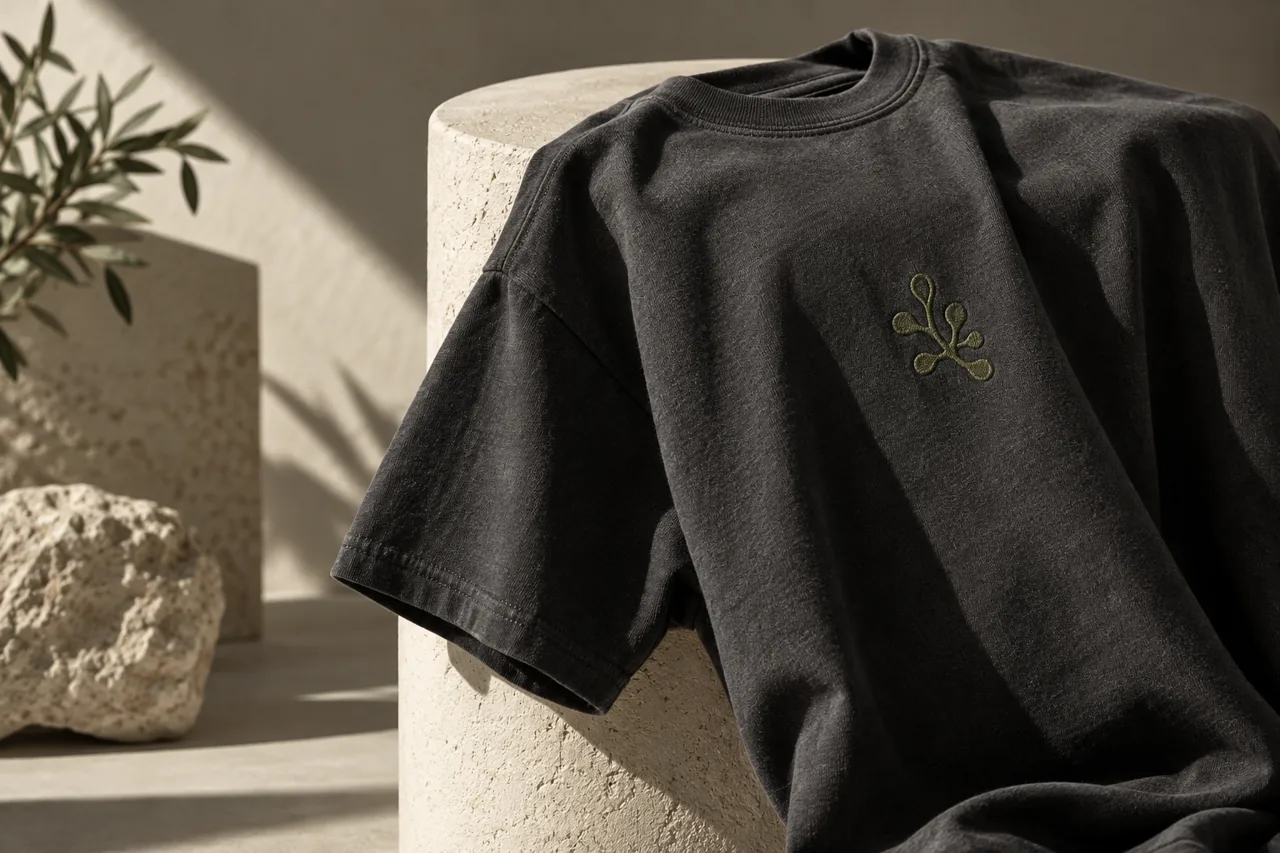
All images in this guide are original AI-generated conceptual illustrations. They are not photographs of Athletic Rush inventory, factory operations or measured test results.
Start with the role of the embroidery
Decide what the decoration needs to do. A quiet chest emblem, a statement back design and sleeve lettering are different briefs. The first might depend on subtle texture; the second might need legibility from a distance; the third needs careful positioning when the arm moves.
Write a one-sentence objective before discussing production: “A discreet, readable chest emblem on a charcoal oversized T-shirt, with a comfortable reverse side.” This gives the supplier something more useful than “make it premium.” It also helps you judge revisions: a larger, heavier design might look impressive but fail the quiet branding objective.
Consider embroidery alongside the garment rather than adding it after the fit is final. Review the streetwear range and decide which garment and fabric your design is intended for. If you are still choosing a T-shirt material, use the cotton jersey specification guide to make the fabric brief more precise.
Prepare artwork that communicates clearly
Send the original artwork where available, plus a simple preview showing the intended colours. Ask the digitizer which file types they accept. A screenshot copied from a social post may hide small gaps, distort proportions or include unwanted background detail.
Wilcom's guidance on suitable embroidery artwork favours clean shapes with clear boundaries and limited solid colours. For a buyer, the useful takeaway is to remove ambiguity before digitizing: identify which shapes are intentional and which are merely shadows or display effects.
Make an embroidery-specific version when necessary. That might mean removing a tiny tagline, opening the space between two shapes or reducing a complex shaded illustration to a recognisable outline. Keep the original brand artwork as a separate master file so the simplified version does not accidentally replace it everywhere.
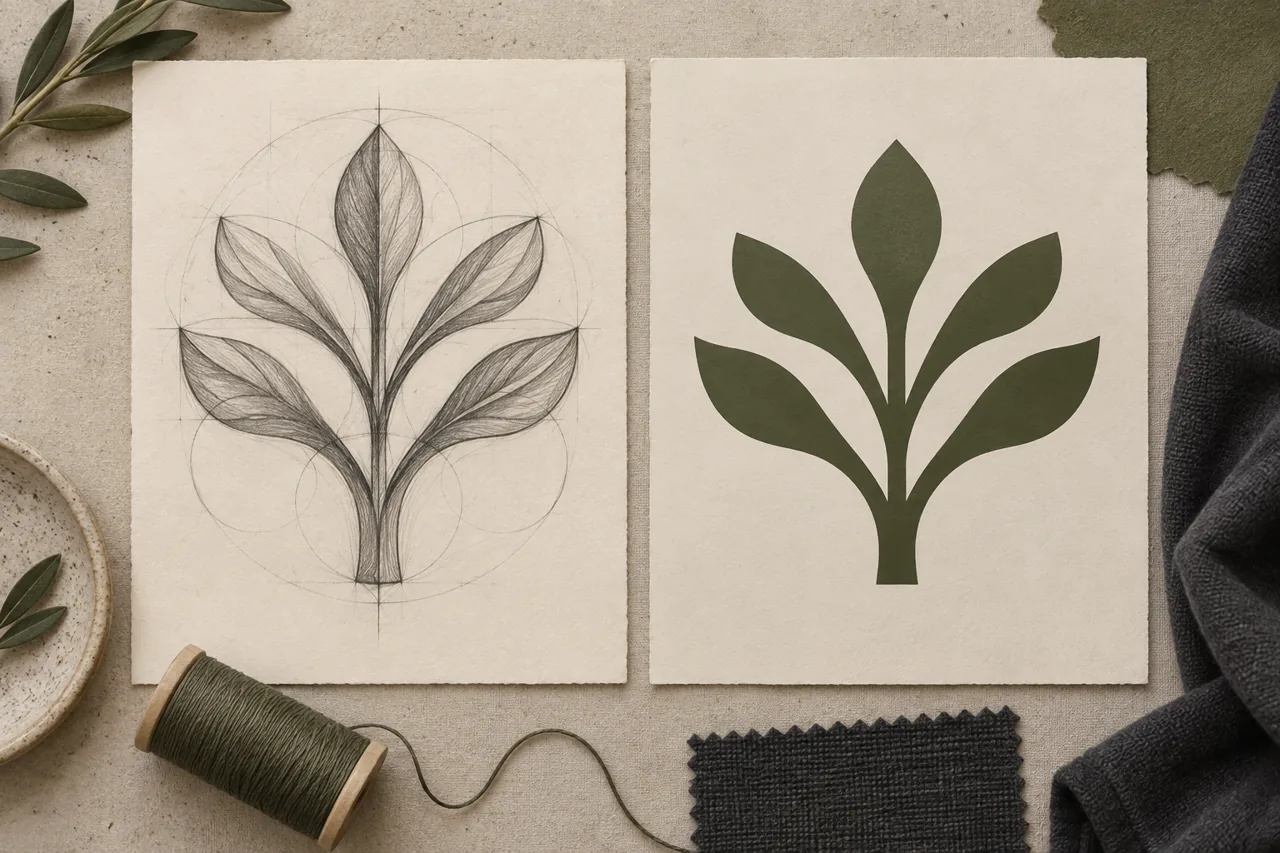
Do not silently allow the supplier to redraw your identity. Ask for proposed simplifications to be marked and approved. A practical revision note is: “Keep the outer silhouette; remove the fine internal shading; show the revised artwork before digitizing.” That instruction is easier to act on than “make the logo cleaner.”
Specify the actual size, not just small or large
State the finished design width and height in a consistent unit, normally millimetres. Include which dimension controls the scale and whether the proportions must remain locked. If you supply only a width, ask the supplier to confirm the resulting height before sampling.
There is no useful universal minimum for every embroidered letter or line. Feasibility depends on the shape, thread, fabric and digitizing approach. Ask the specialist to assess your particular design at the proposed size rather than applying an arbitrary minimum from another supplier's checklist.
Wilcom's custom font considerations highlight the importance of letter shape and consistent columns, and identify very fine details and tight curves as design concerns. Treat tiny lettering as something to prove in a sample, not something a screen preview can approve.
For a first collection, request two clearly labelled size options if you cannot decide. This is a proposed sampling exercise, not a claim that any example size is suitable for all garments. View each option at normal wearing distance and close up. A readable, simplified mark may serve the collection better than a complete but crowded logo.
| Design decision | What to tell the supplier | What to inspect on the sample |
|---|---|---|
| Small lettering | Exact text, proposed dimensions and permitted simplifications | Readability, spacing and open letter centres |
| Thin lines | Which outlines are essential to the identity | Whether lines remain distinguishable |
| Filled emblem | Desired visual weight and fabric reference | Definition, flexibility and garment drape |
| Tonal branding | Thread shade reference and intended level of contrast | Visibility under ordinary light |
| Multiple colours | Colour sequence/reference and approved artwork version | Boundaries and consistency with the brief |
Understand what digitizing approval does and does not mean
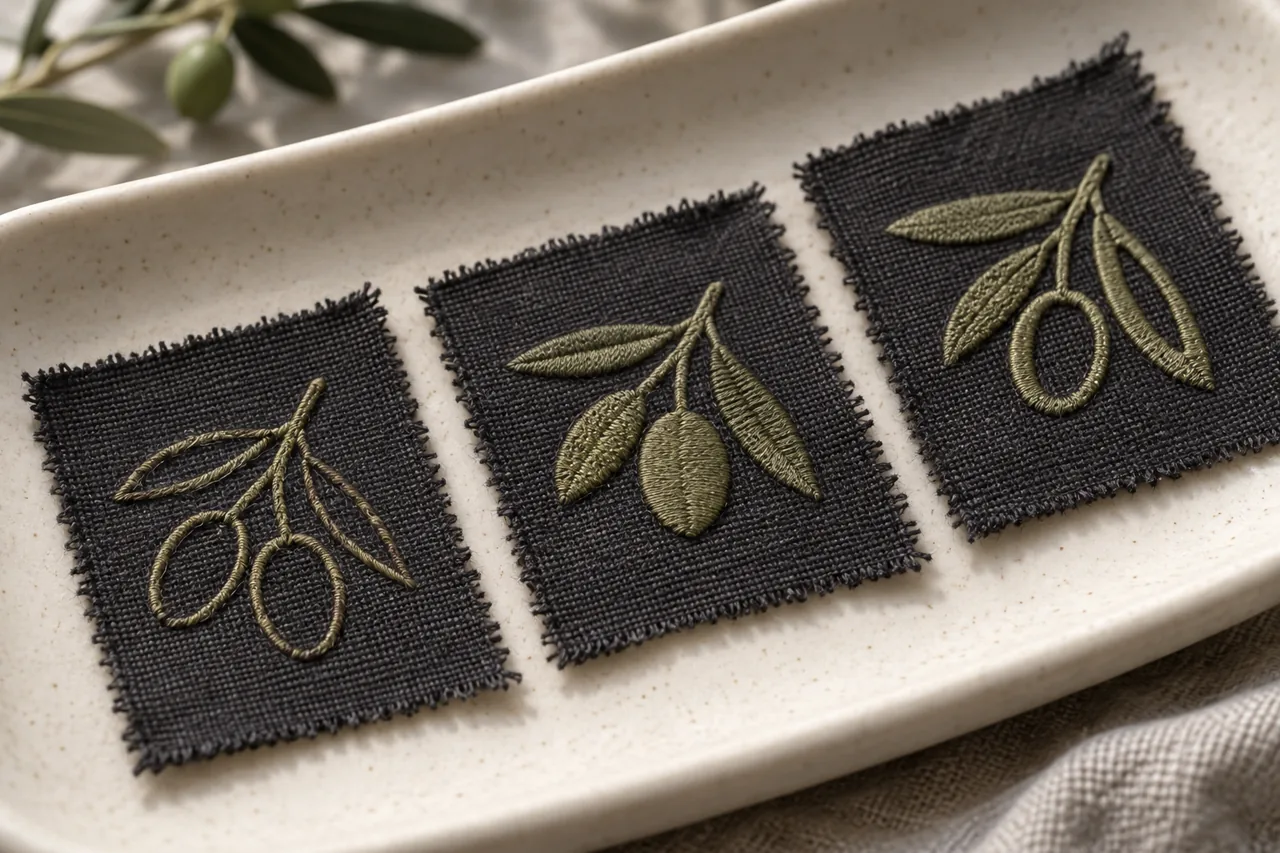
Embroidery digitizing translates the artwork into instructions for stitching. It is a production step, not simply renaming an image file. The supplier or digitizer needs the intended dimensions, fabric and decoration context to prepare the design sensibly.
Ask who is responsible for digitizing, whether the quotation includes it and how revisions will be handled. Agree on the version identifier that will follow the approved sample into production. You do not need to prescribe machine settings yourself; you do need a clear record of which design was approved.
A stitch simulation can help you review the overall shape and placement of colours, but do not treat it as proof of the finished garment's feel, comfort or appearance after care. Likewise, a successful sample made on a different fabric is useful development evidence but is not the same as approval on your production material.
If the artwork changes after sampling, ask whether a new stitch-out is needed. Do not assume an enlarged or reduced design will behave identically. The safer commercial question is: “Does this revised version need another physical sample before we release the order?”
Agree on placement with a reference point
Write where the embroidery should sit using identifiable garment landmarks. State whether you mean the wearer's left or right, and measure from a named point to a named part of the design. A distance to the emblem's top edge is not interchangeable with a distance to its centre.
Use a marked technical drawing together with a garment sample. Ask the manufacturer to confirm placement on the intended fit, especially when moving between a regular tee and an oversized body. Review oversized versus boxy proportions if your collection uses both silhouettes.
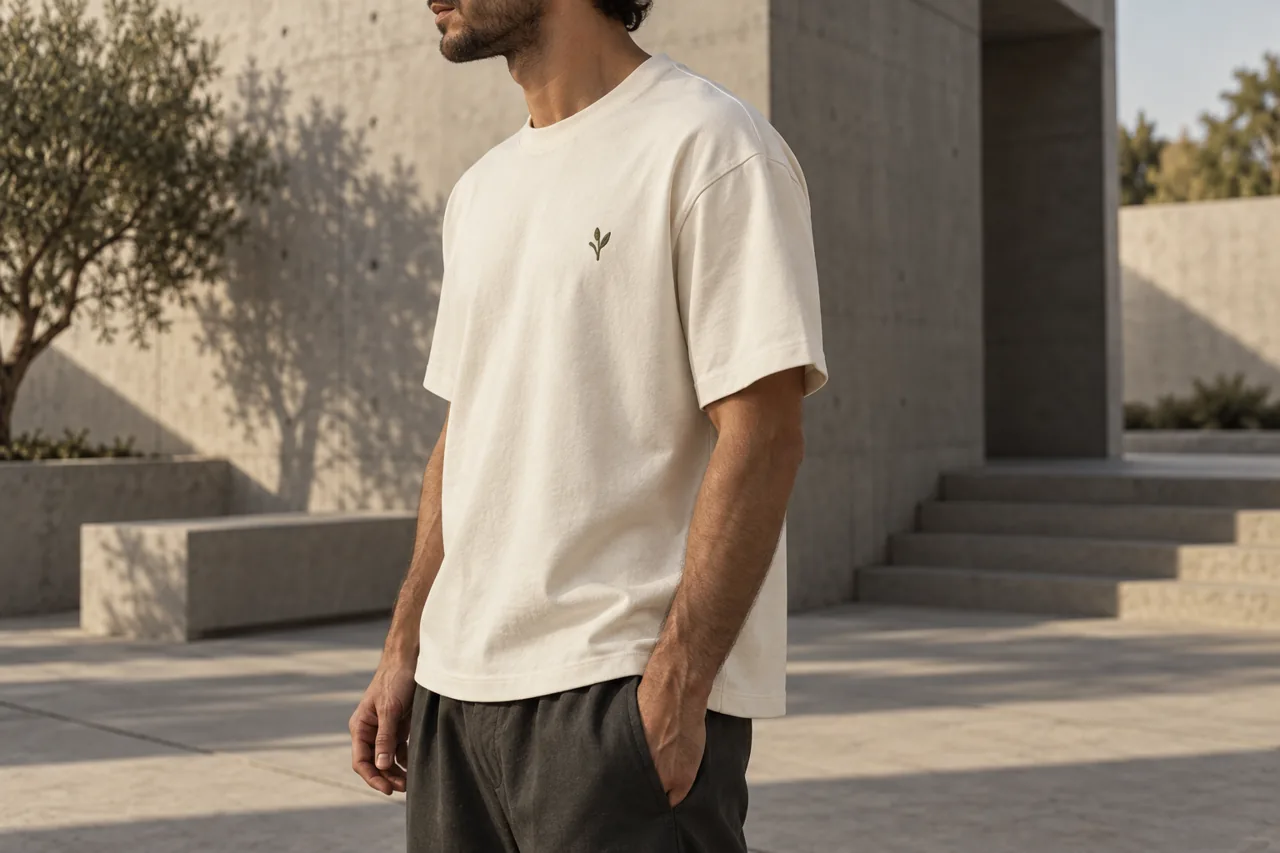
Check the design while the garment is worn, not only flat on a table. Review the chest position with relaxed arms and the sleeve position in a natural pose. Agree whether the same design size and placement will apply across the size range or whether selected sizes need separate instructions. Record that decision before the purchase order is final.
Keep measurements and photographs together. A photograph can communicate the intended look; a written placement reference makes that look repeatable. The print placement guide offers a related approach to recording garment landmarks, although embroidery still needs its own production assessment.
Match the sample to the intended fabric and thread
Ask for a sample using the actual proposed fabric and a clearly identified thread choice. If the exact production material is not available yet, mark the sample as provisional and write down what must be rechecked later.
Do not choose thread colour solely from a backlit screen. Compare a physical shade reference or sample against the actual garment colour. For tonal decoration, view it in ordinary indoor light as well as daylight where practical. Decide whether the subtle effect is intentional or whether the design has become difficult to see.
Backing deserves attention too. Madeira's stabilizer guidance distinguishes choices according to fabric stability, including knit fabrics. Ask the embroiderer to recommend a suitable backing for your fabric and design, then inspect its effect on the finished sample. Do not prescribe one backing for every T-shirt and hoodie in the collection.
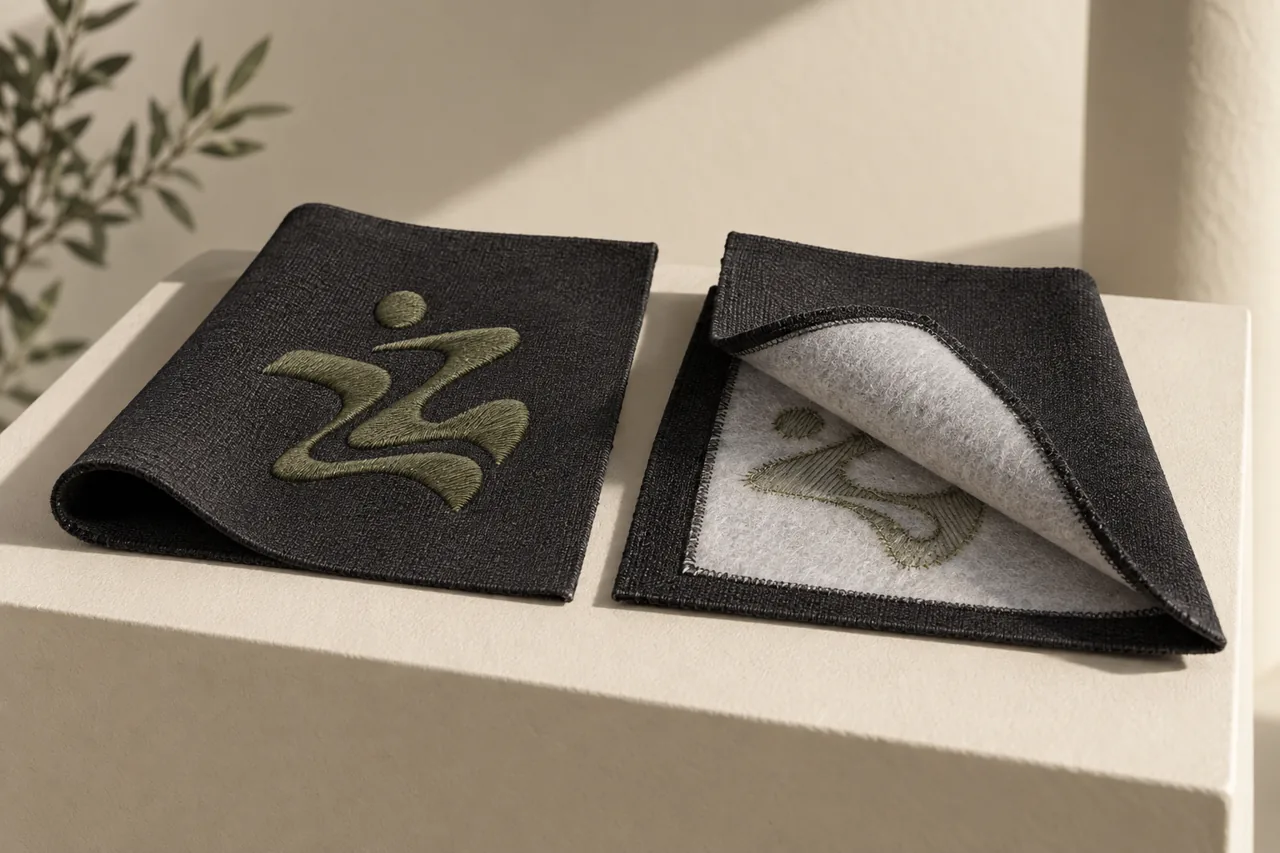
Look inside the garment. Check how the reverse side feels in its intended position and whether the finishing matches the sample standard you want customers to receive. Document concerns with clear photographs and a specific description. “The reverse edge feels uncomfortable at the chest” gives the supplier a useful problem to assess; “bad quality” does not.
Use a structured physical approval check
Start with the complete garment, then inspect details. Confirm that the sample carries the correct artwork revision, garment size and fabric reference. Check the overall appearance before focusing on individual stitches: a technically neat emblem can still be incorrectly positioned or too visually heavy for the collection.
Review the sample again after care using the intended care instructions and an agreed procedure. Record what was done, keep the before-and-after photographs consistent and avoid describing an informal home check as laboratory certification. If a customer or market requires a particular performance test, agree the method and acceptance criteria with the appropriate testing provider.
| Review stage | Evidence to retain | Decision to record |
|---|---|---|
| Artwork review | Named design file and marked placement drawing | Artwork, dimensions and allowed simplifications |
| First stitch-out | Identified fabric, thread references and clear photographs | Revise or proceed to garment sample |
| Garment sample | Full front view, close-up and reverse-side photograph | Position, appearance and comfort comments |
| Care review | Care procedure and comparable before/after records | Accept, investigate or resample |
| Production release | Approved sample ID, revision and dated written approval | Exactly which specification can be produced |
An approval with unresolved comments is ambiguous. Separate “approved as shown” from “approved only after these corrections.” Where a correction could change the result materially, request another sample instead of relying on an unverified promise.
Send one complete embroidery brief
Put the key instructions in one document rather than scattering decisions across several chat messages. Include the garment style, fabric reference, colour, size range, artwork version, finished design dimensions, position drawing, thread references and sample requirements. Add the quantity by design and colour when asking for a quotation.
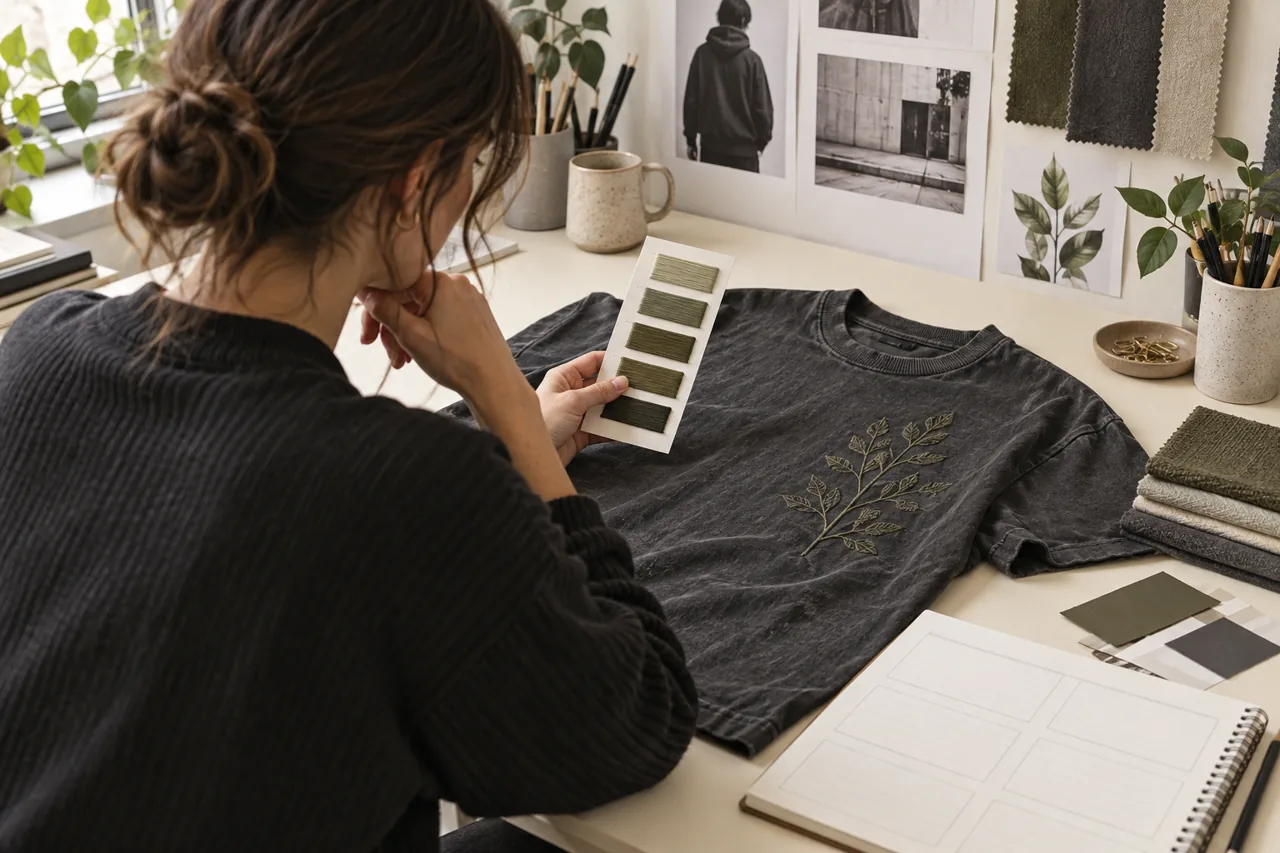
A useful enquiry could read: “We are developing a small chest emblem for an oversized cotton jersey tee. Please assess the attached artwork at the stated size, flag details needing simplification, recommend the thread and backing, and quote a sample on the proposed fabric. Show any artwork revision before digitizing. Bulk approval will refer to the accepted garment sample and its version.”
Ask the supplier to separate development costs, sample costs and production pricing where applicable. Ask which changes would require another quotation or sample. This prevents a later artwork change from being mistaken for a minor administrative update.
Frequently asked questions
Can I send a PNG instead of a vector file?
Ask your digitizer which formats they accept. A clear image can communicate the design, but the quality and suitability of the artwork still matter. Send the best original file you have and include finished dimensions; do not assume a larger pixel count alone makes every detail stitchable.
Can the same logo be used on a T-shirt and a hoodie?
The brand identity can remain the same, but the garment, fabric and intended placement may require different production preparation. Ask the supplier to assess both applications and approve a representative sample for each rather than assuming the T-shirt approval covers the hoodie.
Is more stitching always better quality?
Do not use stitch count alone as your purchasing standard. Judge whether the approved design is clear, correctly positioned and suitable for the garment, including its feel and reverse-side finish. Ask the specialist to explain the proposed construction when comparing quotations.
Should I approve embroidery from photographs?
Photographs are useful for identifying revisions and documenting placement. They cannot fully communicate touch, flexibility or comfort. For a new design, request a physical sample when those factors matter to the buying decision, and keep the approved reference for production.
Discuss your streetwear embroidery brief
Send Athletic Rush your artwork, intended garment, proposed design dimensions, quantity and placement sketch. We can discuss the sampling requirements and information needed for a relevant quotation; the final decoration specification should be agreed against the approved sample.
Email kamran@athleticrush.co or send your brief on WhatsApp. Include any details that must remain unchanged in your brand identity so proposed embroidery adaptations can be reviewed clearly.