 Sialkot, Pakistan
 Worldwide enquiries

Approve a large T-shirt graphic at its actual printed size on the intended garment. Specify the visible artwork dimensions, a clear placement reference, its relationship to the garment centre and the size range it covers. Then check the result on a physical sample, both flat and worn. A centred image on a digital mockup is only the beginning.
Large graphics are a defining feature of many streetwear collections, but “make it oversized” is not a production instruction. A tall graphic can sit too low, a wide one can approach the side seams, and one print size can look very different across a size range. This guide helps clothing-brand buyers turn a visual idea into a placement brief a decorator can evaluate and reproduce.
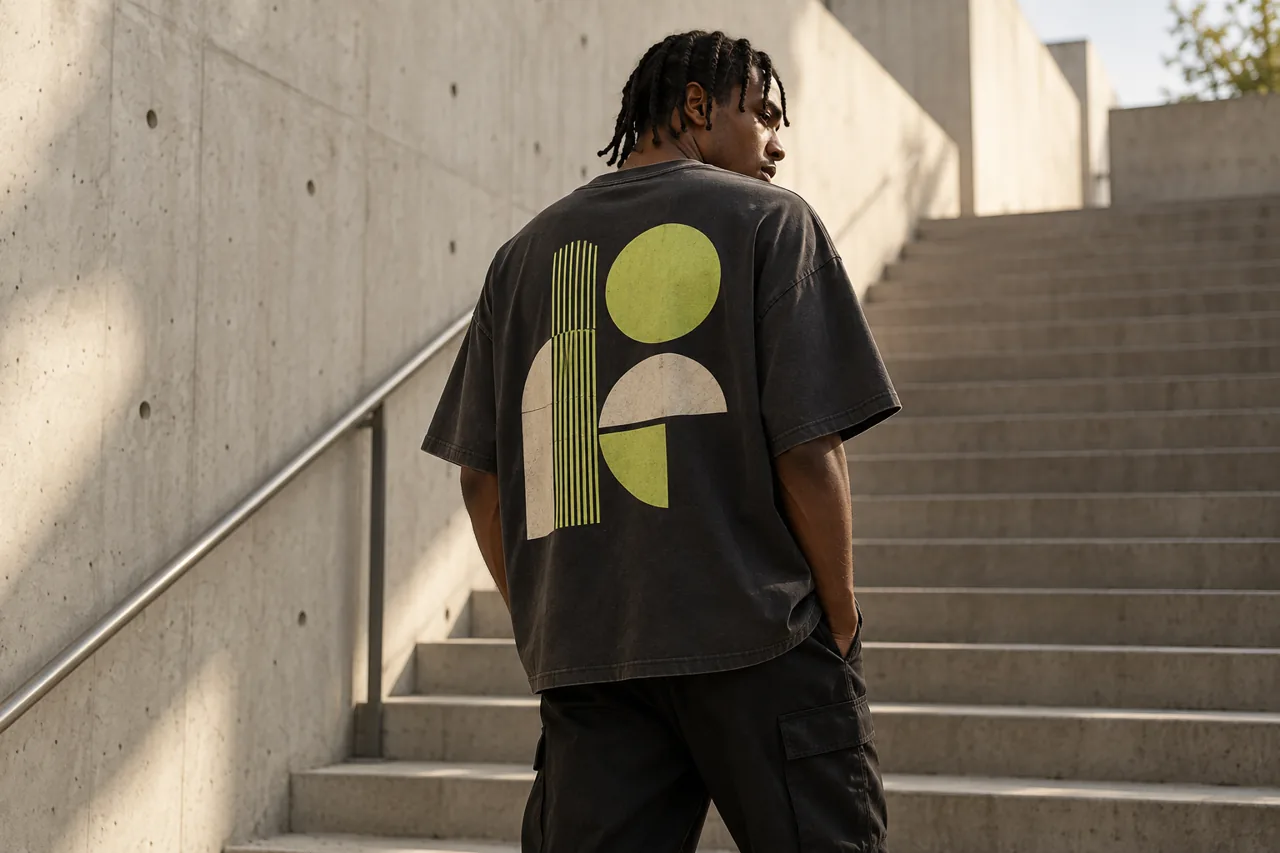
The six original AI-generated illustrations are conceptual examples. They do not represent Athletic Rush stock, customer artwork, a real production run or measured printing results.
Start with the actual garment and design intention
Identify the T-shirt revision, size range and front or back view before deciding the print dimensions. Body width, length, neck shape and shoulder proportions establish the space you are designing within. A boxy tee and a long oversized tee can need different visual treatment even when both carry the same size label.
State the purpose of the graphic. Should it dominate the upper back, sit as a broad chest composition or extend lower down the body? Describe the intended relationship to the garment rather than only sending a reference image. If the reference shows a different fit, explain which feature you want to borrow and which feature should remain specific to your own tee.
Use your approved oversized versus boxy fit and drop-shoulder proportions as the starting point. If the garment pattern is still changing, mark print placement as provisional. A later change in body length or shoulder width may require a new placement review.
Check the smallest and largest planned garments early. Transfer manufacturer Transfer Express advises considering the size range and printing obstructions when selecting artwork dimensions. Its guidance is specific to decoration planning; its suggested sizes are not a universal specification for every streetwear garment or print process.
Define the visible artwork box
Record the width and height of the visible design, with units. Clarify whether those dimensions include small detached details, such as a small mark above the main graphic. Avoid measuring only the file canvas if it contains empty margins. A large digital canvas can contain a much smaller visible print.
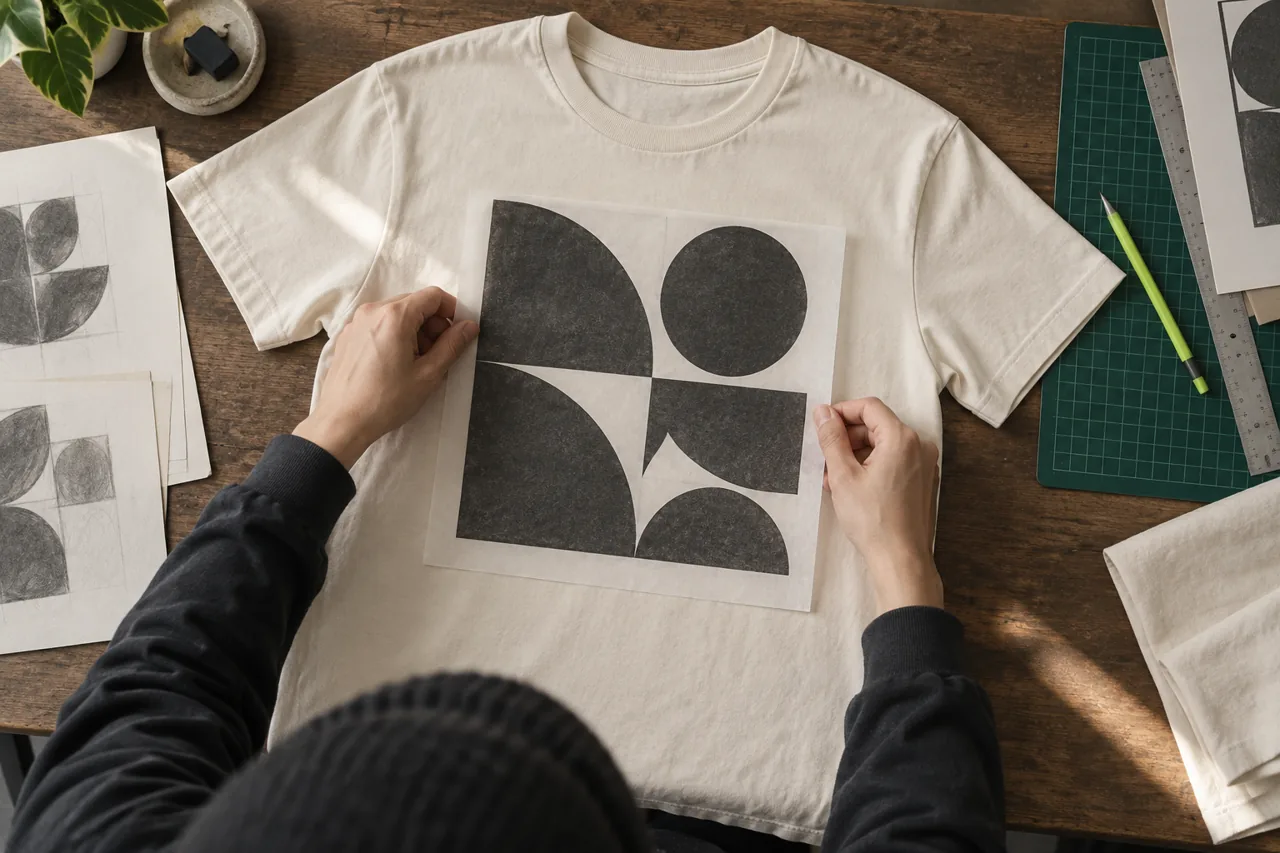
Ask the artwork supplier or decorator to confirm how the final file will be interpreted. Include a preview showing the visible bounding box and the approved revision name. A file labelled “final” is not enough if several different files have that name. Keep a date or controlled version identifier in the production brief.
Preserve the intended artwork proportions. If a graphic is too wide for the garment, do not silently compress it horizontally. Decide whether to scale it proportionally, edit the composition, choose another placement or revisit the garment. Each option changes the design differently and should be visible in the approval.
Paper mockups are a useful early screening tool. Print or assemble the artwork at the proposed physical size, confirm the scale with a ruler, and place it on the correct garment. This shows footprint and balance before decoration. It does not prove colour, hand feel, detail reproduction or durability; those still need the relevant printed sample.
Replace vague positioning with named reference points
Specify a vertical reference and a horizontal reference. For example, a front design might be centred on the garment centreline, with its top visible edge measured from a named neckline seam point. The exact reference must be agreed with the decorator and illustrated clearly. “Three fingers below the collar” is not a controlled measurement.
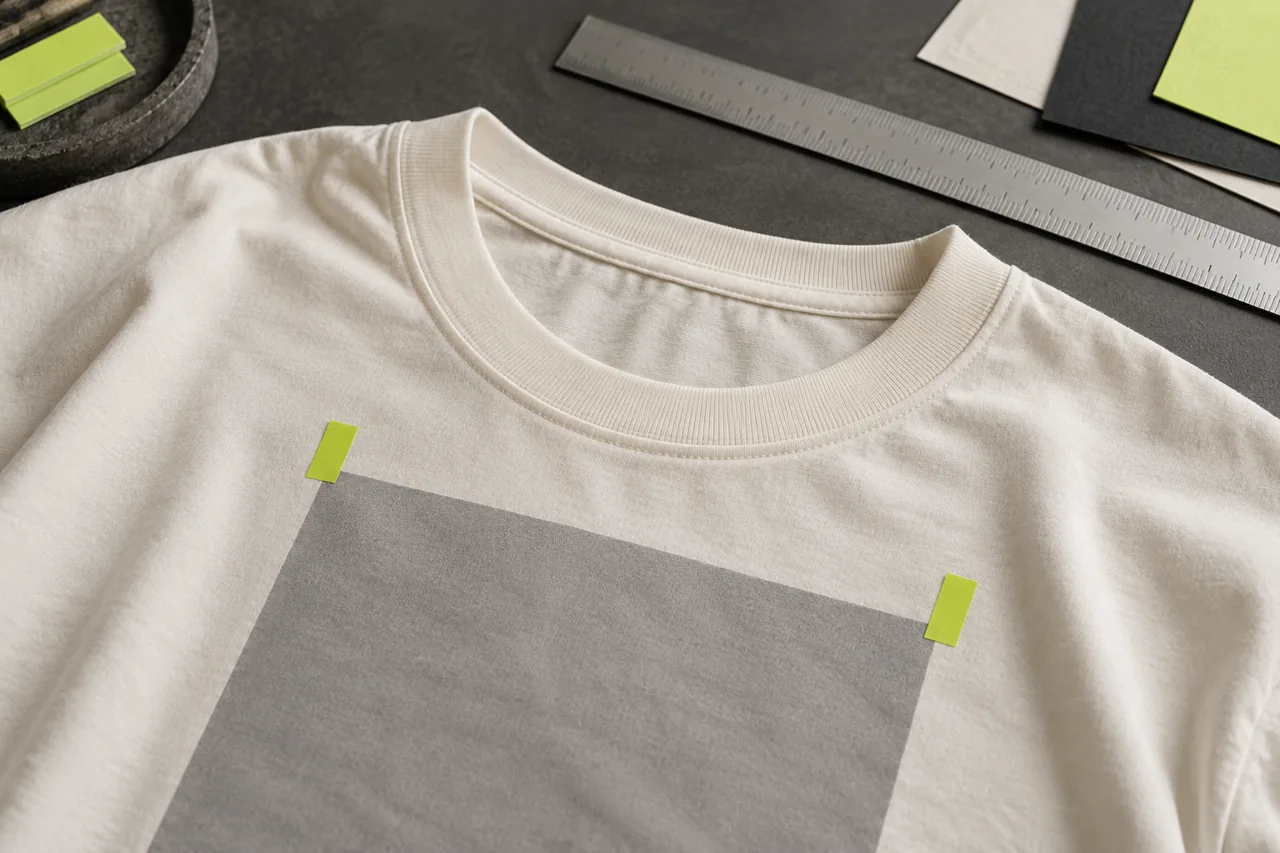
Be precise about the neckline reference: top edge of rib, seam joining rib to body, centre-front point or another defined location. Do not use those terms interchangeably. Likewise, state whether the measurement reaches the topmost visible artwork detail or the main rectangular block. These distinctions are especially important for irregular illustrations.
| Brief field | Buyer instruction to supply | What to verify on the sample |
|---|---|---|
| Garment | Style, revision, colour and size | Correct base garment was used |
| Artwork | File name and approved revision | Correct version and orientation |
| Print dimensions | Visible width and height with units | Actual printed footprint |
| Horizontal position | Centreline or a defined offset | Relationship to garment centre |
| Vertical position | Named origin to named artwork edge | Actual measured distance |
| Size policy | One artwork size or defined groups | Correct artwork assigned to each size |
| Placement tolerance | Agreed permitted variation | Measured result against agreement |
If the artwork is intentionally off-centre, document the direction and amount relative to the defined centreline. Include front/back orientation in the diagram so left and right are not confused. A mirrored screenshot is a poor substitute for an explicit production drawing.
Distinguish geometric centring from visual balance. An asymmetric illustration may feel off-centre even when its bounding box is centred. Review it at actual size, agree the desired offset if any, and record the final decision. Do not leave the operator to reinterpret the balance for every garment.
Choose a size-range policy deliberately
One graphic size can be economical and visually consistent, but it will occupy different proportions of different garments. Separate artwork sizes may better preserve the intended look, while creating additional files and production assignments. Ask the supplier to confirm the cost and process implications of the actual proposal rather than assuming either route is free or mandatory.
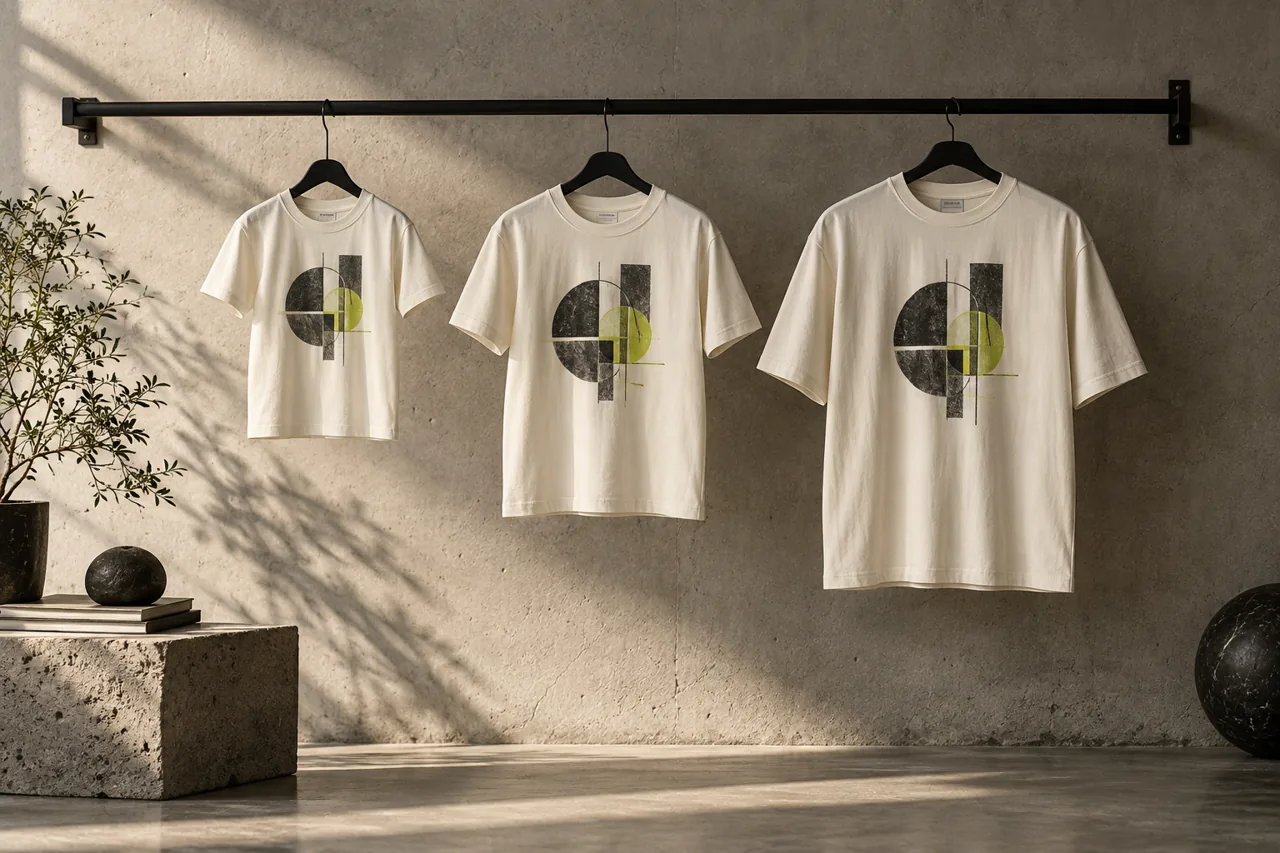
An illustrative planning example: a 30 cm wide graphic occupies about 56% of a 54 cm flat body width, but about 44% of a 68 cm flat body width. These are simple design-planning ratios, not recommended print sizes, approved samples or measurements of Athletic Rush garments. They show why a graphic can feel dominant on one size and restrained on another.
Use actual garment measurements rather than size letters for the comparison. “Large” from one pattern does not define the same available space as “Large” from another. Keep the agreed T-shirt size chart with the decoration brief.
For grouped artwork sizes, write a clear allocation table: which garment sizes use each artwork revision and what placement reference applies. Avoid a casual instruction such as “increase for bigger sizes.” Scaling artwork also changes its height, so confirm the lower edge still sits where intended.
| Approach | Useful when | Review carefully |
|---|---|---|
| One print size | The changing proportions are intentional | Smallest and largest garment appearance |
| Two or more defined print groups | A closer visual proportion is important | Artwork assignment, dimensions and setup implications |
| Size-specific artwork | The design brief genuinely requires it | File control and approval workload for every version |
The right choice is the one that supports the product brief and can be produced consistently. Keep the decision separate from the garment's fit grading; changing a print size is not the same task as grading a pattern.
Confirm the printable area with the decorator
A large flat-looking area is not automatically an approved print area. Ask the decorator to review the chosen process, equipment, garment construction and artwork together. Seams, rib, pockets or other raised details can affect the available working surface. Do not assume a mockup proves production feasibility.
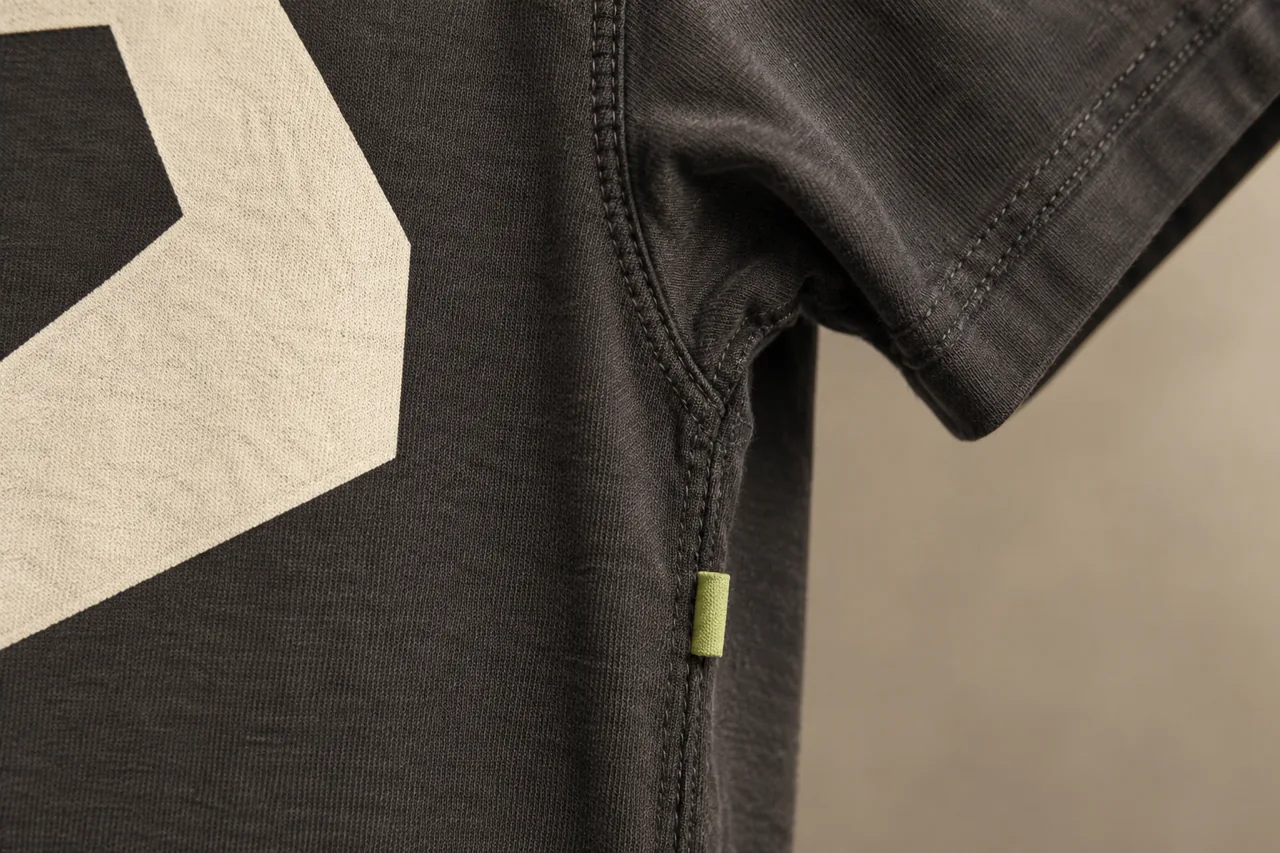
For a design that approaches or crosses a seam, get an explicit process proposal and sample. Do not apply a generic clearance figure from this guide; the decorator should confirm suitable limits for the actual garment and method. If the desired effect requires another production route, obtain a revised quotation and proof rather than allowing a silent substitution.
Confirm whether the visible graphic can be produced in the intended detail and colour on the chosen fabric. Large solid areas and fine detached details create different review needs. Keep this article's placement approval separate from approval of the print method, colour, finish and care performance.
Never enlarge a low-resolution reference image and treat the resulting mockup as production-ready artwork. Ask for the file format and resolution or vector requirements appropriate to the selected process. Confirm those requirements with the decorator instead of assuming one universal file rule covers every method.
Review the sample flat, standing and in movement
First verify the physical dimensions and placement against the brief on a flat garment. Then review it on an appropriate wearer or form. A graphic that looks balanced on the table may curve around the torso or sit differently when the sleeves fall into place. This is a design review, not evidence of a defect by itself.
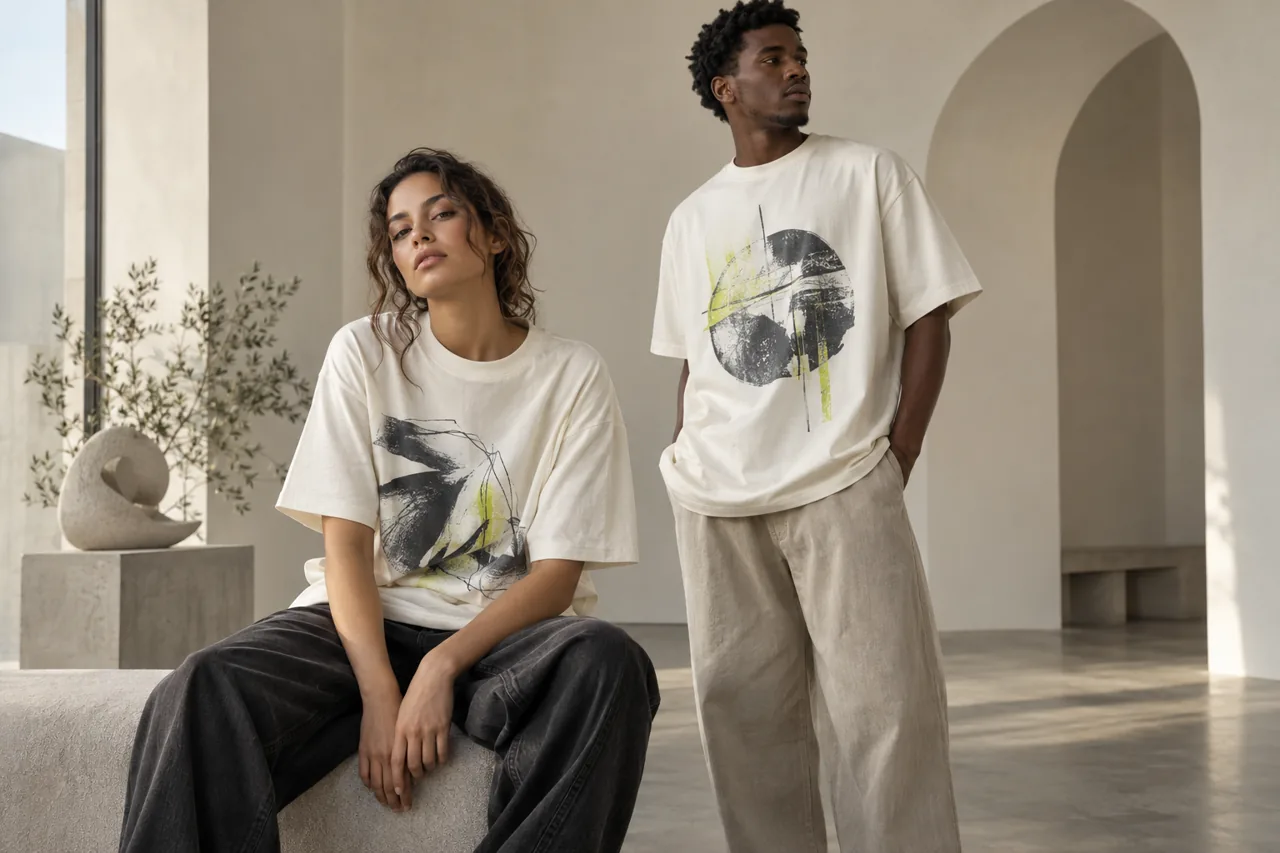
Use consistent views: straight front, straight back where relevant, side, and ordinary seated or reaching positions. Look at whether important artwork disappears into folds, whether the lower edge sits as intended and whether the graphic still supports the overall silhouette. Avoid evaluating placement from only one flattering angled photograph.
Photograph the sample straight-on with enough of the garment visible to identify the neckline, shoulders and hem. A tight crop of the graphic cannot demonstrate its relationship to the garment. Keep a separate close photograph for print detail rather than expecting one photograph to prove everything.
If the sample needs revision, name the change clearly: retain the artwork width, raise the defined top edge by an agreed amount, or reduce the graphic proportionally and issue a new file. Reconfirm the dimensions after any edit. Do not approve a physical sample and then replace its artwork file without recording the difference.
When care review is part of the project, inspect the finished decorated garment after the agreed routine too. Record the sample and procedure used. A digital mockup and an unwashed sample do not prove how the complete product will look after care.
Build the final approval packet
Keep one controlled packet containing the garment reference, artwork file, placement diagram, size allocation, agreed tolerances and sample photographs. Identify the physical approved sample if one is retained. This gives the production team a single basis for checking the order.
Before releasing the artwork for production, confirm:
- The visible graphic dimensions match the approved file.
- The reference points are named and shown clearly.
- The front/back view and any intentional offset are unambiguous.
- The size-range policy is written for every ordered size.
- The decorator has confirmed feasibility for the chosen garment and process.
- Physical sample measurements and worn appearance have both been reviewed.
- Outstanding colour, care or print-quality checks are recorded separately.
- Any revised artwork has a new version and an explicit approval decision.
If different people approve fit and artwork, have both review the final combination. A garment approval and an artwork approval made on different revisions do not automatically approve the finished product. Resolve that mismatch before the order moves ahead.
Common placement questions
Is there one correct distance below the collar?
No single distance suits every neckline, fit and graphic. Use a named reference, compare at actual size and approve the physical result. Record the measurement that achieves your intended design.
Should the print grow with every T-shirt size?
Not necessarily. One size, grouped sizes or size-specific artwork can each be intentional. Check the extremes of the garment range and agree the visual outcome and production implications.
Can a large print go over a side seam?
Treat that as a specific production requirement. Ask the decorator to confirm the process and prove the result on a sample. Do not assume ordinary flat-panel printing instructions cover it.
Is a paper mockup enough for approval?
It is useful for scale and positioning. It cannot approve the actual printing result, surface feel, colour or care performance. Use it before the relevant decorated sample, not as a replacement for that evidence.
Discuss your streetwear graphic with Athletic Rush
Explore Athletic Rush streetwear and send your garment reference, artwork, proposed dimensions, size range and placement idea. Include a reference photograph explaining the intended look, while keeping the production measurements explicit.
Contact kamran@athleticrush.co, send the brief through WhatsApp, or request a quote. Ask the team to confirm the decoration proposal, sampling scope and project terms before placing an order.