 Sialkot, Pakistan
 Worldwide enquiries

A drop-shoulder T-shirt can look relaxed and deliberate, or simply look like the wrong size. The difference is rarely one measurement. Shoulder extension, sleeve length, body width and fabric behaviour have to work together on the intended wearer.
For a clothing brand, the useful question is not “How far should every shoulder drop?” It is “Where do we want this seam and sleeve hem to sit, and what combination of pattern and fabric produces that result?” This guide provides a practical brief, sample-review sequence and correction checklist for answering that question with your manufacturer.
All images are conceptual illustrations, not Athletic Rush inventory photographs or evidence of measured fit tests. Any numerical example is explanatory rather than a recommended production specification.
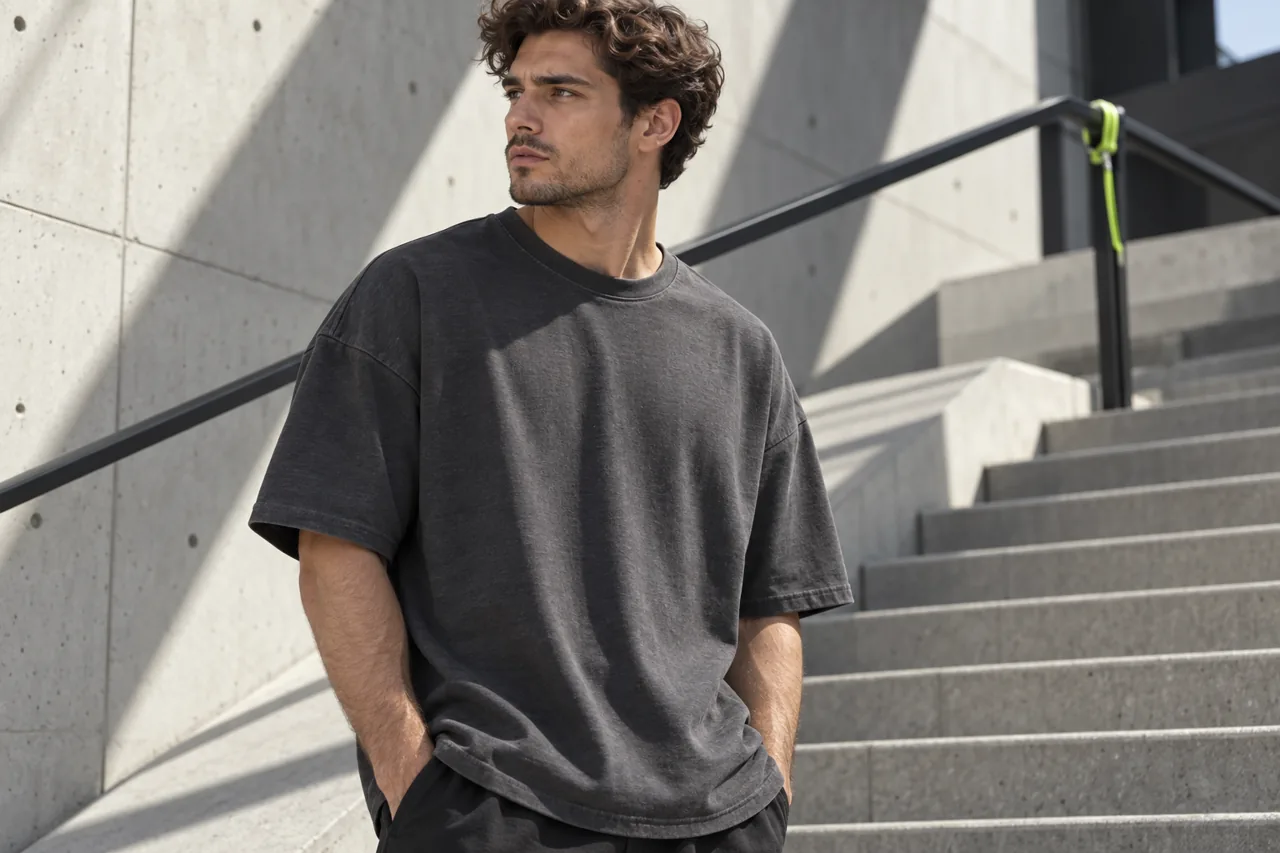
Define the shoulder position before calling the fit oversized
In a dropped-shoulder design, the body extends beyond the wearer's natural shoulder point, placing the body-to-sleeve joining seam farther down the upper arm. Pattern designer In the Folds illustrates this construction and explains why the sleeve pattern must work with the extended shoulder in its dropped-shoulder and set-in sleeve comparison. The exact shape depends on the garment; a reference for one pattern is not a universal T-shirt formula.
Drop shoulder describes a construction feature. Oversized describes an overall fit direction, while boxy usually describes a broad, relatively short silhouette. These ideas can overlap without meaning the same thing. A tee can have a dropped shoulder with controlled body volume, or combine it with a much wider body and longer sleeves.
Define each intention separately in the brief. Specify where you want the shoulder join to appear on a representative wearer, the desired sleeve endpoint, the amount of room through the body and the intended hem position. A front reference image alone cannot communicate all four decisions.
If the overall silhouette is still open, start with the oversized versus boxy fit guide. Once that direction is chosen, use this article to refine the shoulder and sleeve relationship rather than restarting the entire fit.
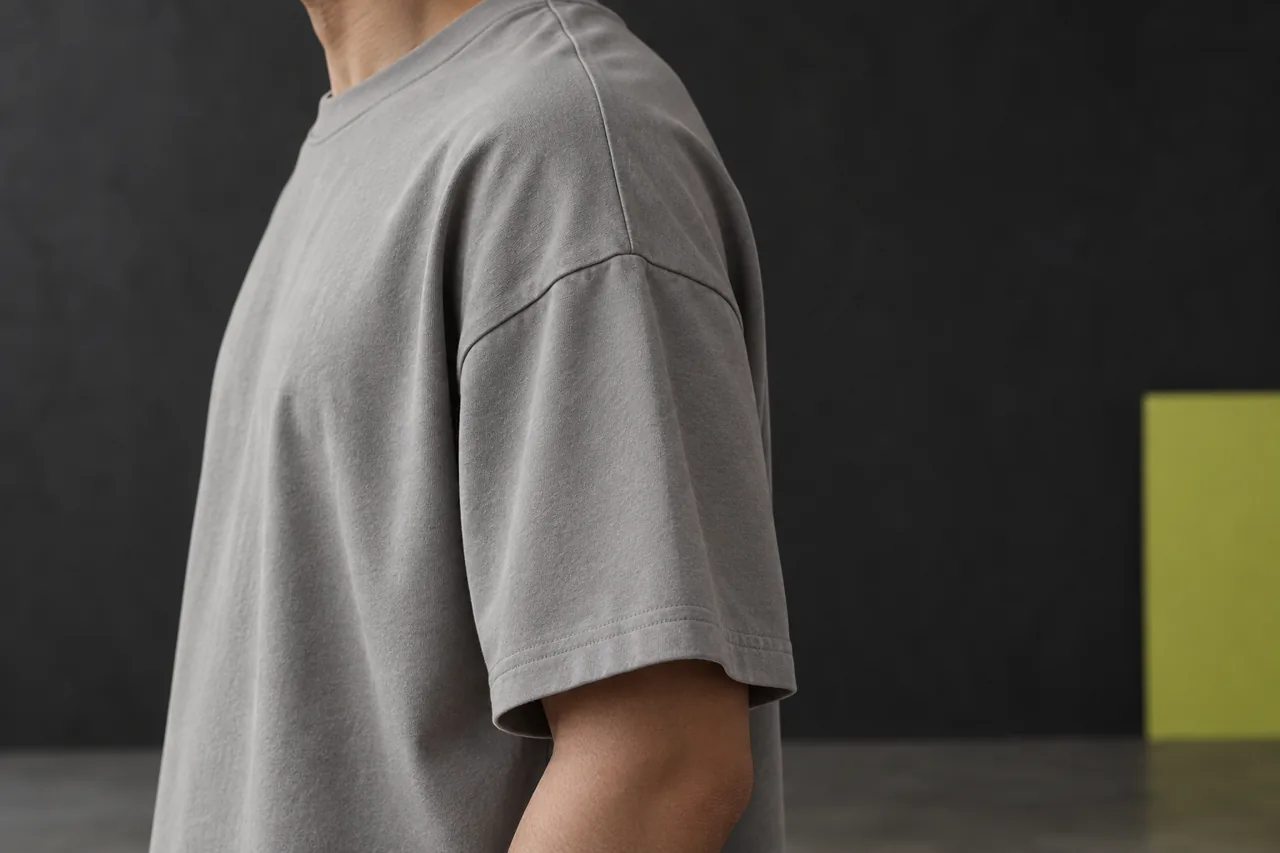
Write a proportion brief that the sample team can use
Replace broad adjectives with observations that can be checked. “Premium oversized” leaves the supplier to guess whether you mean a wide chest, a low sleeve join, a short body or simply a heavier fabric. A useful brief describes the intended visual outcome and the conditions in which you will review it.
For example: “Develop a relaxed tee with a visible shoulder extension, sleeves ending above the elbow and a straight body that sits below the waistband. The sleeve should hang softly at rest without a pronounced outward shelf. Review on the agreed fit model in the proposed bulk fabric.” This is a discussion brief, not a finished pattern specification.
Include front, side and back references where possible. Mark the features you want from each reference; otherwise a supplier may copy an unwanted neckline or body length along with the shoulder. Identify the sample size, intended customer group and whether the tee will be worn alone or over another layer.
| Decision | What to describe | What to verify on the sample |
|---|---|---|
| Shoulder extension | Intended seam position on the wearer | Seam placement from front, side and back |
| Sleeve coverage | Desired endpoint and opening shape | Where the hem lands with arms relaxed |
| Body balance | Width, length and hem position | Whether the silhouette matches the brief |
| Underarm shape | Comfort and intended volume | Folds, restriction and body movement |
| Fabric character | Soft drape or a more structured shape | Actual hang in the proposed material |
| Layering | What the customer will wear underneath | Fit in the intended outfit |
Avoid approving the shoulder solely from a flat photograph. A garment can look balanced on a table but hang differently on the person it is designed for. Flat measurements and wearing assessment answer different questions, and both belong in the approval record.
Treat shoulder extension and sleeve length as one conversation
When the body-to-sleeve seam moves farther down the arm, the sleeve begins from a different position. Copying the sleeve length from a conventional tee therefore may not produce the same endpoint on the wearer. Equally, shortening the sleeve without considering its opening and shape can change the intended silhouette.
Ask the pattern team to assess shoulder width and sleeve length together. Record both the agreed garment measurement and the visual target. “Sleeve length measured from shoulder join to hem” is incomplete unless the starting point and path are shown. A different starting point can make two apparently identical specifications describe different coverage.
For a simplified arithmetic illustration, imagine that a seam moves 2 cm farther along an agreed reference path while the sleeve piece is shortened by 2 cm. Those changes might preserve the combined length along that path, but they do not prove that the hem will land in the same place on a body. Shoulder slope, sleeve angle and drape still need a sample check. Do not use the illustration as a drafting rule.
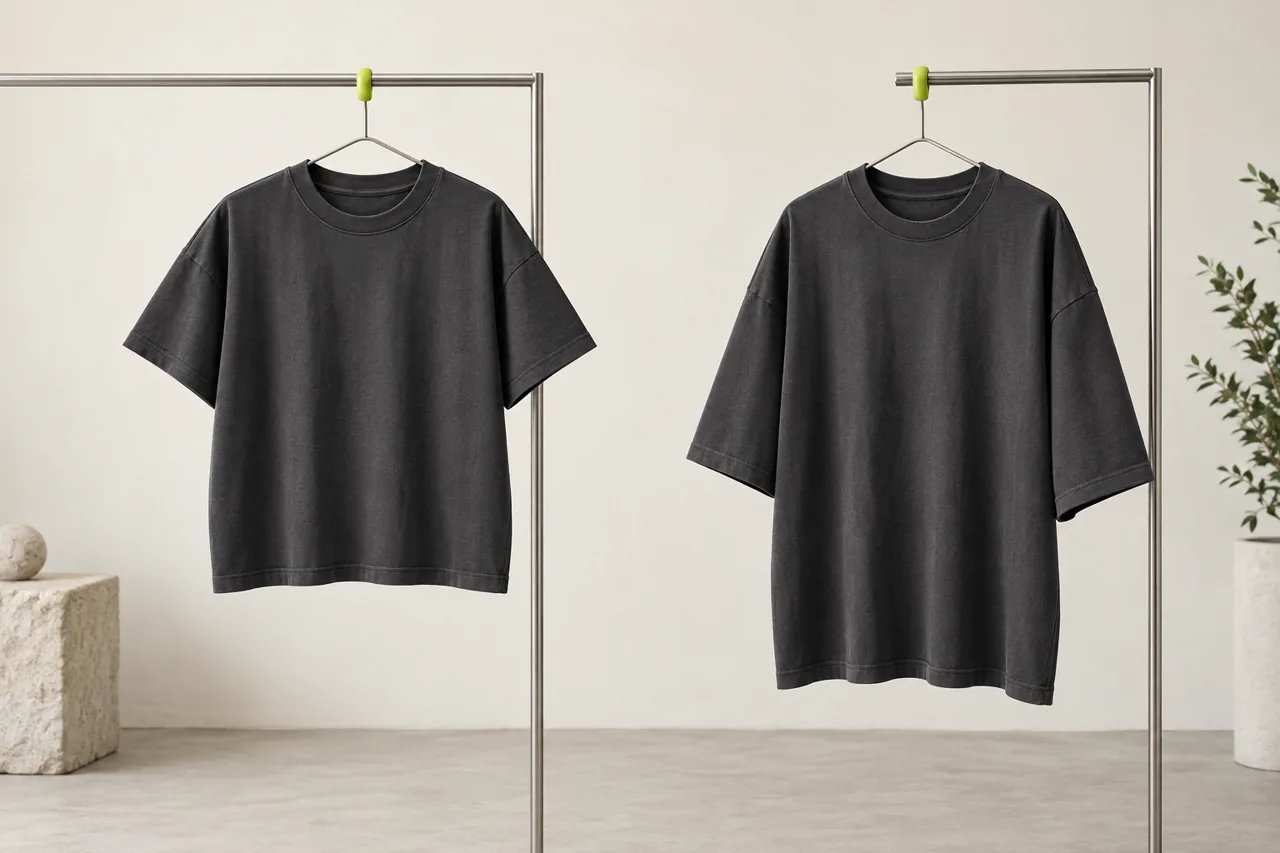
Review the sleeve opening at the same time. A long, wide sleeve can give a different impression from a short, wide sleeve, even when the shoulder position is similar. Ask whether the hem should fall closer to the arm or stand away from it. Check the result from the side, where an unwanted flare is often easier to describe.
Keep the neckline in the discussion too. If a sample shifts backwards or forwards while worn, the apparent shoulder position can change. Note how the whole garment settles before deciding that the shoulder measurement alone is wrong.
Balance body width, length and underarm volume
A dramatic shoulder extension does not automatically require every other dimension to increase. Decide how the tee should relate to the waistline, trousers and intended styling. A shorter body may support a broad silhouette, while a longer body can produce a different relaxed look. Neither is a universal correction for the other.
Inspect the side view with arms resting naturally. Describe excess folds precisely: where they begin, whether they remain at rest and whether they interfere with movement. Some folding is expected in a relaxed garment. The useful distinction is between the intended drape and a shape that conflicts with the design or feels uncomfortable.
Do not instruct the supplier to remove every fold visible in one photograph. Camera angle, posture and how the garment was put on can affect the image. First repeat the observation on the same wearer, then ask the pattern team to identify the relationship between shoulder slope, armhole shape, sleeve angle and body volume.
If you change several dimensions at once, record the changes separately. Otherwise a better-looking second sample does not tell you which adjustment solved the problem, making later grading and reorders harder to control.
Check movement before approving the relaxed pose
A static front photograph is useful for comparison, but it is not a complete fit review. Ask the wearer to reach forward, raise the arms comfortably, sit and return to a neutral position. Use normal movements appropriate to the garment; this is a practical sample review, not a laboratory performance claim.
Watch where the body hem moves, whether the sleeve catches around the arm and whether the neckline pulls in an unwanted direction. Ask the wearer what feels restrictive. A roomy chest does not by itself establish that the sleeve and underarm work well.

Record the observation before proposing the fix. “The body lifts more than intended when reaching forward” gives the pattern team something to investigate. “Add more width everywhere” assumes the cause and may introduce another problem.
Use consistent photographs or short clips for each revision, with the wearer's permission. Keep the camera position, sample size and pose comparable. Record which fabric and revision were worn. If a change in model or material is necessary, label it clearly rather than treating the images as a controlled comparison.
Evaluate the fabric in the intended shape
The same design direction can read differently in a soft jersey and a more structured material. The sample's actual hang matters more than a general label such as heavyweight. Discuss the proposed composition, knit, weight and finish with the supplier, then evaluate the completed tee rather than assuming a swatch predicts every detail.
Use the heavyweight T-shirt checklist for material and garment questions. For this fit decision, concentrate on what happens at the extended shoulder, sleeve opening and body side: do they collapse softly, hold away from the wearer or behave differently after the agreed care process?
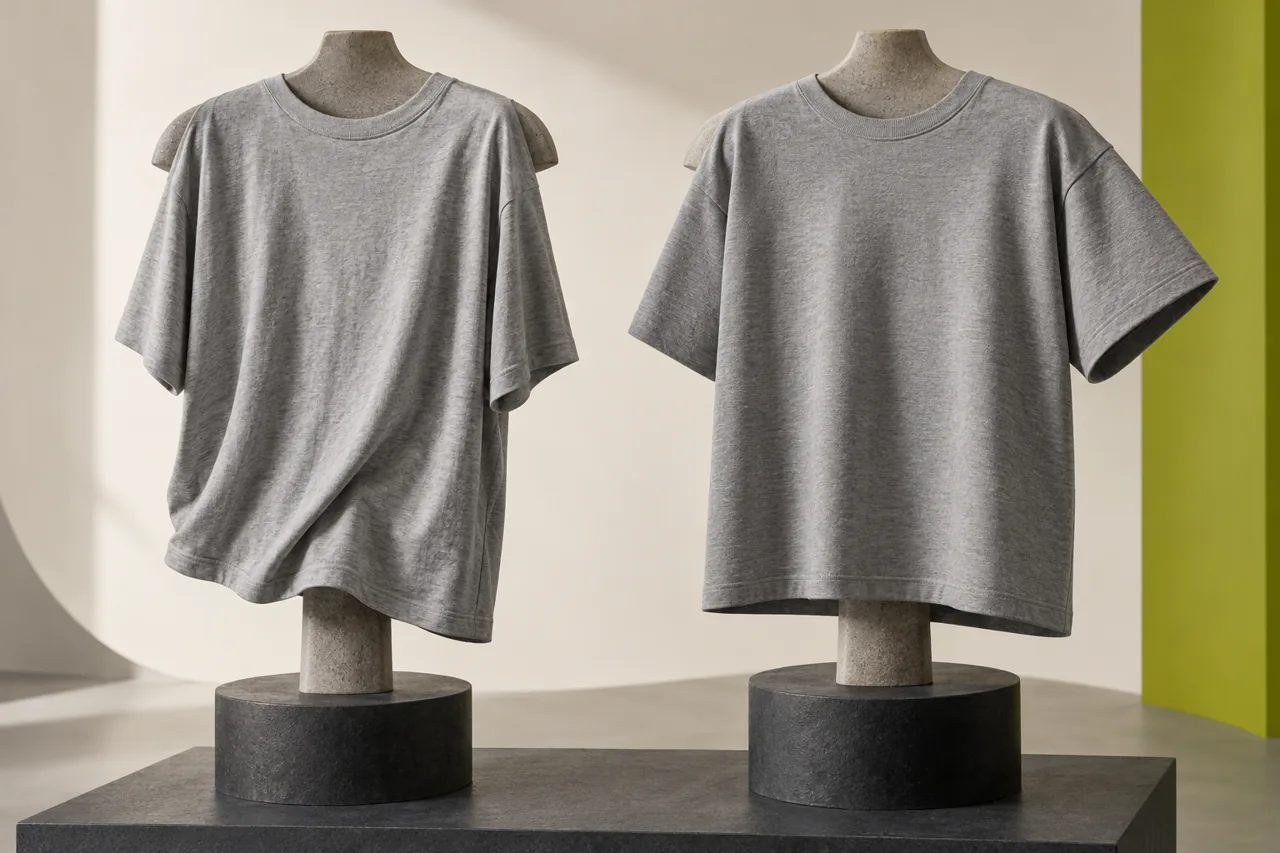
The illustration shows a visual concept, not a tested comparison between specified fabrics. In development, compare actual samples and record material references. If the first fitting uses a substitute fabric, keep the fit approval provisional until the relevant differences have been assessed in the proposed production material.
Agree any care evaluation with the supplier and measure consistently before and after it. Do not promise that a chosen shoulder position will remain unchanged through care without supporting sample evidence. Record the delivered condition separately from any after-care observations.
Turn fit comments into useful sample corrections
The goal of a correction note is to make the next sample easier to assess. Link each observation to the relevant view, measurement or construction question. Keep accepted features visible so the supplier does not unintentionally change them while solving another issue.
| Observation | Useful question for the pattern team | Avoid assuming |
|---|---|---|
| Sleeve hem lands lower than intended | How do shoulder extension and sleeve length combine on this wearer? | Sleeve length alone is the cause |
| Sleeve stands away more than intended | Is the effect related to shape, opening, fabric or finishing? | A softer-looking photograph proves the fix |
| Underarm feels restrictive in movement | Which pattern relationship should be reviewed? | More chest width always solves it |
| Shoulder join looks uneven | Is the garment settled correctly, and do both sides match the specification? | Every difference is a cutting defect |
| Sample looks too broad but has the desired seam position | Can body volume be refined while preserving the intended shoulder? | All widths must change together |
| Larger sizes lose the intended shape | Does the grading preserve the design across the range? | The base size approves every size |
An actionable note might read: “Keep the approved neckline and body length. In the side view, the sleeve hem extends below our intended endpoint. Please review the sleeve length together with the existing shoulder extension and show the proposed measurement changes before the next sample.”
That note identifies what stays, what needs attention and what response is required. It leaves the pattern solution to the people evaluating the actual garment instead of prescribing an unsupported universal adjustment.
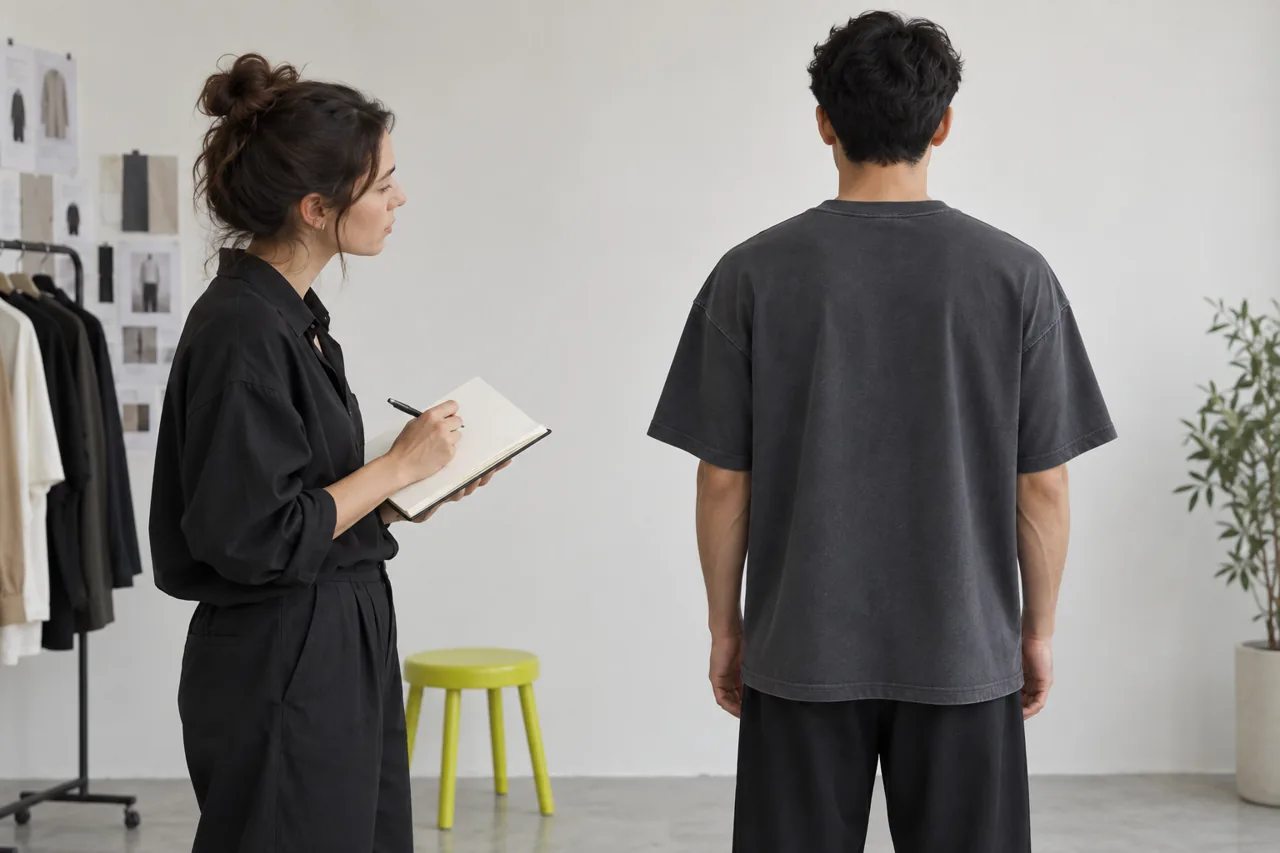
Carry the approved proportion through the size range
After accepting the base direction, review how the design develops across the proposed sizes. Shoulder width, sleeve length and body dimensions need a considered progression. Do not infer that one successful medium sample establishes the fit for every customer.
Agree a size-set review with the supplier, including which sizes and representative wearers will be used. Check the ends of the range deliberately. Compare the intended seam position, sleeve coverage and body balance, rather than expecting every size to look identical on different bodies.
Use a T-shirt measurement chart with defined measurement methods. Keep the target, grading and manufacturing tolerance separate. Add annotated reference photographs to clarify the intended appearance, but retain the approved measurements and revision number as part of the same style record.
Before bulk approval, confirm that the fit sample, material reference and production specification describe the same revision. For a reorder, ask whether the fabric, finish or pattern has changed. A repeated style name alone does not establish that the original proportion has been preserved.
Your pre-production approval checklist
- The intended customer, silhouette and sample size are identified.
- Shoulder join and sleeve endpoint are accepted from front, side and back.
- Body width and length work with the intended outfit.
- Normal movement has been reviewed and comments resolved.
- Proposed fabric and finish are represented or remaining differences are explicitly open.
- Measurement methods, grading and tolerances are agreed.
- The required size-set and care checks are recorded.
- One dated revision connects the sample, photographs and specification.
If one of these remains unresolved, state it in the approval record. A sample can be accepted for colour or artwork while fit remains open; do not let a general “looks good” message become an ambiguous production approval.
Common buyer questions
Is a drop-shoulder tee just a larger regular T-shirt?
Not necessarily. A deliberate design coordinates shoulder extension with the sleeve and body. Sizing up a regular tee may change the neckline and length in ways you did not intend. Develop the desired proportion against a sample rather than relying on the size label.
How many centimetres should the shoulder drop?
There is no single value supplied by this guide. Define the desired position on a representative wearer, then agree the pattern and measurement method with the supplier. The appropriate result depends on the design, body range and material.
Can I use the same sleeve specification on two different shoulder widths?
You can compare the proposals, but do not assume they produce the same coverage. The sleeve starts at the body-to-sleeve join, so changing that position changes the fit conversation. Verify the endpoint and shape on samples.
Should every fold under the arm be removed?
No. Judge folds against the intended relaxed silhouette and comfort. Record persistent unwanted effects and ask the pattern team to investigate. A single posed image is not enough to identify the cause.
When should artwork placement be finalised?
Check artwork on the accepted silhouette. A changed shoulder, sleeve or body width may alter how a graphic reads when worn. Keep artwork approval connected to the correct sample revision rather than treating the flat print file as the whole result.
Develop your next streetwear tee with Athletic Rush
Explore streetwear T-shirt development and send the team your silhouette references, intended sizes, proposed fabric and fit priorities. Ask the team to confirm sampling scope, price and timing for your project; this guide does not set those commercial terms.
Contact kamran@athleticrush.co, send your brief on WhatsApp, or request a quote. A clear proportion brief gives the sample discussion a useful starting point and makes each revision easier to judge.