 Sialkot, Pakistan
 Worldwide enquiries

A T-shirt size chart should make the same product understandable to the designer, sample room, production team and customer. A row of numbers under S, M and L is not enough if nobody knows whether those numbers describe the body or the garment, where the tape starts, or which sample the chart represents.
For a streetwear collection, this matters particularly when the shape is intentionally roomy, cropped or dropped at the shoulder. Two tees can carry the same size label and have very different proportions. The chart needs to describe your chosen design, rather than borrow the meaning of a label from another brand.
This guide explains how to develop a finished-garment measurement chart, check it against samples and turn the relevant information into a useful customer size guide. All images are conceptual illustrations. The numerical examples below are invented teaching examples, not Athletic Rush production specifications or recommendations for a particular wearer.
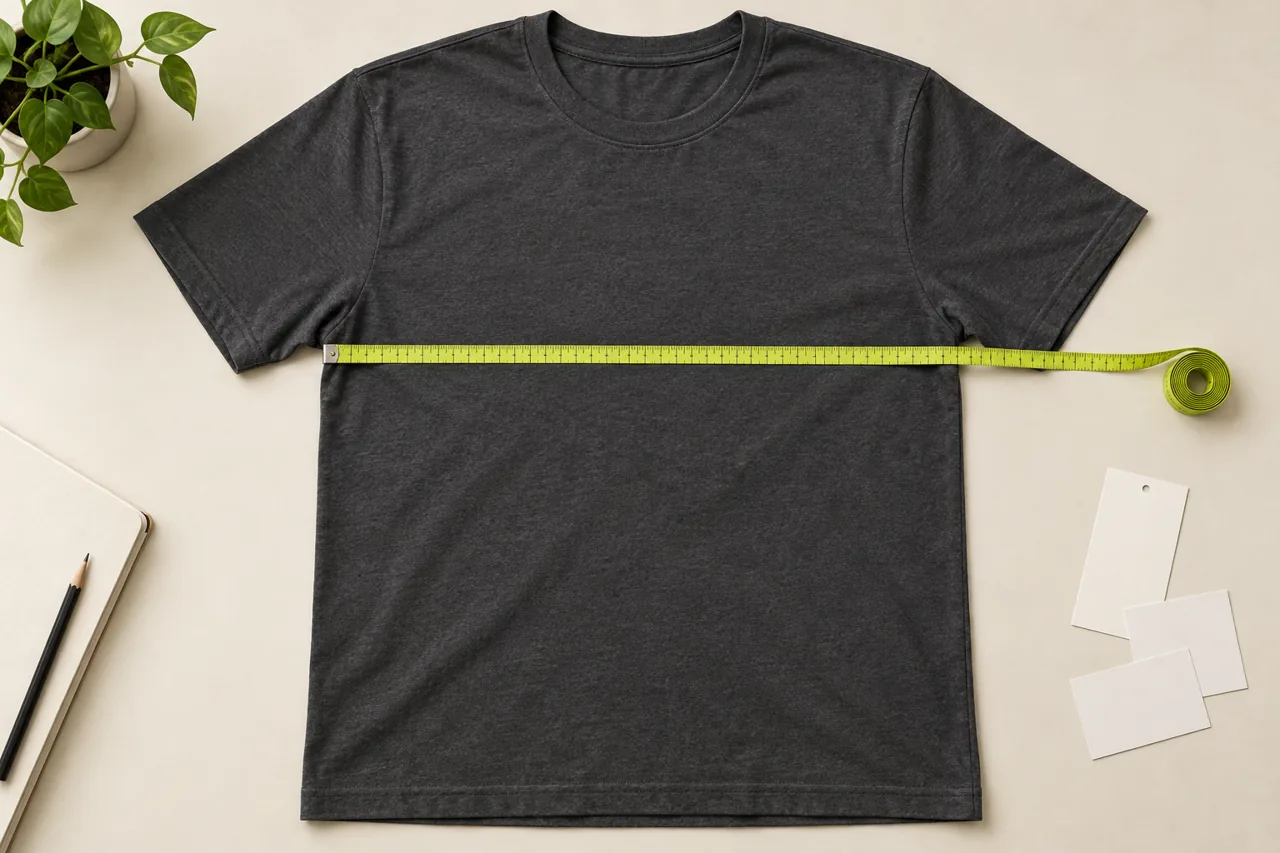
Decide which chart you are building
Start by separating three documents that are often mixed together.
A body measurement chart describes the people a size is intended to fit. A finished-garment specification describes the physical dimensions of the tee. A customer size guide communicates the information a shopper needs to choose a size, with clear wording about what each number means.
These documents should agree, but they are not interchangeable. A flat chest width is not a person's chest circumference. Nor does a size label such as medium tell the pattern maker how much room you want around the body.
ISO's size-designation guidance distinguishes clothing size designation using body dimensions from measurements of the product itself. Use that distinction as a starting principle; this article is not a substitute for a formal sizing standard or a claim that the example chart complies with one.
Name your working file explicitly, for example: “Style ST04 — finished garment measurements — centimetres — revision 02.” If you later create a shopper-facing table, label that separately. This avoids a spreadsheet designed for the sample room being published without the context a customer needs.
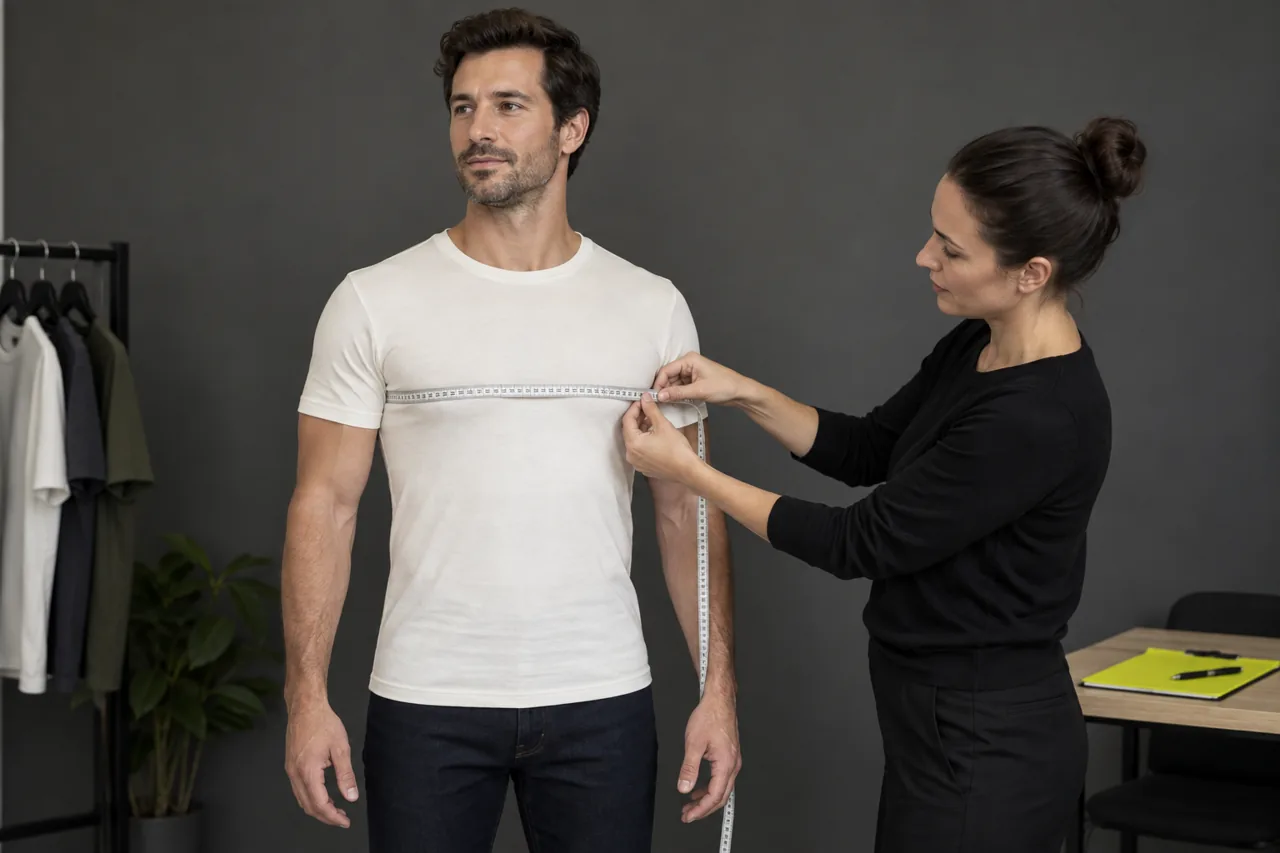
Define the fit before adding sizes
Write a short description of the intended wearer and silhouette. Include the product's role, expected length, sleeve shape, shoulder position and whether it will usually be worn on its own or layered. Avoid treating “unisex” as a complete fit specification; describe the intended customers and evaluate the relevant body shapes.
A useful brief might say: “A relaxed streetwear tee with a straight body, a slightly dropped shoulder and enough length to remain below the waistband when reaching.” That gives the sample team a direction to test. “Make it oversized” leaves several important decisions open.
Choose a starting or base size for development with the supplier. It does not have to be medium, and the label should not determine the proportions. The base-size sample is a development reference, not evidence that all other sizes will work automatically.
If the silhouette is still undecided, read the oversized versus boxy T-shirt guide. A broader chest and a shorter body create a different relationship from simply increasing every measurement. Resolve that relationship before building a full size range.
Also identify the proposed fabric and finish. A chart records dimensions; it does not fully describe drape, stretch, recovery or feel. Keep the material reference connected to the sample so a later fabric change does not silently become a fit change.
Create a measurement map that removes guesswork
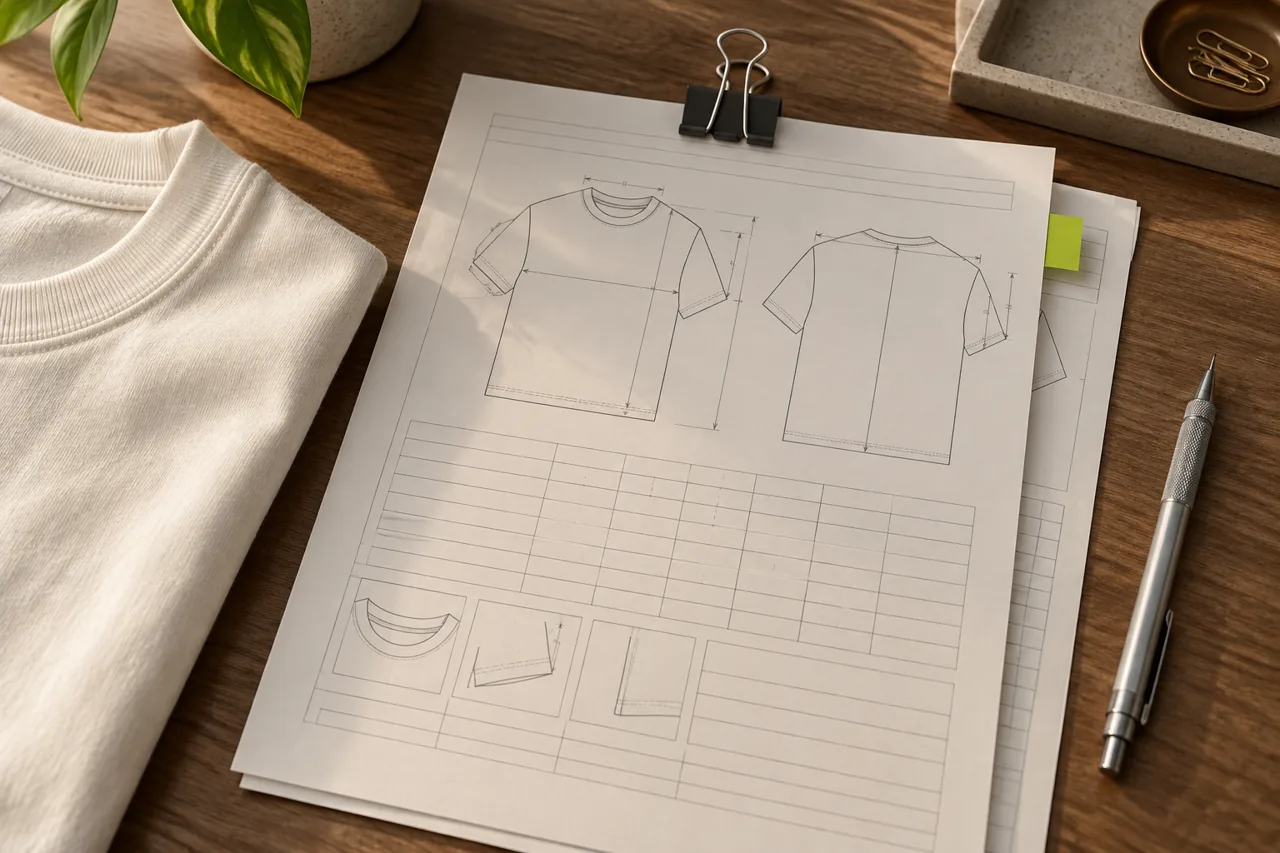
Give every point of measurement a code, a name and a written method. Add a diagram or reference photograph showing its start and end. The picture should support the method, not replace it.
For a simple set-in-sleeve tee, the following points are a useful discussion starter. The exact measuring method must be agreed for your construction. A raglan sleeve, shaped hem or unusual shoulder requires a different definition where relevant.
| Code | Measurement | What the method must clarify |
|---|---|---|
| A | Half-chest width | The agreed level below the armhole and a straight side-to-side path |
| B | Body length | Exact high-shoulder starting point, whether neck rib is excluded, and the hem endpoint |
| C | Shoulder width | Seam endpoints and whether the measurement is straight across |
| D | Sleeve length | Shoulder-seam start and cuff endpoint along the agreed path |
| E | Sleeve opening | Flat opening width or full circumference, and whether relaxed or stretched |
| F | Bottom opening | Flat width at the agreed hem position, without pulling the cloth |
| G | Neck opening | Defined endpoints and state; avoid a vague instruction to measure the collar |
The illustration uses A to D as an orientation aid. It is not a cutting pattern, and its arrows do not establish a universal measuring method. Your approved diagram and written instructions must show the exact points for the actual style.
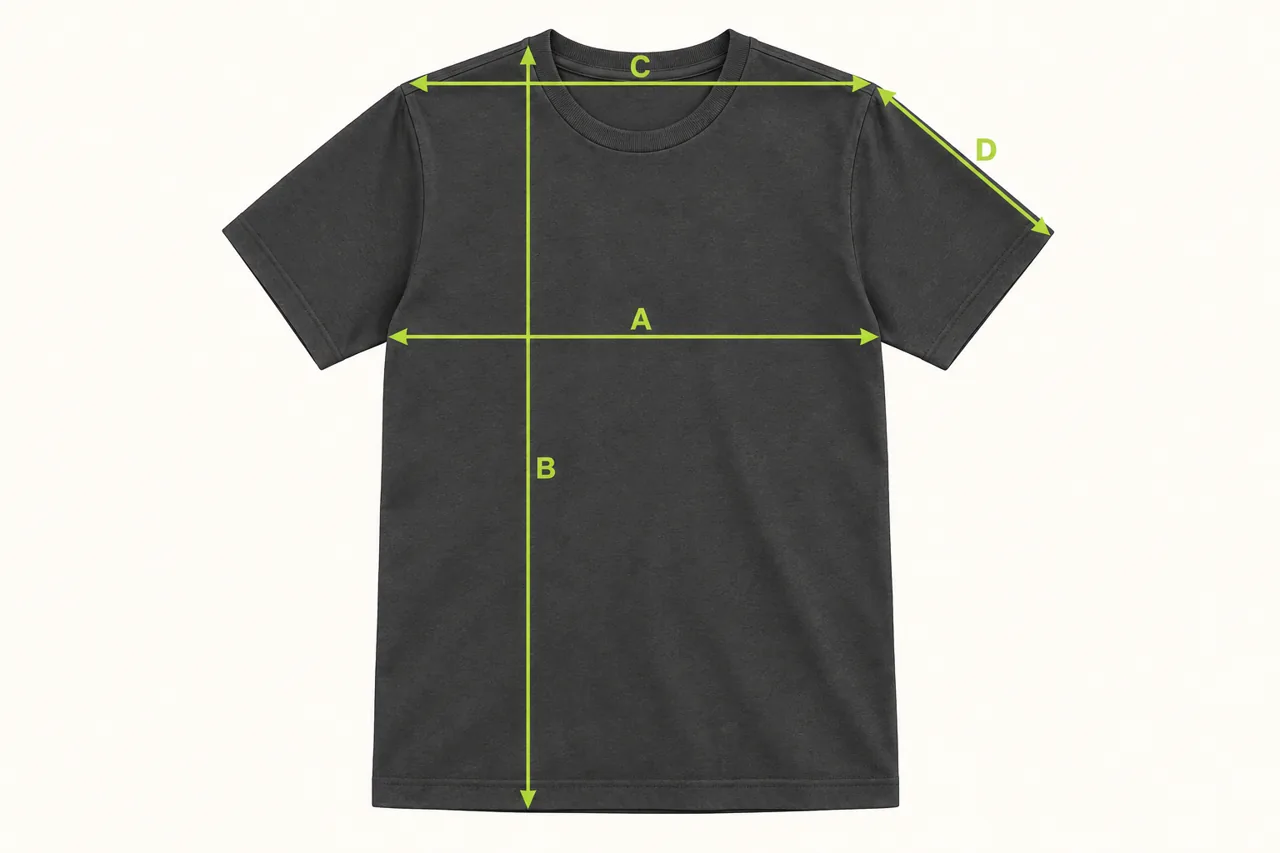
Do not hide an important distinction in a column title. “Chest 58” could mean a flat width in centimetres, a circumference, or a value copied from an unrelated system. “Half-chest width, measured flat in cm at the agreed chest line” is much harder to misunderstand.
Measure the sample consistently
Agree the condition in which the sample will be measured: for example, after the intended finishing process and before a separate care evaluation. Record any required resting or conditioning procedure with the supplier rather than inventing a universal waiting time.
Use a suitable flat surface and a measuring tool checked for obvious damage or inconsistent markings. Lay the garment naturally, smooth accidental folds and avoid stretching it to reach a target value. Align the garment as described in the measurement method.
Keep the tape straight where the method calls for a straight measurement. A diagonal tape or a different starting point can create a disagreement that looks like a production problem. If two people get different results, first compare their setup, units and method before changing the pattern.
Record the measured value as well as the target. Do not overwrite the target every time a new sample arrives. Separate columns for target, actual and comment make it possible to see whether development is moving towards the intended result.
For shaped or asymmetric details, add a close reference image. It is better to resolve an ambiguous point once than to let several people make their own interpretation during sampling, inspection and reorder discussions.
Build the base-size specification before grading
Approve the overall base-size direction through both measurements and wearing assessment. A sample may match every number in the table and still look or feel wrong because the table does not capture every aspect of shape and construction.
Check the neckline, shoulder position, sleeve opening, body balance and movement in the intended outfit. Ask the wearer to sit, reach and move naturally. Record useful observations such as “sleeve opening catches at the upper arm when reaching” rather than only “fit not right.”
Discuss which change addresses the observation. Increasing body width will not necessarily solve a sleeve problem, and lengthening the body may not fix an unwanted shoulder position. Keep the sample correction tied to a point of measurement, a pattern change or another clear instruction.
Once the base sample is accepted, preserve its identity: style code, fabric reference, sample date and revision. Keep a physical approved reference where practical. A spreadsheet and a garment should be traceable to one another.
Grade each measurement with a reason
Grading is the planned change between sizes. It is not the same as a manufacturing tolerance, and it is not necessarily the same increment for every point or every size interval.
Ask the pattern team to propose a progression appropriate to the intended customer range and fit. Chest width, body length, shoulder width and sleeve length have different roles. Applying one percentage increase everywhere can produce proportions you did not intend.
For a broad size range, discuss whether the same base pattern and progression remain appropriate throughout. Some ranges may need additional development or different blocks. That is a product-development decision to verify with samples, not something a generic online table can settle.
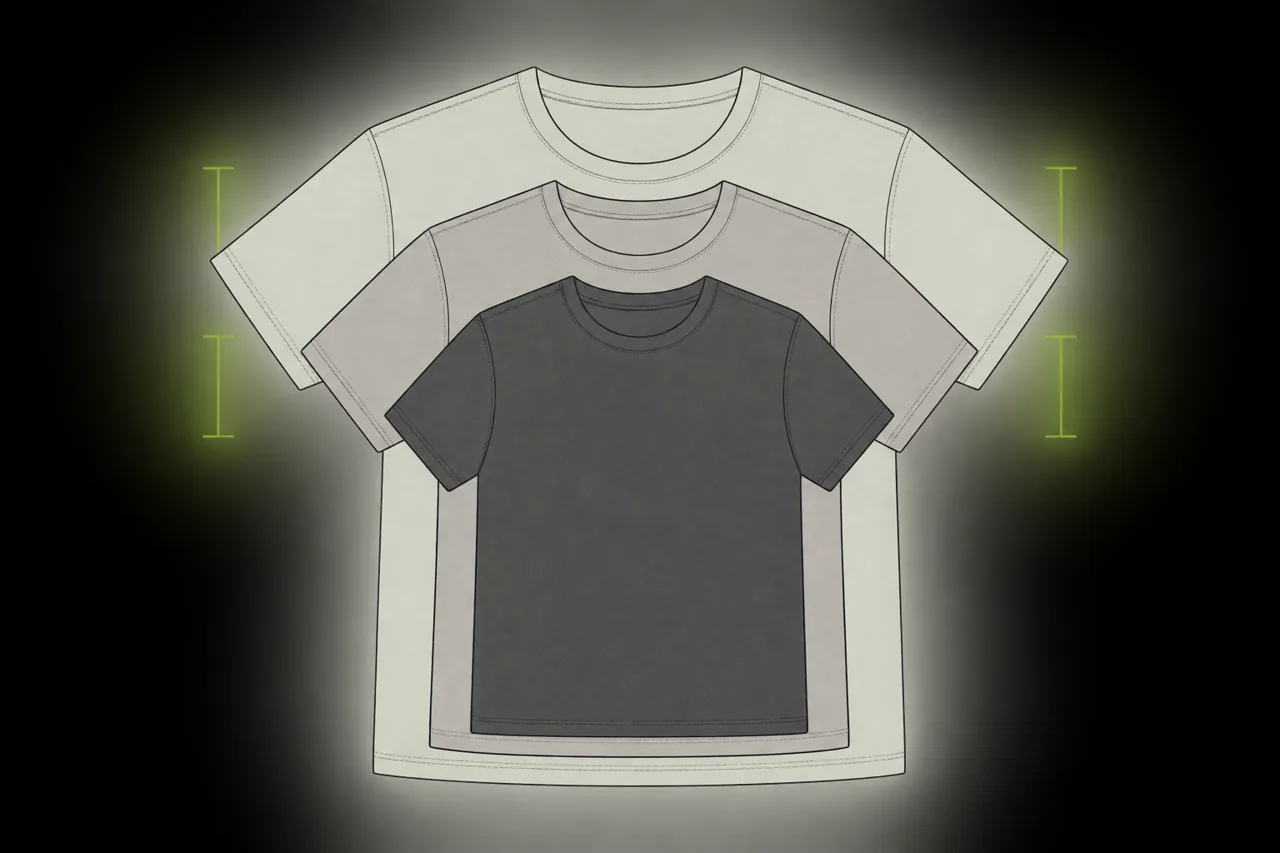
An illustrative calculation, not a ready-to-order size chart
Suppose a development exercise uses the following fictional values. These are finished-garment dimensions in centimetres and exist only to explain how a chart works.
| Point | Example S | Example M | Example L | Change between adjacent example sizes |
|---|---|---|---|---|
| A — half-chest width | 54 | 57 | 60 | 3 cm |
| B — body length | 68 | 70 | 72 | 2 cm |
| C — shoulder width | 49 | 51 | 53 | 2 cm |
| D — sleeve length | 22 | 23 | 24 | 1 cm |
The different increments are deliberate in this teaching example: they show why “add the same amount everywhere” is not a complete instruction. They do not establish appropriate grading for your product.
If the agreed flat-width method allows the width to be doubled to approximate garment circumference at that level, the example M half-chest of 57 cm corresponds to roughly 114 cm around the garment. It does not mean the garment is intended for a 114 cm body chest. Body shape, garment shape and intended ease still need assessment.
Use one master unit system in development. If you display another unit to customers, convert from the approved master values with a consistent rounding rule. Do not maintain two independently edited tables that gradually diverge.
Keep tolerance separate from size progression
A target describes the intended dimension. A tolerance describes the agreed permitted deviation from that target under the stated measurement method. The difference between S and M is a grading decision, not a tolerance allowance.
For arithmetic only, imagine a 57 cm target with an agreed tolerance of plus or minus 0.5 cm. The numerical acceptance interval would be 56.5 to 57.5 cm. This is not a recommended universal tolerance. Different points, materials and processes need an agreement appropriate to the product and supplier capability.
Avoid automatically applying one tolerance to the whole garment. A small neckline detail and a long body measurement do not necessarily have the same practical requirements. Discuss the critical points and how disputed measurements will be repeated.
Passing the numbers is also not a substitute for overall quality assessment. A garment can fall within dimensional limits yet have an unwanted seam twist, uneven hem or uncomfortable construction. Keep dimensional checks and visual or wearing checks together in the approval record.
Verify more than one size and one condition
Ask for a size-set review appropriate to the collection and risk. At minimum, explicitly discuss how the ends of the proposed range will be assessed rather than assuming the approved base size proves everything else. Agree which sizes will be sampled and why.
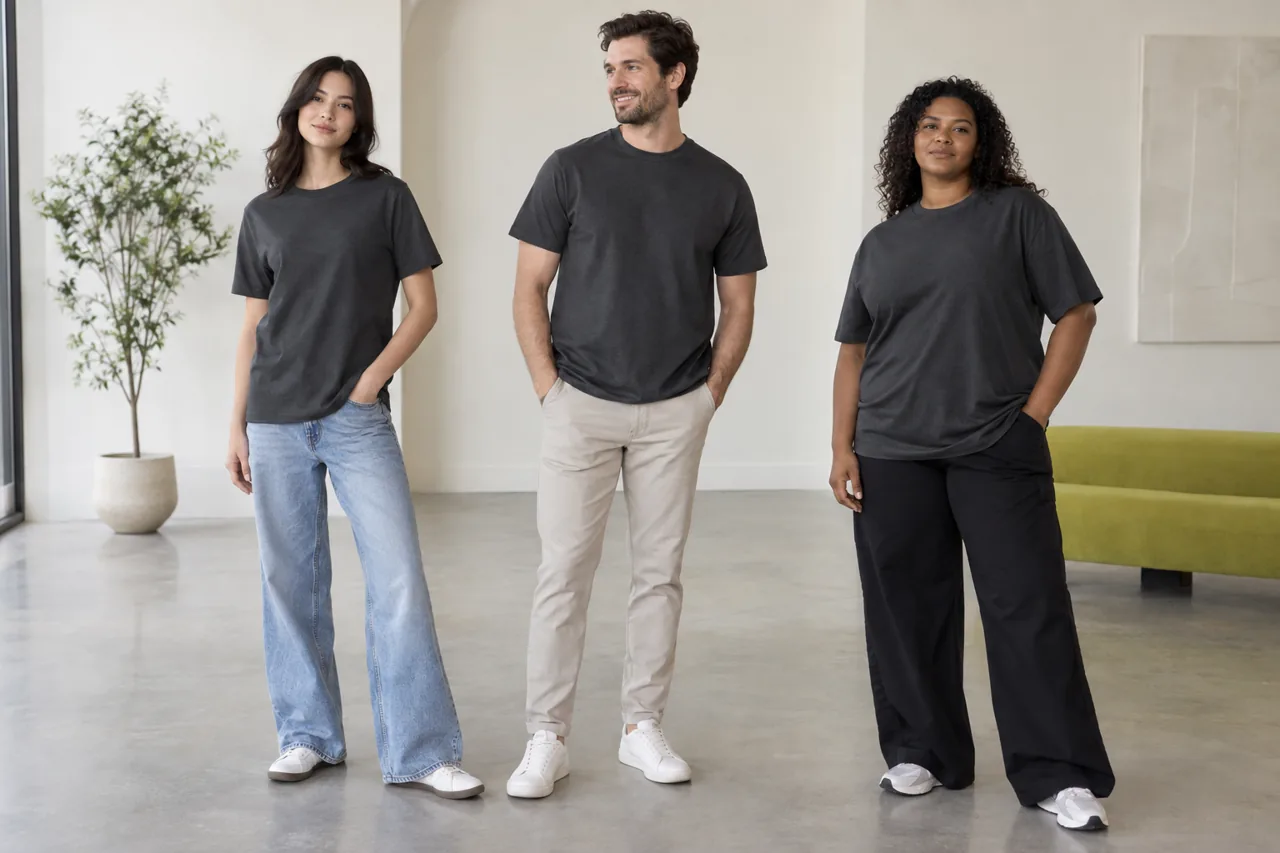
Use representative wearers where possible and record the size each person tried. Check whether the intended design remains recognisable across the range: shoulder position, body length, sleeve shape and overall balance should be intentional, even when the dimensions change.
Also agree how the chart relates to care. Measure and evaluate samples before and after the agreed care process where relevant, using the same points and method. Record the process and observed changes rather than applying an assumed shrinkage percentage to every garment.
If the bulk garment will receive a finishing treatment that the development sample did not receive, resolve that difference before approval. The chart should describe the agreed delivered condition, and any after-care expectations should be stated separately and supported by the relevant evaluation.
For material decisions that can affect this discussion, see the oversized T-shirt fabric guide. Do not change fabric, finish and fit simultaneously without tracking which revision the results belong to.
Turn the specification into a customer guide
Customers usually do not need every production measurement. Select the dimensions that help them choose, label them clearly and include a simple explanation of how to measure. Avoid publishing unexplained production codes as the entire shopping guide.
If the table shows garment measurements, say so directly. A practical instruction is to lay a similar tee that fits the customer well on a flat surface and compare using the same method. Explain that a different silhouette may be intentionally wider or shorter, so matching only one number may not recreate the same fit.
If you also provide body guidance, keep it in a separate clearly labelled table. Do not derive body ranges by subtracting an arbitrary amount from garment widths. Develop and check that guidance against the intended fit and customer group.
Where model information is used, verify it and state which size the person is wearing. Do not invent model measurements or promise that every customer with similar measurements will experience the same fit.
Before publishing, check the customer guide against the approved specification and actual sample. A polished page containing an old revision can be more misleading than an unfinished table that has not yet been released.
Keep one approved revision through production and reorders
Use a dated revision number and identify who approved it. List changes briefly: for example, “revision 03 replaces revision 02; body length updated after fit review; sleeve opening unchanged.” Avoid relying on filenames such as final, final-new and final-latest.
Attach the measurement map, size table, tolerances, fabric and trim references, care-review notes and sample decision to the same style record. If the artwork or trim changes affect fit or construction, decide whether another sample check is needed.
Before a reorder, confirm that the supplier is using the same approved revision and identify any material or process change. A repeated style name is not enough to establish that the specification is unchanged.
A short brief to send your manufacturer
Send a concise package containing:
- Style code, intended customer group and silhouette description.
- Proposed fabric, finish, colour direction and reference sample.
- Base size and intended full size range.
- Measurement map, written methods and one master unit system.
- Target dimensions, proposed grading and tolerances for discussion.
- Sizes required for sample review and the agreed care evaluation.
- Dated revision, unresolved questions and approval status.
For example: “Please review this finished-garment measurement chart for our relaxed streetwear tee. Confirm the measuring methods and propose grading and tolerances for the intended range. We will approve the base fit and agreed size-set samples before releasing the production specification.”
That request gives the supplier a concrete task without pretending the first spreadsheet is already production-ready.
Common questions
Can I copy another brand's size chart?
Use market research to understand customer expectations, but develop your own chart against your actual design, material and samples. Another brand's labels and numbers may describe a different garment or measurement method.
Is half-chest width the same as body chest?
No. Half-chest width is a flat garment measurement under a defined method. Body chest is a measurement around the wearer. Label each clearly and do not mix them in one unexplained column.
Should all points increase by the same amount?
Not automatically. Agree a suitable progression with the pattern team and verify how the garment works across the intended size range.
Can one medium sample approve the whole range?
It can establish the base direction, but it does not by itself verify every other size. Agree an appropriate size-set review, especially where the range extends well beyond the base size.
Should the website show production tolerances?
Communicate any relevant measurement variation clearly in the customer guide, while retaining the detailed inspection specification internally. Avoid vague disclaimers that contradict the fit information or replace proper development.
When is the chart ready for bulk production?
When the methods, targets, grading, tolerances, material and required sample checks are agreed and recorded in one approved revision. Outstanding fit questions should remain visible until resolved.
Develop your T-shirt size system with Athletic Rush
Explore streetwear T-shirts and send your silhouette brief, proposed range and available sample measurements. Confirm development scope, sampling, pricing and timing with the team before committing to an order.
Email kamran@athleticrush.co, contact WhatsApp, or request a quote.