 Sialkot, Pakistan
Choose buttons or snaps by reviewing the complete front or cuff assembly on the intended garment. A sewn button and buttonhole suit a design that deliberately includes a visible button and a threading action. A snap suits a design that uses mating parts pressed together and separated to open. Neither route is automatically stronger, easier for every wearer or suitable for every fabric.
For a clothing brand developing an adult streetwear overshirt, the useful question is: which closure gives the intended appearance and wearing routine without creating an unresolved construction problem? Decide that through identified hardware, built details and a worn sample, with separate evidence for any performance requirement.
This guide compares the routes through three decisions: the closure action, its compatibility with the built garment, and the evidence needed before approving the choice. The named garments and images are development examples, not Athletic Rush stock specifications or measured tests.
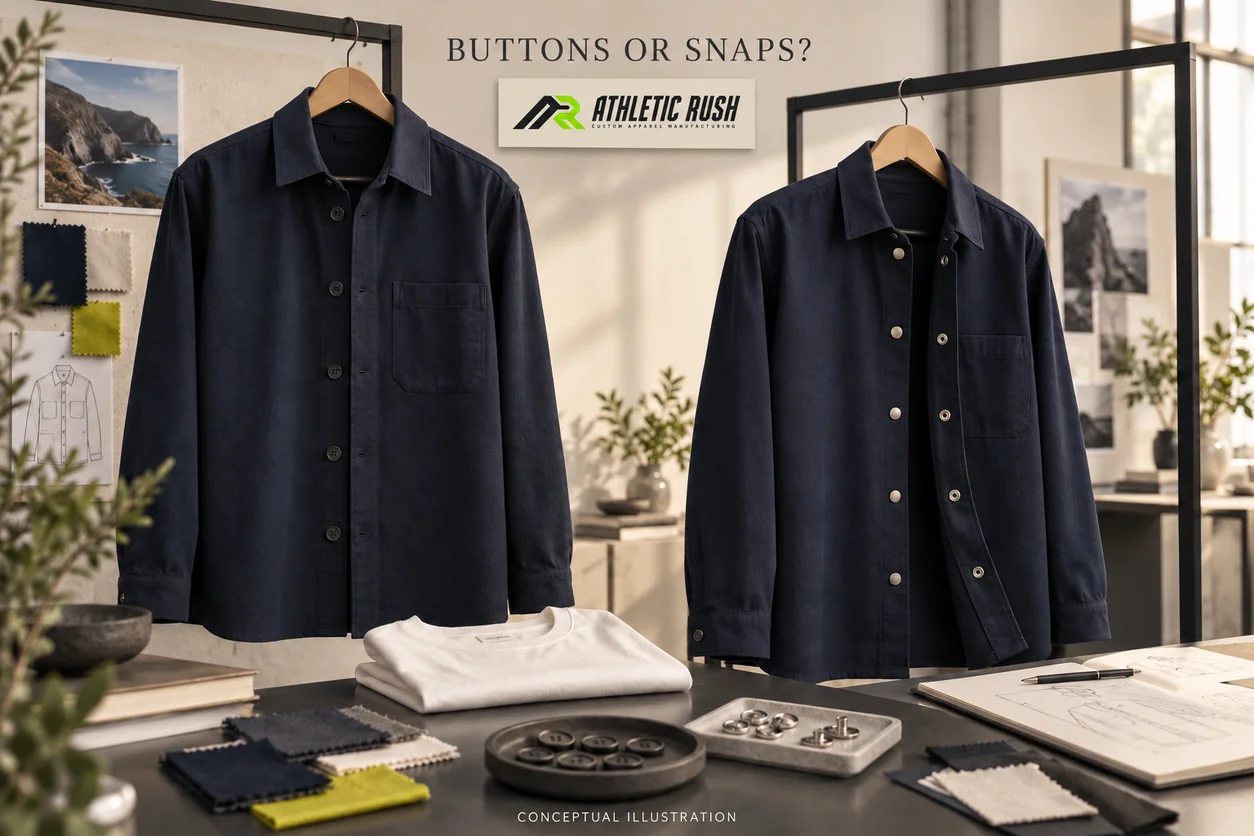
Start with the action the wearer will perform
A four-hole sewn button passes through an opening in the opposite garment side. Its attachment and the finished buttonhole are both part of the result. A snap has mating parts that engage with each other. The visible cap is only part of that closure.
Do not ask the maker simply to add “premium buttons.” That phrase leaves the action, attachment, appearance and sample acceptance undefined. Show which garment area needs to close and explain how the customer is expected to use it.
Consider two illustrative briefs:
- Navy twill overshirt: worn open over a tee and sometimes closed; visible matte buttons are part of the design. The front and cuffs need a controlled button-and-buttonhole proposal.
- Olive woven overshirt: the buyer wants a smooth cap on the front and a snap opening action. The maker needs to propose the compatible snap system and the actual placket assembly.
These are alternative design directions. They are not evidence that a navy garment requires buttons or that olive fabric requires snaps. The choice follows the brief, material and construction.
Look at open and closed appearance
When the front is closed, compare the button face or snap cap, its colour, the spacing and the front overlap. When it is open, inspect everything that becomes visible: buttonholes, thread, sockets, studs and the reverse of the placket.
For example, a brushed-metal cap may fit the closed-front design while its exposed inner hardware gives an open overshirt a different visual character. Decide whether that is wanted before approving only a photograph of the closed garment.
Check the side profile too. A tidy front view can hide a bulky stack or an uncomfortable cuff edge. Ask to see the actual proposal on the garment, rather than judging a loose trim against fabric on a colour board.
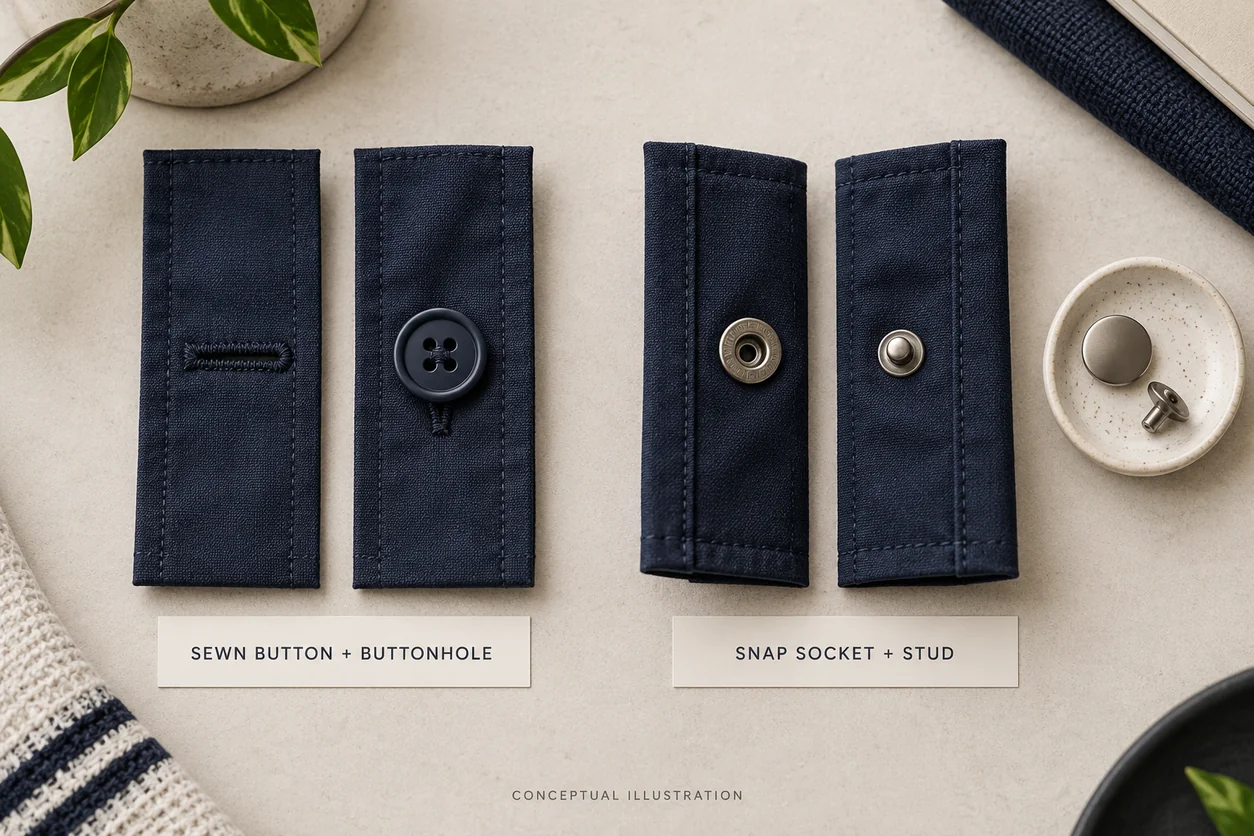
Define which parts of the garment share the choice
The front, cuff and pocket do not have to use one identical closure. However, mixed proposals need a reason and a clear trim record.
An overshirt might use a visible button front and a different cuff closure because the wearing routine differs. Check the visual relationship and the cuff operation separately. Do not copy the front hardware automatically onto a narrower, differently built cuff.
Our cargo pocket placement guide explains how closure placement relates to access in a pocket. The decision here concerns the closure assembly itself; an accepted front closure does not establish pocket access or retention.
| Buyer priority | Button proposal to review | Snap proposal to review |
|---|---|---|
| Visible closure is part of the design | Button face, thread presentation and buttonhole finish | Cap finish plus the hardware visible when open |
| Opening and closing routine | How the wearer guides the button through the opening | How the wearer engages and separates the mating parts |
| Front or cuff lies as intended | Buttonhole, overlap and attachment in the built layers | Hardware placement and attachment in the built layers |
| Evidence for performance | Appropriate evidence for the specified button assembly | Separate evidence for engagement, opening and attachment requirements |
| Future replacement | Availability and compatibility of the specified button | Availability and compatibility of the complete specified snap system |
Use the table to shortlist a proposal, then try it. It does not rank one closure above the other for all garments.
Choose a complete system for the actual layers
A closure is attached to folded, joined or supported fabric. The relevant foundation is the construction at that point, not merely the body-fabric name or a loose swatch.
Record the placket fabric, folded layers and any supporting material. Ask the maker to identify changes between the front, cuff and pocket. A proposal accepted on one construction needs review before being moved to another.
For a navy twill overshirt, a front placket and a folded cuff can contain different layer arrangements even though both use the same body material. For a light ivory shirt jacket, the visual and handling result may differ again. Compare the built details and keep their identities attached to the trim proposal.
The overshirt fabric guide covers material selection. Once that material is shortlisted, this closure review adds the buttonhole, hardware and attachment decisions that a fabric approval alone cannot cover.
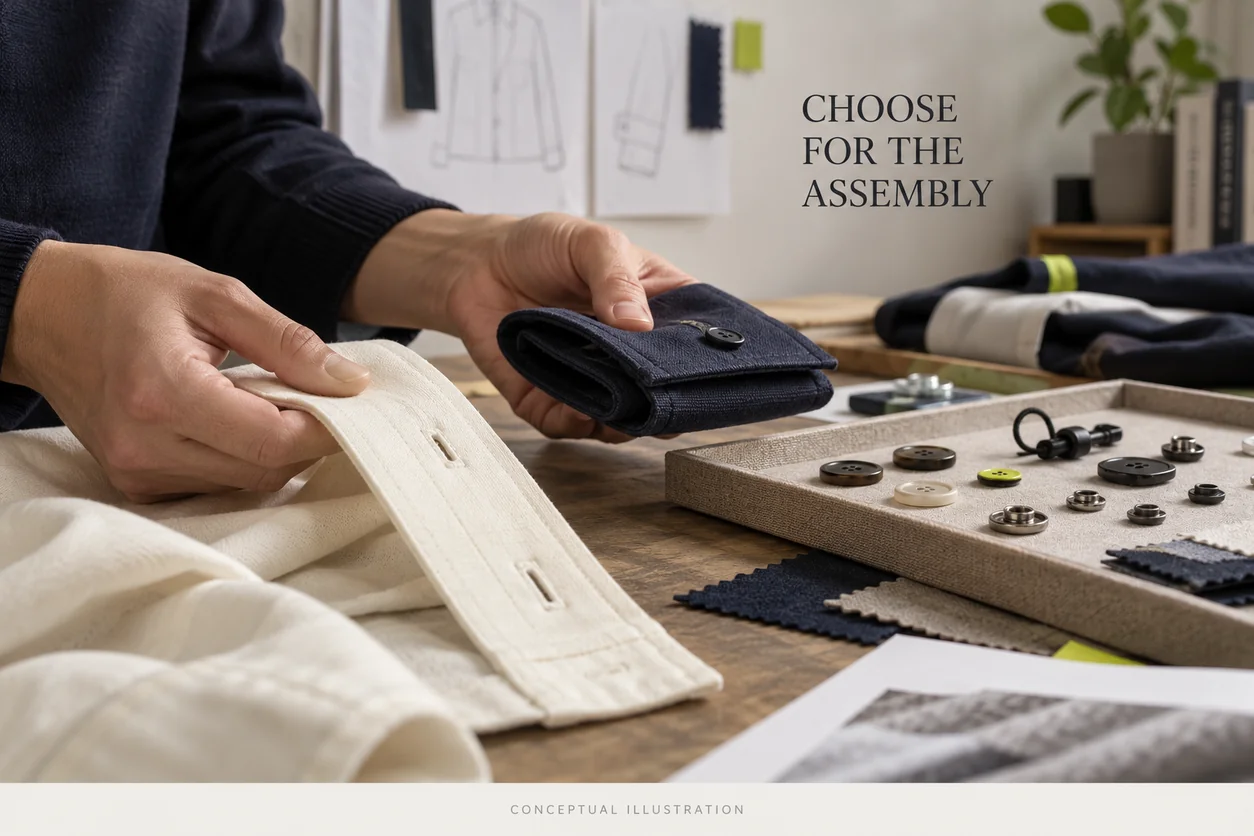
For sewn buttons, specify the button and its partner opening
Keep a reference for the actual button: its material description, size designation, shape, colour or finish, and attachment form. Record whether the proposed button is sewn through holes or attached through a rear shank. Do not let two physically different proposals share an ambiguous name.
Then ask for the buttonhole and attachment on the intended fabric assembly. Review:
- whether the button can be guided through the finished opening in the intended routine;
- the appearance of the buttonhole edges and ends;
- how the button sits with the garment closed;
- the thread presentation and reverse-side finish;
- whether the placket or cuff lies as intended when used.
These are practical observations, not a universal sewing recipe. The maker should determine the appropriate thread, stitching and construction for the identified proposal. A buyer should not copy a stitch count or buttonhole length from an unrelated garment and treat it as validated.
Coats' shirt application guidance lists buttonhole and button-sewing operations separately. That is a useful reminder to review both operations; a well-presented button face does not show the finished opening or the attachment.
A tack-attached jeans button is another construction route. It should not be described or approved as though it were a sewn four-hole button. Identify the actual attachment before comparing appearance, service or manufacturing proposals.
For snaps, identify all mating and attachment parts
In the four-part spring-snap construction described by YKK's component guide, the cap is paired with a socket through one garment side, while the stud is paired with its attaching component through the other. The socket engages the stud. Component names can vary, so retain the supplier's exact system reference.
Other snap families use different attachment constructions. YKK distinguishes its woven-fabric spring systems from its open-ring system suited to knitted fabrics. Those are manufacturer-specific application directions, not permission to treat every snap as interchangeable.
The practical buyer decision is to ask the proposed hardware supplier or maker to confirm the complete system, its intended foundation and its attachment requirements. Do not approve a cap and assume the hidden components, tools or other garment locations will be equivalent.
Keep matching-part references in the trim record. If the maker proposes a different socket, stud, finish or attachment part later, identify the substitution and the review needed. Similar-looking metal discs are not proof of compatibility.
A useful snap specification names the complete proposal, the garment location, the relevant layer arrangement, the visible finish, the intended action and the evidence still required. It can be concise without becoming vague.
Keep the support and placement visible in the decision
Ask for a built closure specimen when the construction needs development. Review it relaxed and from both sides. Look for an uneven surrounding surface, a distorted edge or unintended bulk.
Do not prescribe added support from one photograph. State the observation, then ask the maker to propose and identify a revision. A construction change can affect the front outline and handling, so assess the revised detail and complete garment together.
Mark closure positions from defined garment references. Include the planned overlap and show how positions relate across the front. A cap that looks centred in isolation can still sit incorrectly when the whole placket is assembled.
For a cuff, decide how it will be worn and opened. If alternative cuff positions are proposed, review each intended position on the sample. Record what is accepted rather than treating unused positions as automatically approved.
Try the garment, then ask what each check actually proves
Use an identified sample with its closure system and construction revision recorded. Wear it over the intended layer. Inspect the front open and closed, then operate the front and cuffs in the customer's likely routine.
Guide a button through its opening. Engage and separate the snap as intended. Note where the wearer needs an awkward grip, where the fabric distorts, or where the closure does not behave as the brief requires.
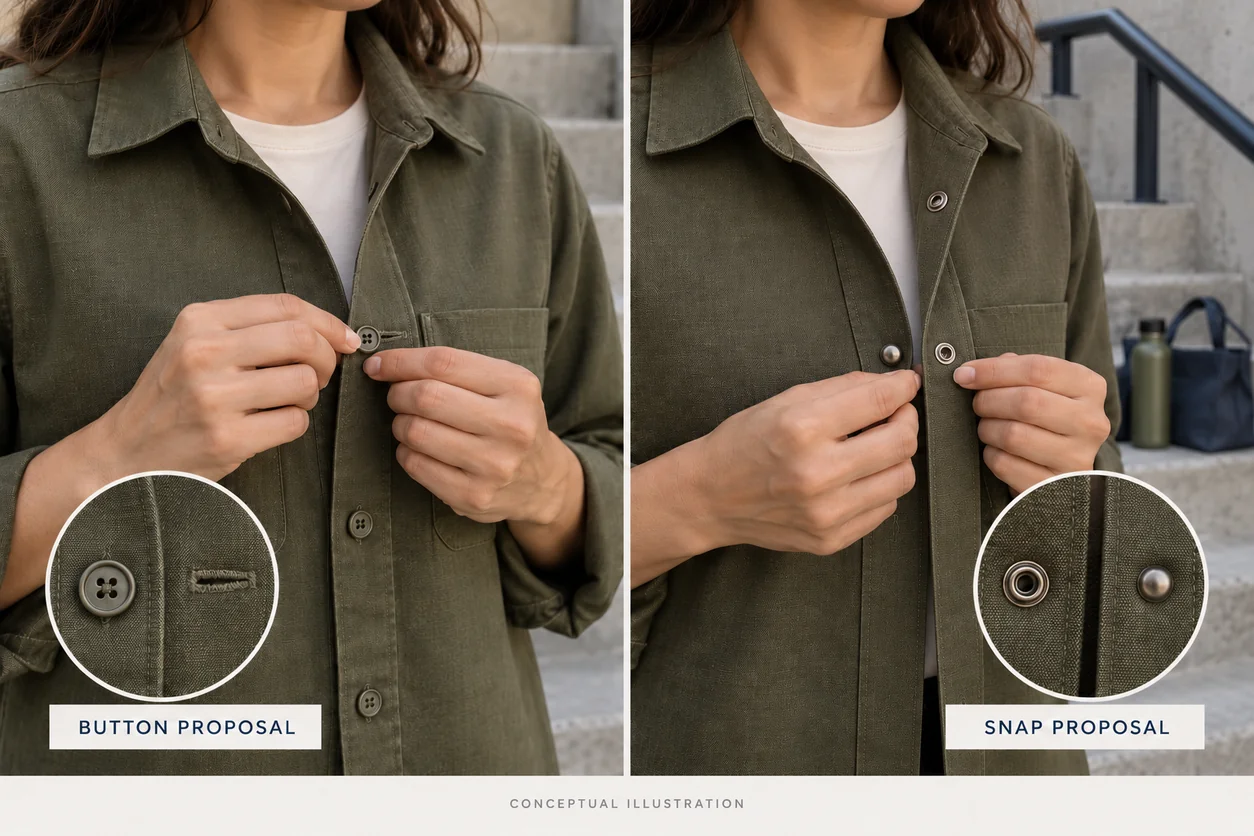
Avoid declaring snaps “easy for everyone” or buttons “always secure.” Usability depends on the person, closure proposal and garment situation. Ask relevant wearers to try the sample where this is an important part of the brief. Keep their feedback tied to that sample and action.
Standing, sitting and reaching may reveal a front that pulls or gaps. Record the location and situation without immediately blaming the hardware. The pattern, overlap, closure position or construction may need investigation. Stronger hardware is not a complete fit correction.
Compare the same intended underlayer and size where practical. If the button and snap versions require different constructions, identify that difference. Review two complete proposals rather than claiming a controlled hardware-only comparison.
Inspect the reverse and surrounding fabric
Turn the front and cuff over. Look at the attachment, supporting layers, button-sewing thread and the material around each closure. Record visible distortion, damaged fabric, irregular seating or unfinished edges that require the maker's review.
For the buttonhole, inspect the opening and its reverse as well as the button face. For a snap, inspect both mating sides and their attachment areas. Photograph the issue with the sample identity and garment location.
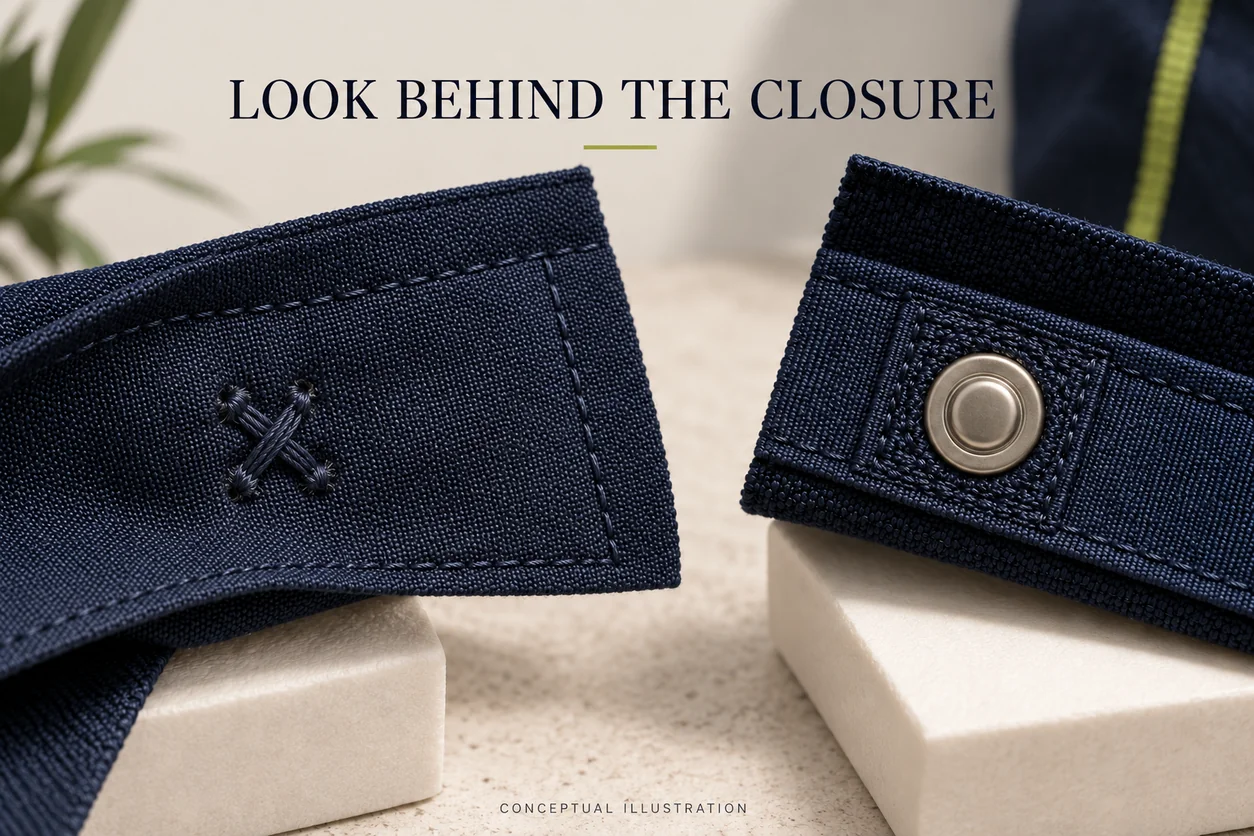
This inspection can reveal an issue worth correcting. It cannot establish a formal attachment-strength result just because a sample looks tidy. Do not replace the agreed evidence with a hand tug, a reassuring clicking sound or an unlabelled close-up.
Separate opening resistance from attachment strength
A snap can feel firm when it opens, but that observation does not quantify how well its attachment stays in the garment. These are different questions.
The public scope of ASTM D4846 concerns the force needed to disengage snaps in specified pulling directions. ASTM D7142 concerns the holding strength of prong-ring attachment to the socket or stud. The latter method is specific to that snap construction; it is not a general test for every button or snap.
Agree suitable methods, specimen construction, conditioning and acceptance criteria with the supplier and a competent testing provider where formal evidence is needed. This guide does not supply a universal force target or a substitute test procedure.
Also separate the act of closing from opening. A result described only as “snap strength passed” does not tell a buyer which property was examined, on which assembly, or against which acceptance requirement.
| Question being answered | Useful evidence or observation | What remains a separate question |
|---|---|---|
| Does the front look right open and closed? | Identified garment views and agreed appearance reference | Measured durability or attachment strength |
| Can the intended wearer operate it as required? | Recorded trial of the actual front and cuff | Suitability for every person or garment variant |
| How much force disengages the specified snap? | Appropriate documented opening-resistance evidence | Attachment holding strength and closing action |
| Does the attachment meet the agreed requirement? | Evidence appropriate to the exact assembly and attachment | Colour, care appearance and whole-garment fit |
| What changes after the agreed care route? | Traceable initial and after-care records | Other care or performance properties not assessed |
Review care without inventing a passing result
Agree the care route for the complete proposed garment and trims. Record the sample, construction, hardware references and condition before and after the relevant review.
Inspect closure operation, the surrounding material, buttonhole appearance and the visible finish in the conditions that matter to the brief. If the surface or function changes, document it and ask for investigation. Do not infer corrosion resistance or a lifetime outcome from a photograph.
If a trim supplier provides finish or care evidence, check what hardware, conditions and property it actually covers. Evidence for loose hardware does not automatically settle the behaviour of the assembled garment.
The images here are conceptual illustrations. They show what to discuss and inspect, not observed tests, production results or approvals.
Write a revision that preserves the accepted parts
Use focused comments rather than “make the snaps better.” State the sample revision, location, condition, observation and desired outcome.
For example: “Olive overshirt proposal B, front position three: the placket twists when the wearer opens this closure. The cap appearance is accepted. Please investigate the attachment and supporting assembly, identify the proposed changes, and show the revised front relaxed and during the same opening action.”
For the navy button proposal: “The matte button face is accepted. On the cuff, the wearer struggles to guide it through the opening. Please review the buttonhole and cuff assembly together while retaining the accepted visual direction, then provide the identified revision for another worn review.”
These examples do not diagnose the cause. They give the maker a clear problem to investigate and prevent a successful visual decision from being lost in an undefined redesign.
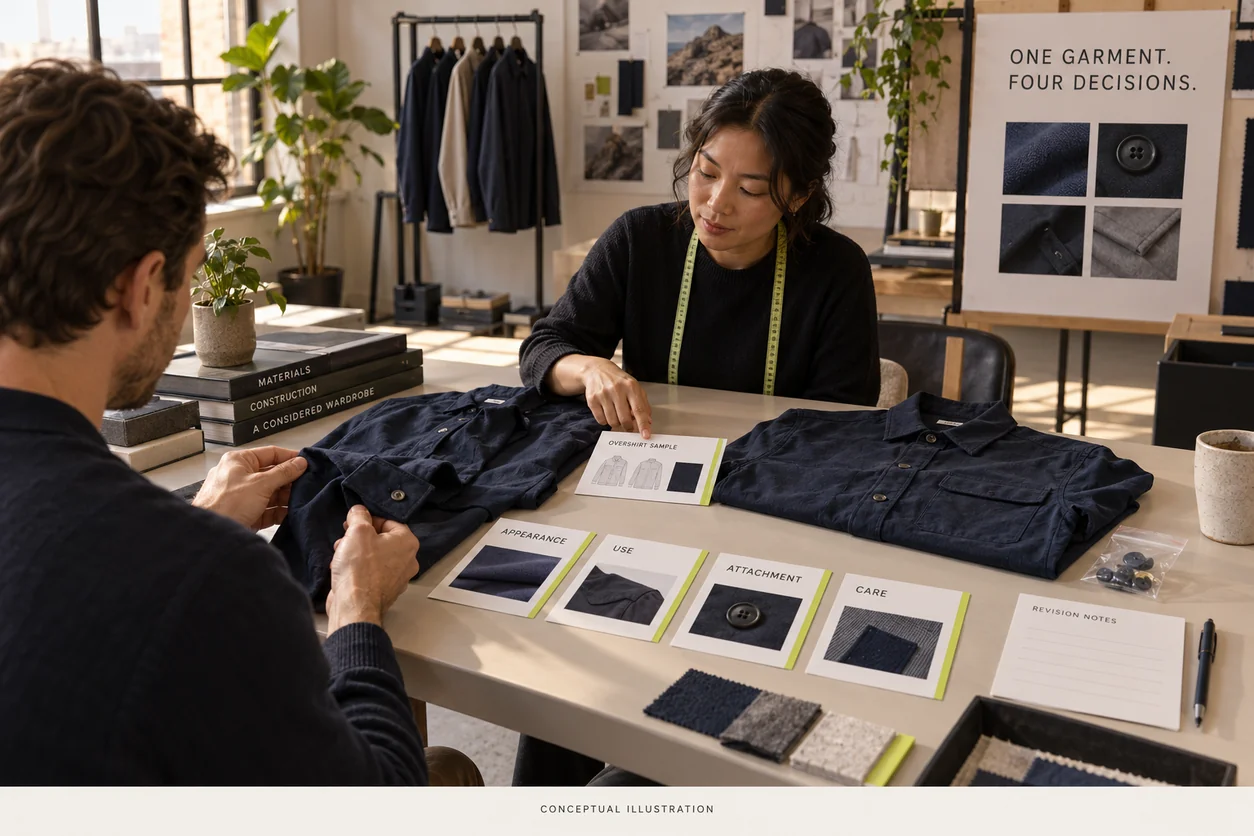
Before production approval, keep the closure system references, location map, built assembly description, accepted appearance, wearer observations, required evidence and final sample revision together. Specify what substitutions need renewed review.
Ask how the approved trims and construction will be linked to production and how replacements will be handled. Do not infer future compatibility from a similar face or a matching colour name. The final decision should identify the actual proposal the maker is expected to reproduce.
Buttons and snaps: buyer questions
Are snaps stronger than buttons?
There is no useful universal ranking. Specify the garment assembly and the property that matters. Opening resistance, attachment strength, wearer operation and appearance are separate decisions requiring appropriate evidence.
Can I replace buttons with snaps on the same overshirt pattern?
Ask the maker to review the overlap, positions, supporting layers and complete construction. A similar visible diameter does not establish that the replacement can be attached or used in the same way. Review an identified revised sample.
Can the same snap be used on a knit cuff and a woven front?
Do not assume it. Snap families and application directions differ. Obtain a supplier-confirmed proposal for each actual foundation and review the built details. Approval at one location does not cover a different construction automatically.
Does a clicking sound show that the snap is approved?
It shows an audible event during that particular action. It does not supply a measured attachment result, establish all required functions or complete the garment review. Keep operation and formal evidence distinct.
Take the closure choice into a complete brief
Choose the intended look and action, identify the complete hardware proposal, and build it on the actual front or cuff layers. Then review the worn garment and close each required evidence question separately.
Athletic Rush develops custom apparel from Sialkot, Pakistan. Explore our streetwear jacket development page. Send the garment reference, closure direction and sample questions to kamran@athleticrush.co or WhatsApp +923279008337.