 Sialkot, Pakistan
 Worldwide enquiries

A T-shirt sample is useful only when you know what it is meant to prove. Before approving production, identify the sample version, compare it with a written specification, check the fit on the intended wearer and record unresolved changes. A promising photograph or a comfortable first try-on is not enough to establish that the whole order is ready.
This guide helps clothing-brand buyers diagnose sampling mistakes and send clear corrections. It focuses on the garment review rather than repeating a print-approval checklist. The examples are hypothetical working methods, not Athletic Rush production tolerances, laboratory results or promises about a particular material.
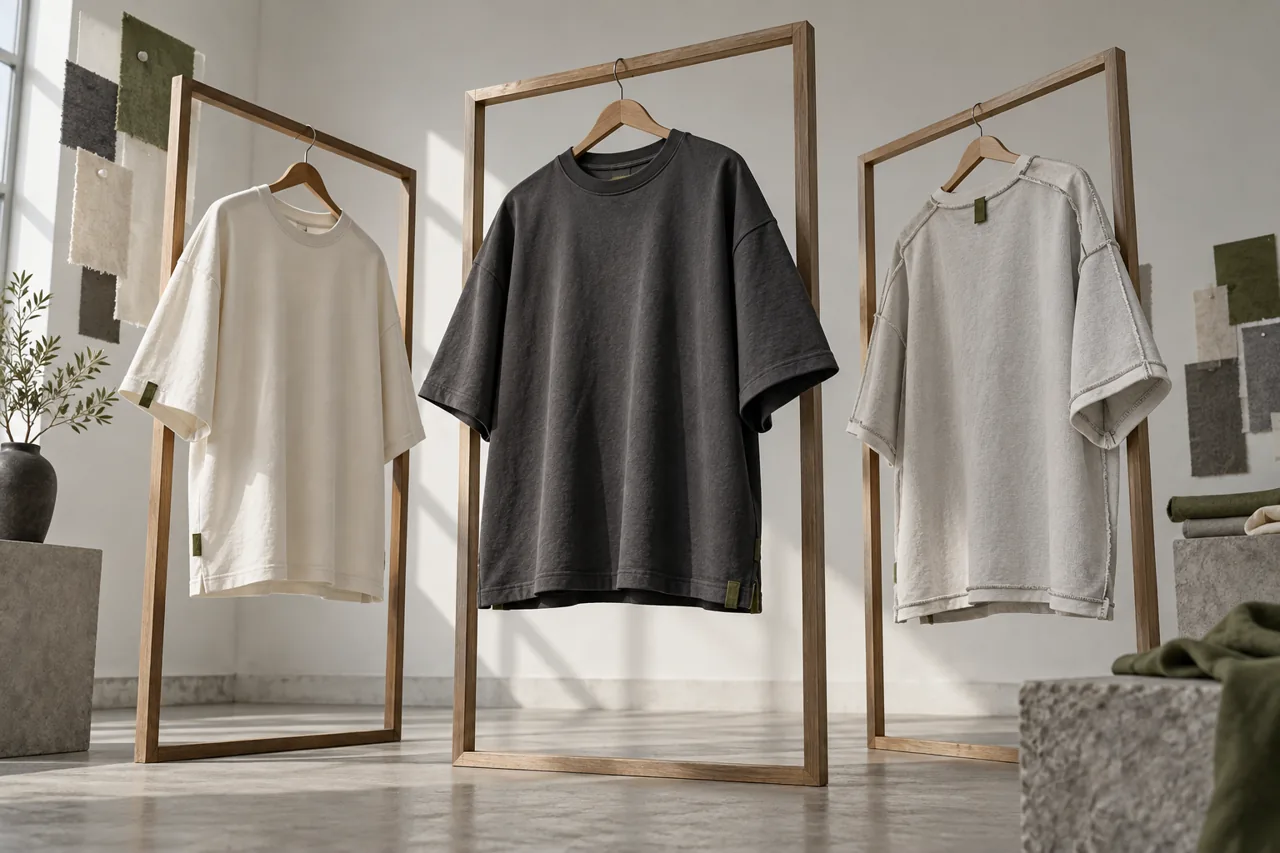
All six original AI-generated illustrations are conceptual. They do not depict Athletic Rush inventory, employees, customer orders or measured test results.
Start by identifying what this sample represents
The first mistake happens before anyone measures a garment: the buyer assumes that every sample is a production reference. A fit sample made in a substitute fabric might help explore proportions, but it cannot confirm the final fabric feel. A decorated sample might demonstrate artwork while leaving the pattern unresolved. Names used for sample stages vary between suppliers, so agree the purpose explicitly.
Ask which specification revision, pattern, fabric, colour and decoration the sample uses. Record any substitutions. Then list the decisions you can reasonably make from it. If the fabric is provisional, you may accept the overall design direction while keeping drape, care behaviour and final fit open. Do not send a general approval that quietly includes decisions the sample cannot support.
Give the physical garment an identifier that matches your review sheet and photographs. Keep old versions separate, and avoid referring to them only as the black sample or the latest one. Those descriptions become ambiguous when another colour or revision arrives. The same identifier should appear in your feedback, supplier reply and final approval record.
Mistake 1: measuring without a shared method
Two people can measure the same garment differently if they use different start points, garment positions or tape tension. A chest measurement taken across a flat garment is not interchangeable with a body circumference. A sleeve measured from the shoulder seam is not the same as one measured from the centre back. Resolve the method before interpreting the number.
Use a flat surface and settle the garment without deliberately stretching it. Mark the start and end points on a simple diagram. Agree whether widths are recorded flat or doubled, which units apply and how curved edges are handled. Record the actual measurement beside the target instead of writing only pass or fail. Refer to your T-shirt size chart so the specification and customer guidance use consistent terms.
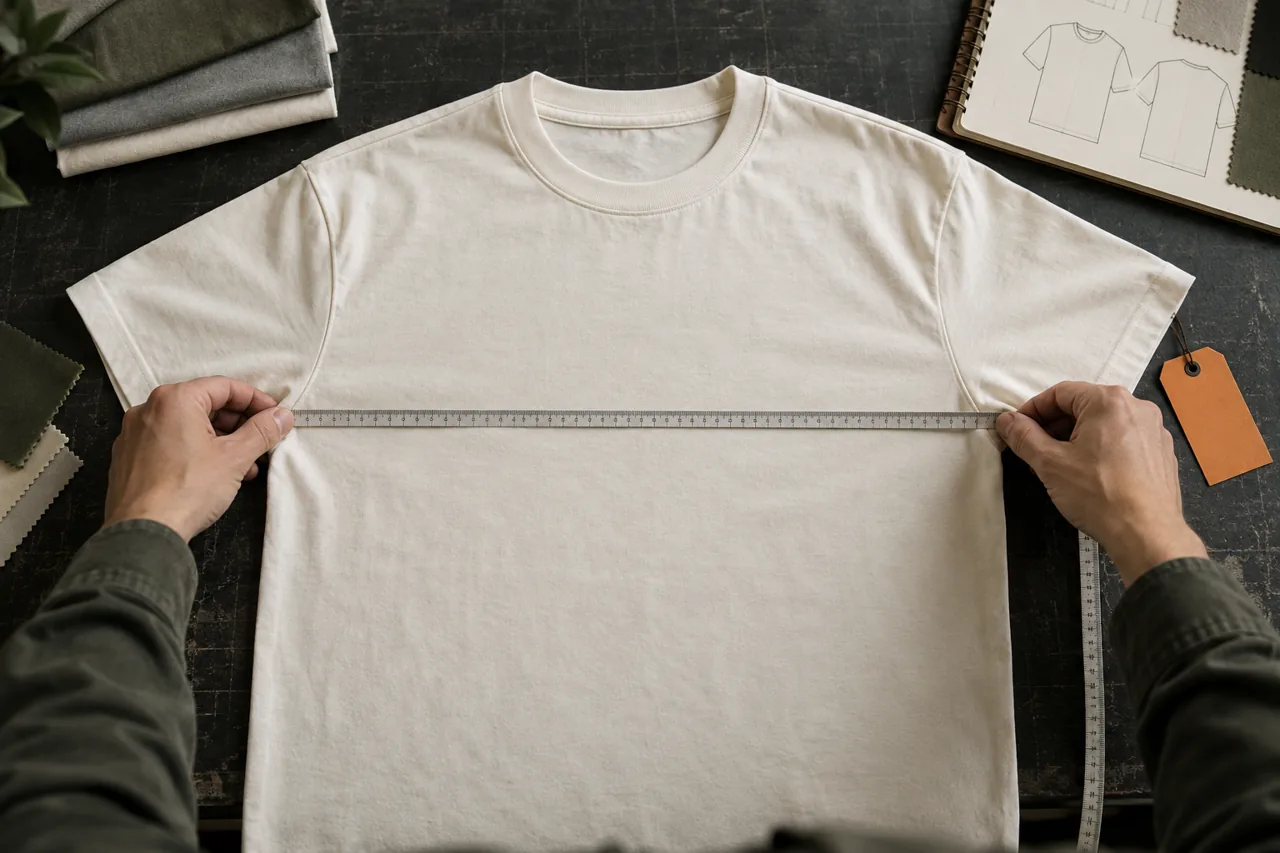
For example, if one reviewer starts body length at the high shoulder point while another starts at the back neckline, their results cannot be compared directly. Re-measure with the agreed method before asking for a pattern correction. Otherwise, you could shorten a garment that was already made to the intended length.
An allowed tolerance should be agreed for each relevant measurement and production context. Do not copy a universal tolerance from another brand or treat every difference as equally important. Ask the supplier to explain a proposed tolerance, and consider whether the allowed range still produces the fit you intend to sell. A sample review should reveal that decision rather than hide it behind a single overall verdict.
Mistake 2: reviewing the look without checking movement
A front photograph can make a silhouette look convincing while concealing an uncomfortable neckline, awkward sleeve opening or unwanted lift when the wearer raises their arms. Review the garment from the front, side and back, then observe ordinary movement relevant to its intended use. Keep the stance and camera distance reasonably consistent when comparing revisions.
Ask the wearer specific questions. Where does the garment feel restrictive? Does the body length behave as intended when sitting? Does the sleeve opening feel appropriate? Separate personal preference from the agreed design brief. One reviewer may prefer a fitted tee while the project calls for a generous streetwear silhouette; that preference should not silently replace the brief.

Do not approve a complete size range from one person wearing one size. Agree what evidence is needed for the offered range, including which sizes require physical review. A base-size sample can be a starting point, but it does not automatically demonstrate every graded size. Ask how the proportions change across sizes and where additional checks are needed.
Also distinguish a pattern issue from styling. Tucking, pinning, rolling sleeves or changing the camera angle may improve a photograph without correcting the garment. Record the sample as worn without those adjustments before deciding what to change. If a styled presentation is part of the collection, document it separately from the manufacturing reference.
Mistake 3: approving substitute fabric as if it were final
A sample in a convenient available material may be useful for an early discussion, provided the substitution is visible in the record. The mistake is assuming that the final material will hang and feel exactly the same. Fabric weight alone is not a complete description of a garment's behaviour or quality.
Request an identifiable fabric reference and the supplier's proposed composition and finishing information. Compare the physical options in the intended silhouette. Record what you actually observe, such as a softer hand or more structured appearance, without turning those impressions into unsupported durability claims. Keep desired characteristics separate from verified specifications.
If the final fabric changes after a fit review, ask which decisions need to be checked again. The answer may include proportions, appearance, decoration and care assessment. Do not treat a material substitution as a harmless administrative update simply because the colour name and stated weight look similar on paper.
Mistake 4: using a wash trial without recording the conditions
A home care trial can help identify questions, but the results are difficult to interpret if nobody records how the garment was treated. Measure and photograph the identified sample before the trial. Record the washing and drying conditions used, then repeat the agreed measurements afterward. Let the garment reach a consistent condition before comparing it, and avoid stretching it back to the desired dimensions.
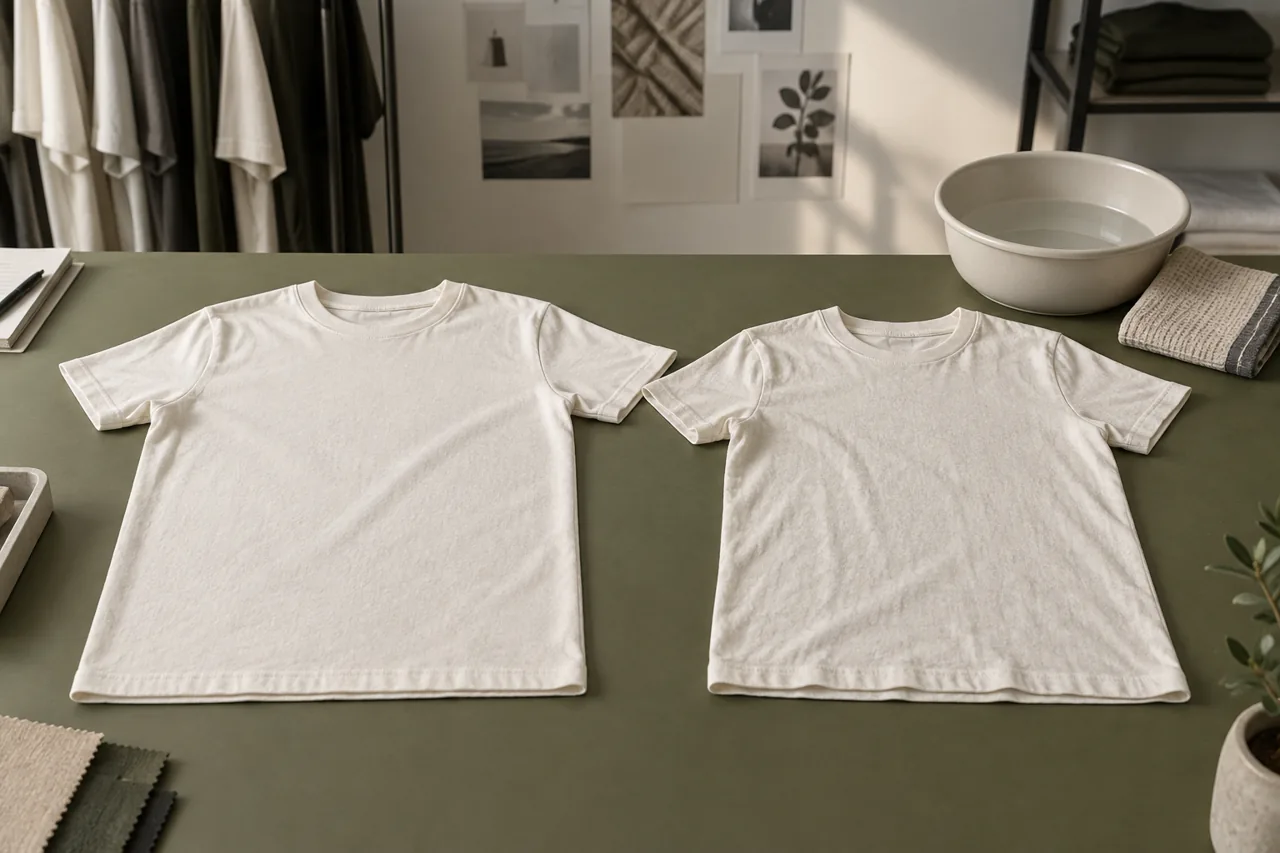
AATCC's TM150 method addresses dimensional changes in garments after home laundering. If a formal test report is needed, ask a competent laboratory to identify the applicable method, procedure and reporting conditions. An informal sample check does not constitute a laboratory test report or prove that a garment will never shrink.
Record more than a single overall percentage. Note which measurement changed, the before and after values, and visible observations such as seam appearance or garment shape. A change at the neckline and a change in body length may require different discussions. Use our T-shirt shrinkage review guide for a more detailed planning approach.
Do not invent a passing threshold after seeing the result. Agree the relevant requirements before the assessment and ask the supplier how the sample relates to the proposed production material. If the method or conditions are uncertain, mark the finding as unresolved and repeat the check consistently rather than treating it as reliable evidence.
Mistake 5: inspecting only the outside
Turn the garment inside out. Review the neckline, shoulder joins, underarms, side seams and hem alongside the outside appearance. Look for visible issues that need explanation, such as an open seam, trapped fabric, loose thread ends or uncomfortable bulk. Photograph the exact location rather than sending a distant image with a general complaint about quality.
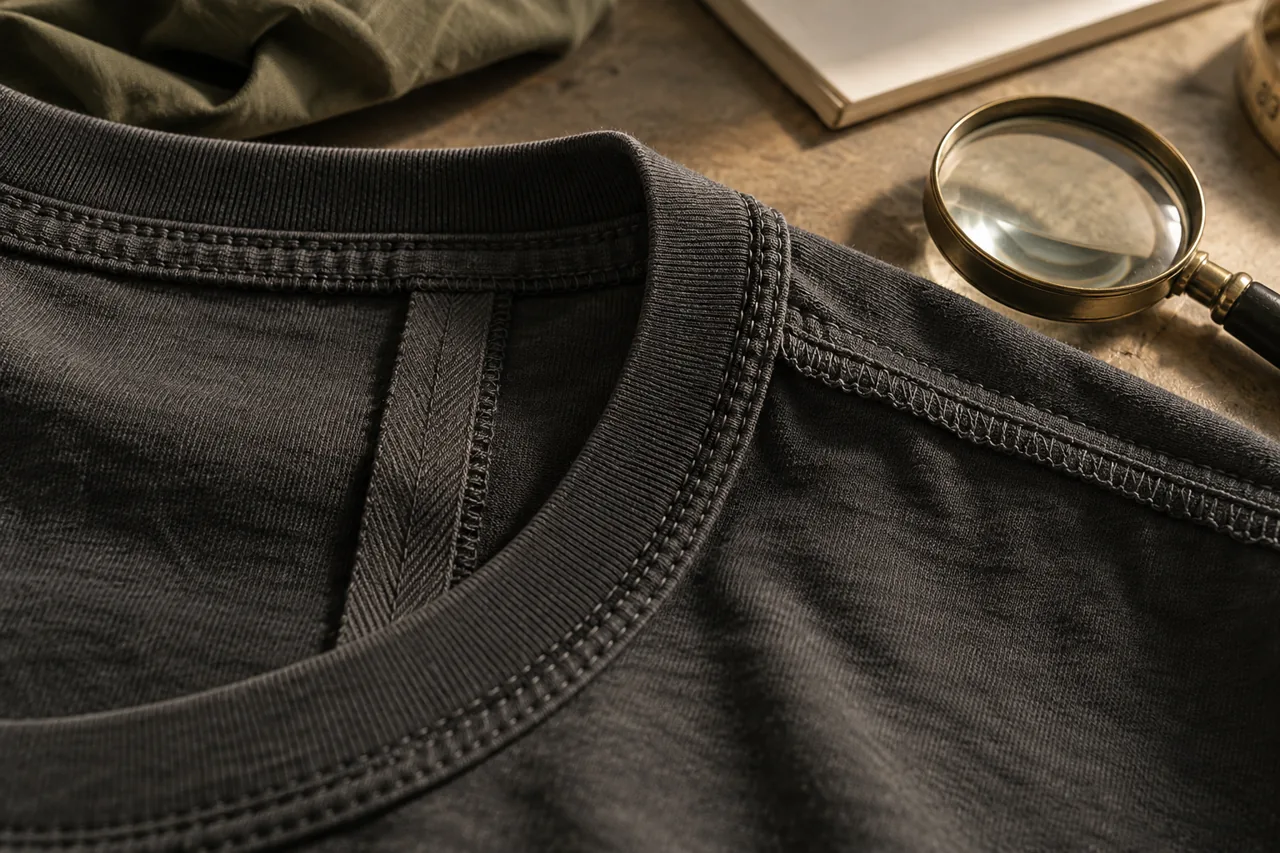
Avoid prescribing a sewing adjustment from appearance alone unless you have the necessary construction expertise. Describe the observed problem and the intended result, then ask the supplier to propose a correction. For example, explain that a join feels bulky against the wearer rather than assuming one particular stitch setting will solve it.
A neat sample does not prove consistency across a future order. Discuss how the approved reference will be used during production and what inspection evidence will be provided. Sampling approval and production inspection are related steps, but they answer different questions. Keep that distinction visible in your order plan.
Mistake 6: sending feedback that cannot be acted on
Comments such as make it more premium, improve the fit or fix the sleeves leave too much interpretation to the next person. Divide feedback into numbered observations. For each one, identify the sample version, location, evidence, requested outcome and the decision needed. Where a measurement is involved, use the agreed measuring method.
| Unclear feedback | More useful correction request | Evidence to attach |
|---|---|---|
| The body feels short | Review body length against the current specification and confirm the proposed revision | Measurement photo and side-view fit photo |
| The neck looks wrong | Identify the neckline shape or binding detail that differs from the approved brief | Close-up with the affected area indicated |
| This fabric is not premium | Compare the supplied fabric reference with the requested hand feel and structure | Physical reference identification and specific observations |
| Everything is approved except a few things | List the accepted elements and unresolved points; state whether production remains on hold | Dated review sheet with numbered actions |
Consolidate feedback before sending it. Conflicting instructions in separate messages can produce a revision that satisfies neither reviewer. Name one person to resolve disagreements and issue the current consolidated brief. Keep a change log so the supplier can distinguish new requests from previously agreed work.

Ask the supplier to reply against the same numbered points. The response should make clear what will change, what needs clarification and whether a new sample is required. A simple acknowledgement that the message was received is not the same as agreement on the correction. Close each point with evidence instead of assuming it disappeared because the next sample looks better overall.
Decide whether to clarify, revise or approve
Not every concern requires a completely new sample, and not every reassuring reply is enough to approve. Match the next action to the unresolved question. The table below is a review framework, not a substitute for agreed specifications or specialist testing.
| Finding | Appropriate next step | Keep open until |
|---|---|---|
| Measurements differ because reviewers used different methods | Clarify the method and re-measure the same identified sample | Comparable measurements are available |
| Sample uses unapproved substitute fabric | Obtain the intended material and agree which checks must be repeated | Relevant final-material evidence is reviewed |
| Visible fit problem remains | Agree a specific correction and assess the revised sample | The fit decision is supported by the revised garment |
| Care-trial conditions were not recorded | Repeat under documented agreed conditions | The result can be interpreted meaningfully |
| All required points are resolved | Issue a dated approval identifying its exact scope | Production terms and reference records are aligned |
Keep the approved physical reference wherever practical, together with the final specification, photographs and supplier acknowledgements. State whether the approval covers fit, fabric, decoration and other details or only a subset. If a later change affects an approved element, reopen the relevant check explicitly.
Frequently asked questions
Can I approve a T-shirt from photographs alone?
Photographs can help resolve visible details, but they do not establish feel, comfort or every construction issue. Identify what remains unverified and agree suitable physical evidence before approving the elements that depend on it.
Does every correction need another complete sample?
No universal rule covers every change. Ask what the correction affects and what evidence will confirm it. A material change or meaningful pattern revision may require a fresh garment review; a clarified document may resolve a recording error without changing the sample.
Should I compare the sample with a favourite retail T-shirt?
A reference garment can help communicate preferences, but describe the specific features you want and create your own agreed specification. Do not assume another garment's label, size name or appearance provides a complete manufacturing brief.
What should a final approval message contain?
Identify the style, sample version, specification revision, accepted elements and any remaining conditions. State whether bulk production is authorized. Keep the supplier's acknowledgement with the approved reference so the scope is clear to both sides.
Send a clear sample brief
Explore Athletic Rush streetwear, then send your style reference, intended fit, fabric direction, measurements, quantities and sample questions to kamran@athleticrush.co or WhatsApp. If you already have a sample, include identified photographs and a consolidated list of observations. Request a development plan and quotation for your actual brief rather than assuming a standard timeline or minimum order.