 Sialkot, Pakistan
Approve trouser length and leg opening together, on an identified sample worn at the intended waistband position with the footwear you plan to style. Record the finished garment measurements, then check where the hem actually sits, how it meets the shoe and what happens during ordinary movement. A correct number on a chart does not, by itself, approve the worn result.
For a clothing brand, the decision is more specific than “make it longer” or “open the bottom.” A cropped cargo, a full-length wide-leg sweatpant and a cuffed jogger need different lower-leg approvals. Define the intended finish and hem position first; use measurements to make that decision repeatable.
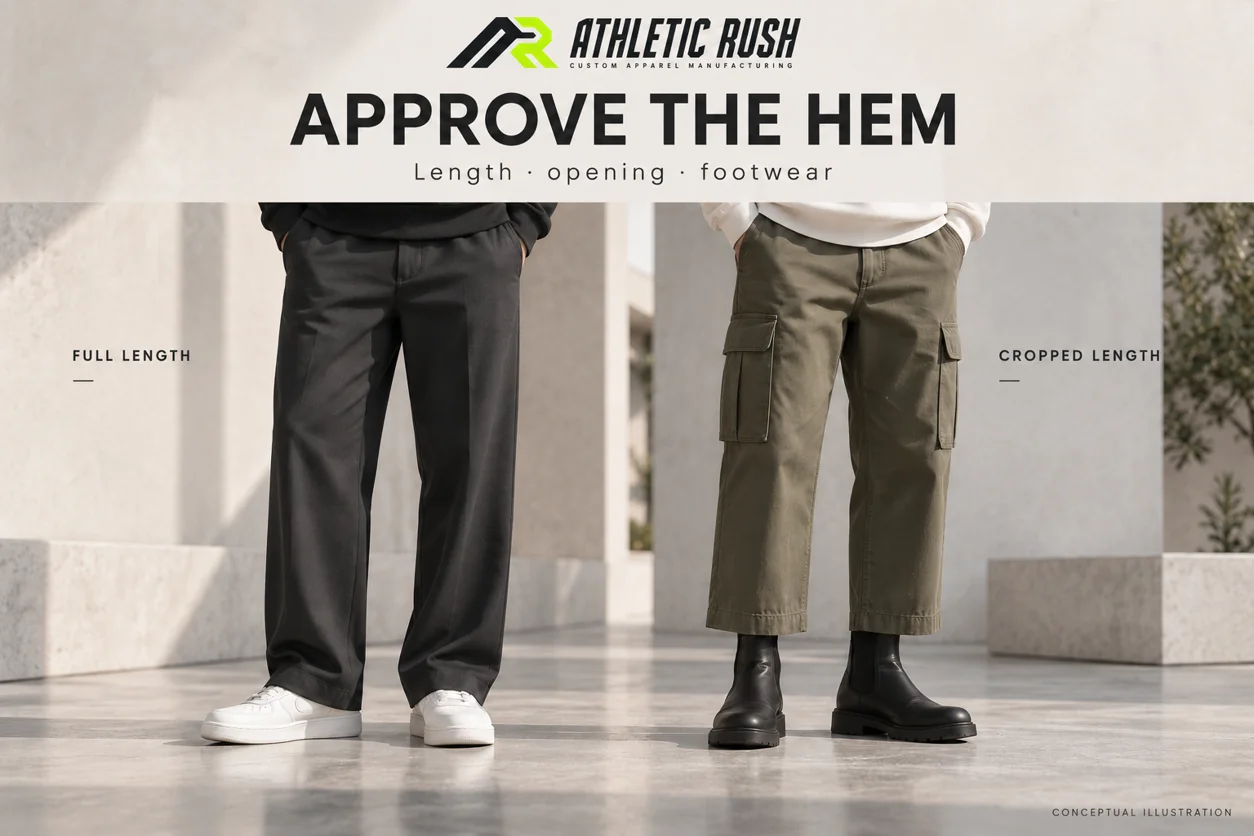
The six original images in this guide are conceptual illustrations. They show development and inspection ideas, not available Athletic Rush inventory, customer orders or measured test results.
First, decide what the hem should do over the shoe
Choose a clear wearing outcome before setting the final length. Should the hem stop above the footwear, meet it with a clean line, or create deliberate folds at the lower leg? These are design choices for your collection, not universal quality categories.
Use a front and side view of the actual sample to explain the outcome. A styled photograph can communicate the idea, but record an ordinary standing view too. The wearer should not lift the waistband, hide one hem or hold the fabric away from the shoe to make the result look approved.
Three hypothetical briefs show how to make the request concrete:
- Charcoal open-hem sweatpant with white low-profile trainers: a full-length line that meets the chosen shoe, with the heel and floor clearance reviewed from the side and back.
- Olive cropped cargo with dark ankle boots: a deliberate visible gap above the boot, with the gap reviewed while standing and moving. “Cropped” alone does not specify its size or location.
- Black tapered jogger with a rib cuff: a lower leg that collects above the cuff as intended, with the cuff position and putting-on/removal experience checked on the wearer.
These examples do not prescribe dimensions, body types or a particular style for every customer. They demonstrate the information a supplier needs to understand the garment you want.
Keep the waistband and upper fit in the picture
Review length at the intended wearing position. If a wearer lowers the waistband for one photograph and raises it for another, the two hem positions are not a useful comparison. Record the waistband position, sample size and reference wearer alongside the photographs.
Check whether the upper fit is already approved. If the waistband slips, the seat position changes or the rise feels wrong, investigate that observation before deciding that the lower leg simply needs shortening. Ask the manufacturer which part of the garment proposal should change and which approved areas should remain controlled.
This guide concentrates on the lower-leg decision. Our wide-leg sweatpant proportions guide covers the separate relationship between hip, thigh and continuous leg width. Retain that approved outline when evaluating a length correction, unless you are intentionally reopening the silhouette decision.
Name the footwear instead of writing “with sneakers”
Identify the actual shoe used in the review, or retain photographs that make its shape clear. A low-profile trainer and a high-top sneaker present different shapes for the trouser to meet. The illustration below explains that comparison; it does not prove an exact outcome for a measured garment.
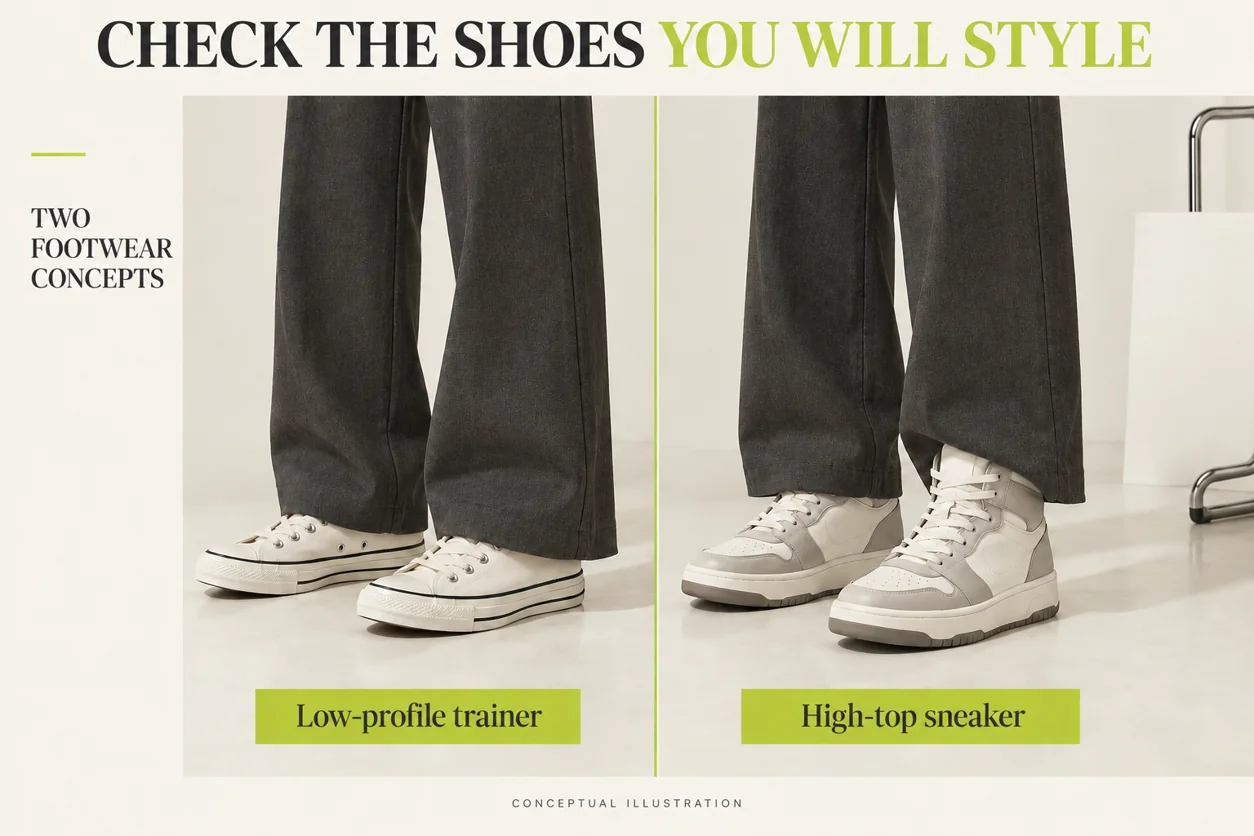
If a collection will be styled with more than one footwear type, review those combinations deliberately. You can choose a primary styling reference and note which other combinations you checked. Do not imply that approval with one shoe establishes the same appearance with every boot or trainer.
Look at both the front and back of the hem. Is the intended shoe detail visible? Does fabric sit on top of the shoe, cover it or catch behind it? Is the heel-side hem clear of the floor during the review? Record what you see and whether it matches the brief. Do not give a clean front photograph priority over an unreviewed back hem.
Second, make the garment measurements reproducible
“Length” needs a measuring method. State the start point, end point, path, unit and garment condition. Identify the sample revision so the chart and photographs refer to the same trouser.
The Levi’s SecondHand size guide describes a garment inseam check with jeans laid flat and a measurement from the crotch point along the inseam to the hem. That is a useful example of defined endpoints. It does not provide a streetwear production specification or a universal trouser length for your customers.
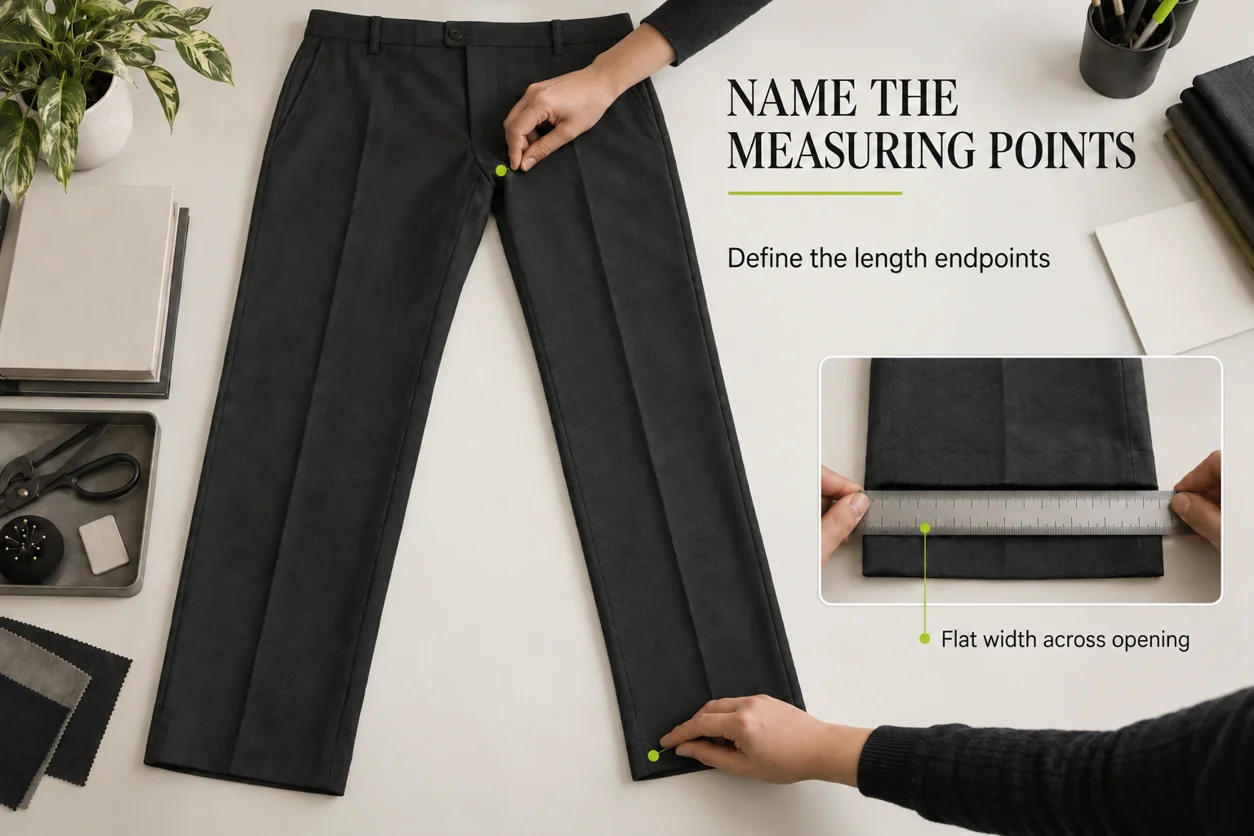
For your own sample, agree the following records with the manufacturer:
- Finished inseam: identify the crotch seam junction and the finished lower edge; show the agreed measuring path on a garment drawing or photograph.
- Side length, if used: state whether the start is the top edge of the waistband or another marked point, and where the measurement ends. Say whether the waistband and cuff are included.
- Leg opening: state whether the chart gives a flat width across the finished opening or a separately measured circumference. Keep those descriptions distinct.
- Hem or cuff construction: identify the finish, its relevant depth and the point that counts as the finished edge.
- Sample condition: identify whether the record is before care, after an agreed care check or in another stated condition. Use the same agreed handling when comparing revisions.
Do not compare an inseam on one chart with a waistband-to-hem side length on another and treat the difference as an error. They describe different paths. Likewise, a flat opening width should not be compared directly with a circumference simply because both are labelled “bottom.”
If the garment has an unusual crotch construction, an asymmetric hem or an adjustable opening, ask the supplier to mark the exact method. A familiar measurement name can still hide a different interpretation. Photograph the endpoints once and retain that image with the specification.
Keep one clear unit and condition for each value
Use centimetres or inches consistently, and identify any intentional conversion. Avoid a chart in which the unit appears only in an email that may become separated from the document.
A notation template could read: “Finished inseam: A cm, from the marked crotch seam junction to the finished edge, following the agreed path. Opening: B cm flat across the finished open hem. Sample: revision R, before the agreed care check.”
A, B and R are placeholders, not recommended dimensions. Replace them with the approved value and revision. Agree production tolerances separately with the supplier for this garment and measuring method; a conceptual image or a reference article cannot set those limits.
An elastic opening also needs an explicit condition. Record the relaxed opening using the agreed method, then document any separate functional check you need. A relaxed flat width is not a claim about maximum stretch, elastic recovery or attachment strength. Do not establish those properties by forcefully pulling a sample or by guessing from a photograph.
The finish is part of the lower-leg specification
An open hem, rib cuff and gathered elastic hem are separate construction choices. Review the actual proposed finish rather than borrowing an opening measurement from another style.
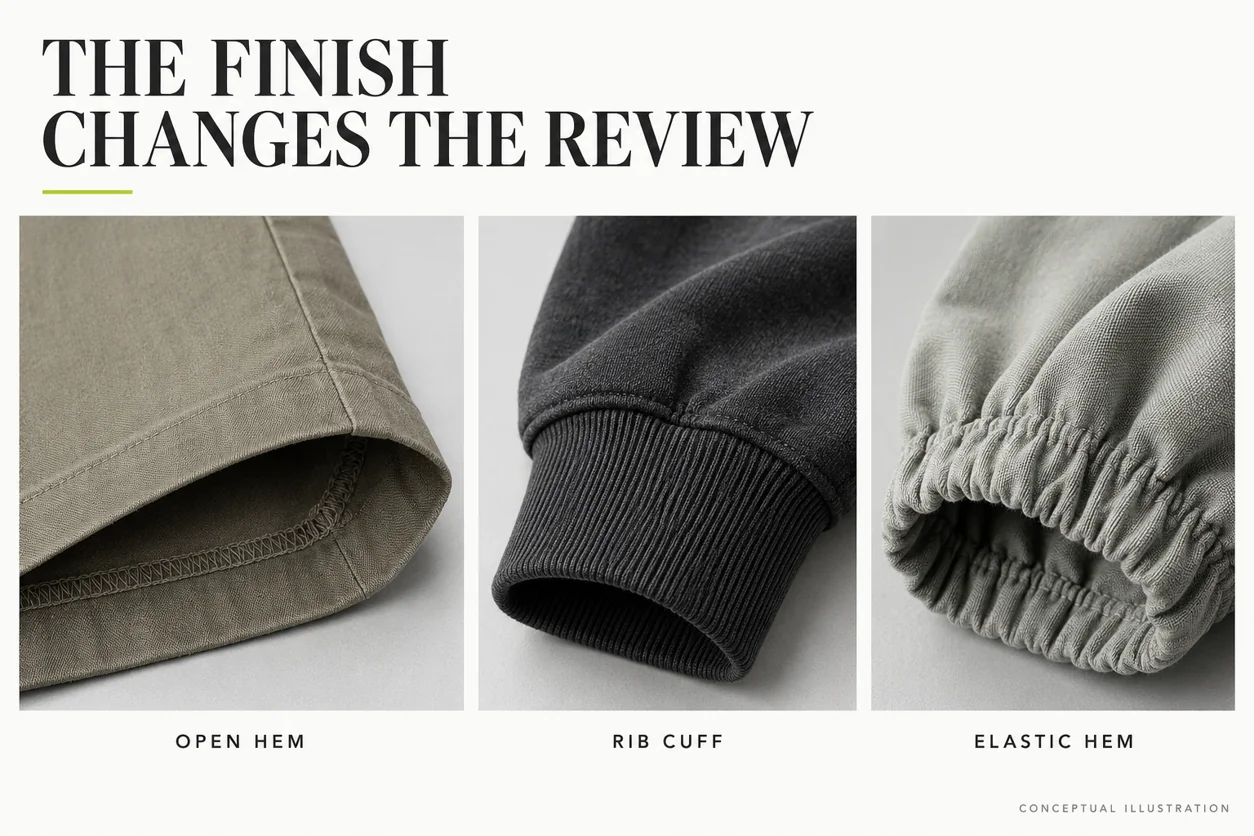
| Finish | What the approval needs to identify | What to inspect on the complete sample |
|---|---|---|
| Plain open hem | Finished edge, fold construction and agreed opening measurement | The line around the shoe, the interior fold and any visible unevenness or distortion |
| Rib cuff | Cuff material, join, cuff depth and the condition used for its opening measurement | Where the cuff sits, how the leg collects above it and the wearer’s putting-on/removal experience |
| Gathered elastic hem | Elastic and casing proposal, finished edge and relaxed measuring condition | The distribution of gathers, contact at the ankle and interaction with the chosen shoe |
This is an inspection framework, not a claim that one construction performs better. Each finish needs its own material and assembly approval. If your style is a cuffed jogger, our baggy jogger fit guide explains its broader fit brief; the length and cuff review should still use your identified sample.
For a zipped or adjustable opening, document the closure state used for measurements and photographs. Review each wearing configuration you intend to offer. Approval in one configuration should not silently stand for the others.
Third, turn the fitting observation into a precise revision
Start by naming the issue. “Too long” may mean fabric reaches the floor, the intended shoe is hidden, too many folds collect above a cuff, or the hem looks lower than the selected reference. Those observations need different discussions.
Similarly, “too narrow” could describe a restricted opening over a shoe, an unwanted tapered outline or difficulty putting the garment on. State what happened, where it happened and under which wearing conditions. Ask the supplier to propose a coordinated correction rather than treating every concern as the same width change.
Use a temporary fold to discuss length, then approve the sewn result
A pinning or folding exercise can help a buyer and maker discuss a proposed hem position. Mark it as a temporary proposal and record which side or leg was adjusted. Do not present it as the final production approval.
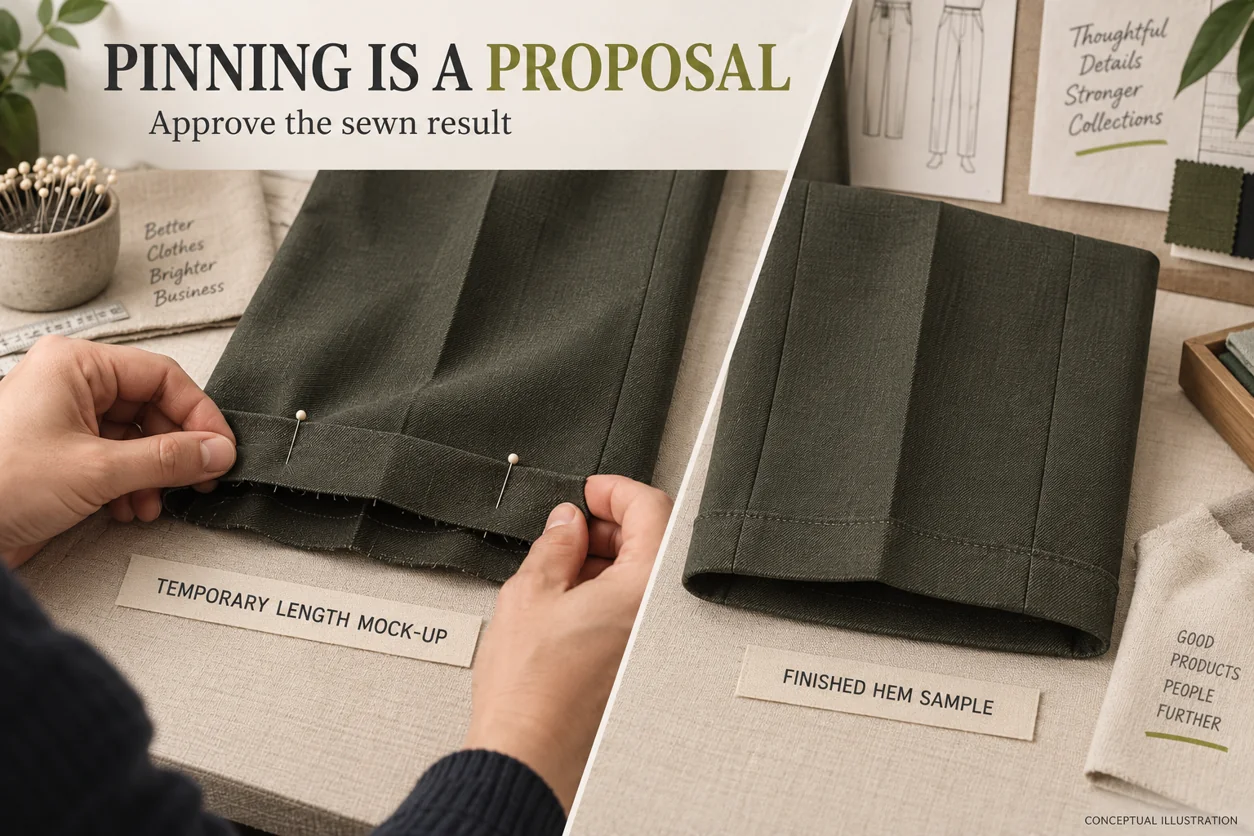
The revised sample should use the intended finished construction. Review its actual edge and opening again. This matters especially when shortening intersects a shaped lower leg: the manufacturer needs to show the resulting opening and outline, rather than assume that cutting to a new position preserves every approved detail.
If the proposed correction changes more than length, list those changes. A revised hem, lower-leg width, cuff attachment or closure needs to be visible in the record. Retain the previously approved material and upper fit, or identify any intentional departures.
Ask for the next sample you can actually assess
Useful feedback links an observation to a reviewable proposal. The following examples are hypothetical comments, not instructions for a measured customer order.
| Observation on the identified sample | Useful revision request | Evidence to review next |
|---|---|---|
| The back hem contacts the floor in the standing view with the selected trainers | Propose a revised finished length while retaining the approved upper fit and intended opening; identify all pattern changes | Updated length record and front, side and back views with the same footwear reference |
| The hem catches on the high-top after the seated check | Review opening, length and shoe interaction together; explain the proposed correction | Revised opening record and the same seated-to-standing check |
| The buyer likes the temporary fold but the finished construction has not been made | Produce the intended sewn hem at the proposed position, with the opening and outline identified | A finished sample rather than photographs of the pinned mock-up alone |
| The care-reviewed sample no longer sits at the agreed hem position | Document the before/after garment measurements and the care conditions; assess the proposal before changing the production specification | Traceable dimensional records and a worn review of the relevant sample condition |
Avoid asking for an arbitrary change just to create a number. The supplier should translate the observed issue into a specific proposal, and the brand should approve that proposal on the next identified sample. Keep the comment, revised chart and photographs together so a later reviewer can follow the decision.
Move, sit and return to the standing reference
Use a short, repeatable sequence appropriate to the collection: stand normally, walk a few steps, sit, then return to standing. If putting on and removing the garment is relevant to its opening, review that experience too. These are practical fitting observations, not laboratory performance tests.
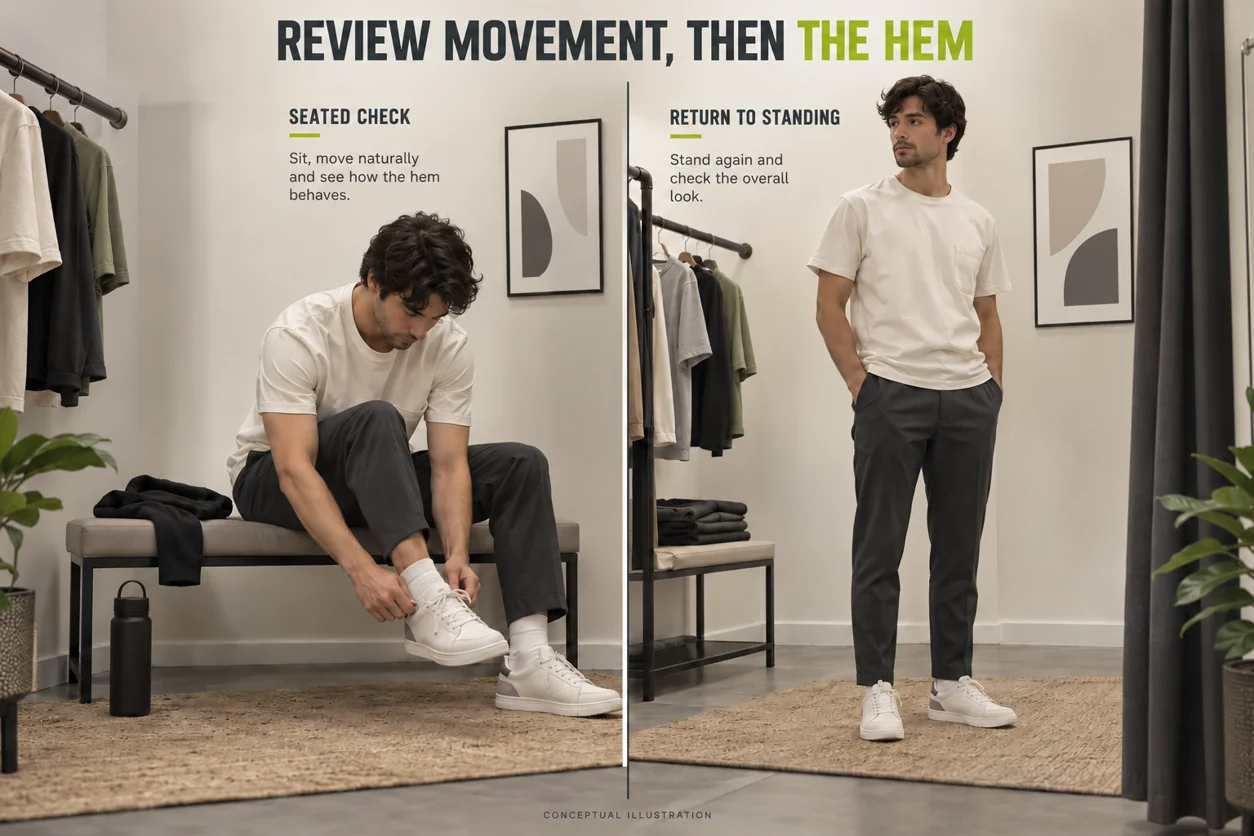
Observe whether the hem remains on top of the shoe, moves upward, catches or needs the wearer to reset it. Record whether the result is acceptable for the intended style. A hem that shifts while sitting is not automatically a defect; the question is whether the complete wearing outcome meets the agreed brief.
Use comparable front, side and back photographs after the sequence. A still image taken immediately after somebody manually arranges every fold cannot explain what happened during the check. Keep the ordinary view and any deliberately styled view labelled for their different purposes.
Include the relevant care condition and size range
Identify the care instructions and the sample condition used for approval. If dimensional change is part of the review, retain the relevant before/after records and the actual conditions used. Do not infer the finished garment result from a fabric swatch alone.
The public scope of AATCC TM150 concerns garment length and width changes after home laundering and notes limitations for certain stretch fabrics. It supports asking for appropriate dimensional evidence. It does not establish a universal acceptable change or prove how your trouser hem will sit over footwear.
A formal test should use the applicable full method and qualified interpretation. Keep an informal wear or care observation labelled as such; do not describe it as AATCC-tested unless that work was actually performed and documented. This guide does not provide the paid method’s procedure.
Also decide which sizes need physical review. A base-size approval does not establish the worn hem position for every size and wearer in the range. Ask how length, opening and the lower-leg outline are developed across the sizes you intend to sell, then choose the relevant samples for assessment. There is no universal rule that every size must receive the same length increment or opening adjustment.
If the collection offers more than one length option, identify each option independently in the chart, sample record and order description. A waist-size label alone should not be expected to communicate a separate approved length.
What to keep in the final approval record
Use a compact record that connects the garment specification to the wearing decision:
- Style, material reference, sample size and revision.
- Intended waistband position and reference wearer information needed for the fitting review.
- Defined inseam, any side-length record, opening measurement and units.
- Finished hem or cuff construction and any closure state.
- Identified footwear and ordinary standing, side and back views.
- Movement observations, relevant care condition and size-range decisions.
- Corrections completed, remaining limitations and the exact revision approved for production.
Keep approval within its stated scope. A selected reference photograph, an initial fit sample and a final construction approval are different records. The manufacturer should be able to identify the garment, chart and lower-leg outcome that production is expected to follow.
Buyer questions about trouser length and openings
Can I specify trouser length from customer height alone?
Height can help describe the intended customer, but it does not replace a finished garment specification and worn review. Define the waistband position, garment measuring method, hem construction and footwear context. Use the relevant reference wearers and sizes to evaluate the proposal.
Does a correct inseam mean the length is approved?
It establishes that one measurement meets its agreed value and method. Approval also needs the intended wearing result, construction and sample condition. Review the hem over the chosen footwear before treating the measurement as a complete lower-leg approval.
Should I widen the opening when the hem catches on a shoe?
First record the observation with the sample, shoe and movement identified. Discuss opening, finished length and lower-leg shape together. Ask the manufacturer to show a specific correction; widening the bottom without reviewing the outline can create a different garment proposal.
Can a pinned hem be the final approval?
Use it to communicate a proposed position. Approve a revised sample with the intended sewn finish, updated measurement record and repeated footwear checks. If the approval covers only a temporary mock-up, state that limited scope clearly and keep final construction approval outstanding.
Send Athletic Rush a lower-leg sample brief
Explore our jogger and sweatpant development page. For a streetwear enquiry, share the named garment, material proposal, reference silhouette, intended footwear and the hem outcome you want to review. Add your measuring-point drawing and any photographs that explain a specific correction. Athletic Rush can discuss the sampling proposal and confirm the order-specific requirements with you.
Email kamran@athleticrush.co, use WhatsApp +923279008337, or start a manufacturing enquiry. Confirm the sample scope, production terms and approval responsibilities for your actual project.