 Sialkot, Pakistan
A balanced wide-leg sweatpant starts with a defined upper fit and a deliberate leg line. Specify the waistband position, seat and thigh shape, then show how the width should continue through the knee and lower leg. A broad hem alone does not describe the whole silhouette, and ordering a larger size can change areas that already fit.
For clothing brands, the useful question is where the width belongs. Do you want a calm, nearly straight fall from the upper leg, a fuller hip and thigh with a restrained lower section, or a visible flare below the knee? Agree that direction before asking the manufacturer to change dimensions. There is no universal width or ratio that makes every sweatpant look balanced.
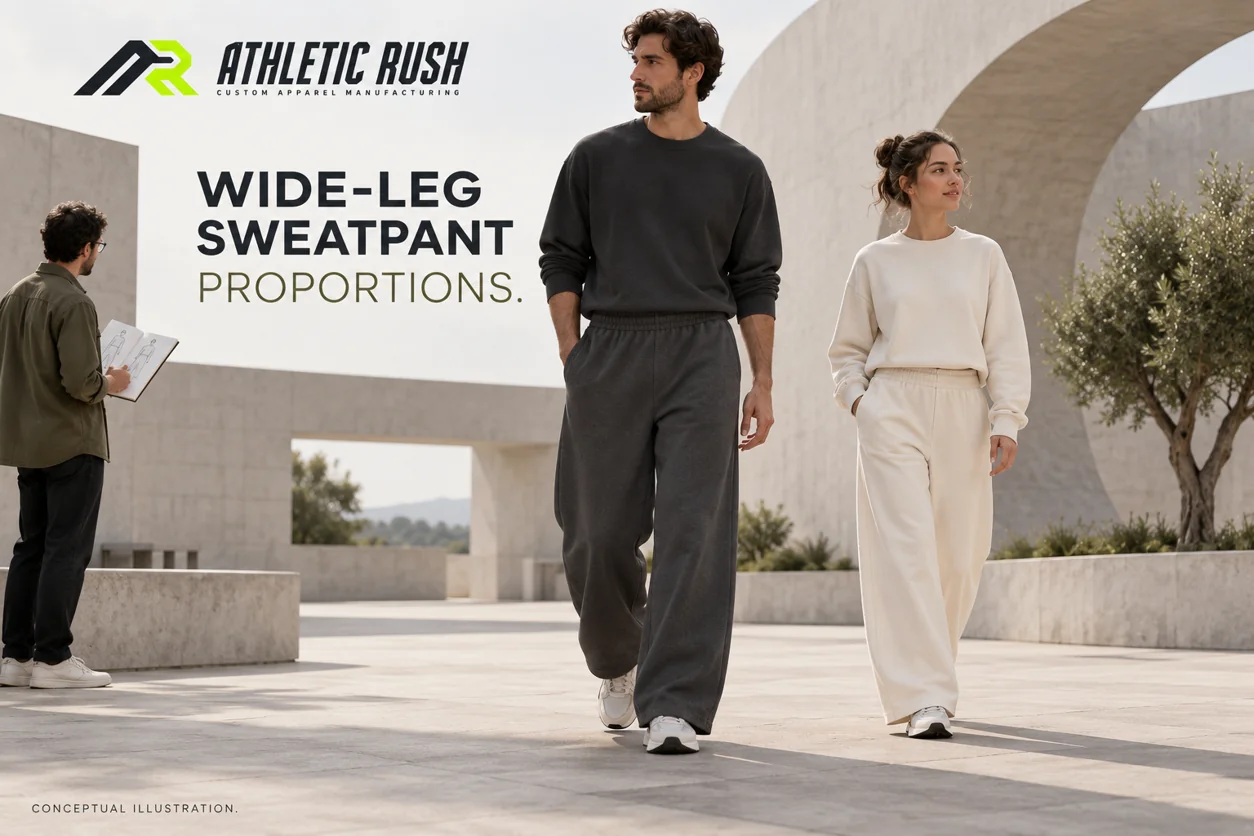
These six original images are conceptual illustrations of design and review ideas. They are not photographs of available Athletic Rush inventory, customer orders or measured test results.
Choose the line you want the eye to follow
Start with a front sketch and a plain description of the silhouette. The supplier needs to understand whether the leg should look broad throughout, become narrower, or become wider towards the bottom. Describe the intended wearing position and the upper section at the same time: a leg outline without its waist and seat context is only part of the brief.
In this guide, a straight wide proposal keeps a broad, comparatively steady leg line; a tapered proposal narrows towards the lower leg; and a flared proposal becomes wider below a chosen transition. These are working design descriptions, not standardized size categories. Brands and suppliers may use the names differently, so keep the drawing alongside the words.
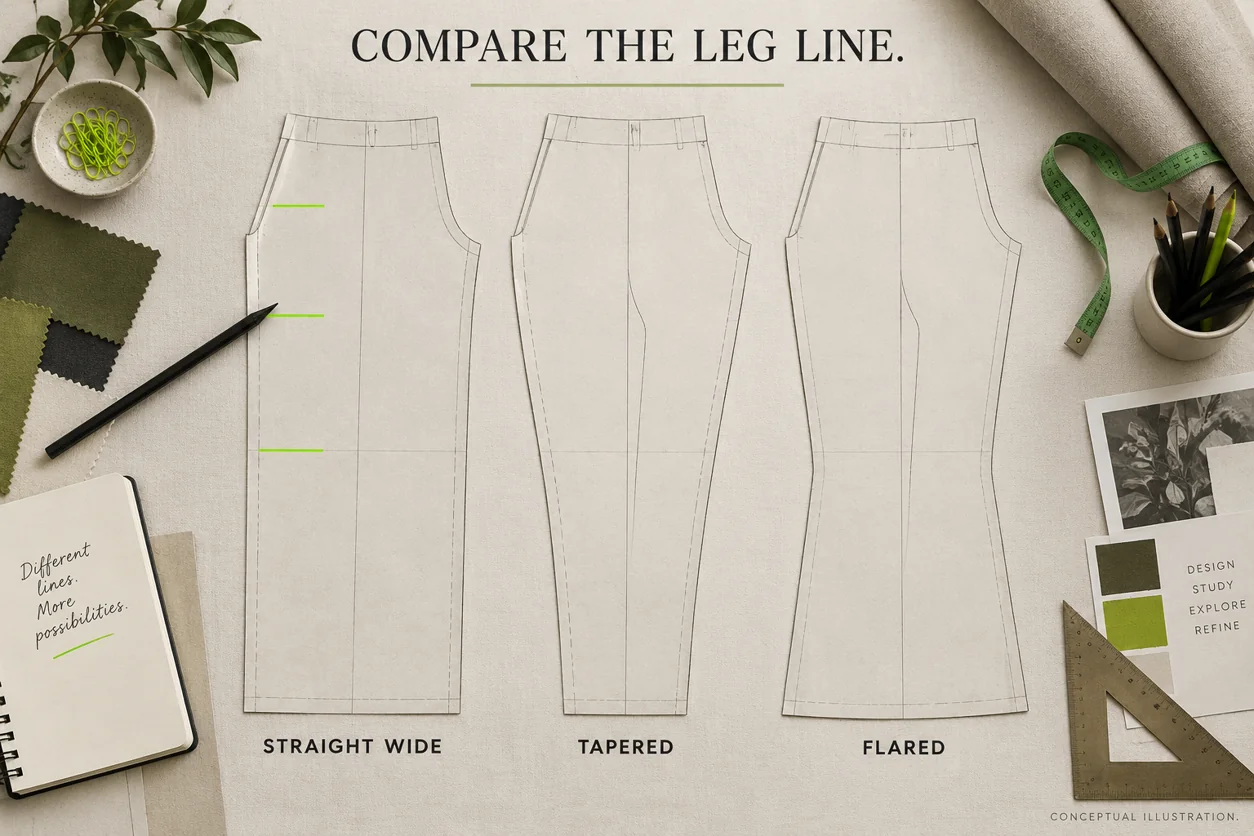
The illustration compares outline ideas. It is not a production pattern ready for cutting, and its guide marks do not prescribe a knee position or any measurement.
Consider three hypothetical collection directions:
- Clean charcoal wide-leg sweatpant: a secure intended waistband position, restrained fullness at the seat, and a broad leg that falls without an obvious below-knee flare.
- Relaxed ivory sweatpant: more visible volume at the hip and upper thigh, with the lower leg kept broad enough to support that upper shape.
- Olive flared sweatpant: an upper section chosen for the intended wearer, with a deliberate widening in the lower leg rather than extra width everywhere.
None is automatically more flattering, comfortable or suitable for a particular gender. They are different garments to develop for a defined customer. Select one direction for the sample; do not combine photographs of several different silhouettes and expect the supplier to infer which feature matters.
| Outline direction | What the buyer should make clear | A useful comparison |
|---|---|---|
| Straight wide | The intended upper fit and where the broad leg line should remain comparatively steady | Front and side views that show the transition from thigh through knee |
| Full upper leg with taper | Where the fullness is wanted and where narrowing should become visible | The upper-to-lower relationship, rather than hem width alone |
| Flared lower leg | Where widening begins and how visible it should be | A full-length view showing the change below the transition |
This table describes visual decisions, not a ranking of quality or a pattern-making formula. If your collection uses cuffed joggers as well, our baggy jogger fit guide covers that separate fit brief. Do not carry a cuffed-jogger approval into an open-hem wide-leg sweatpant without reviewing the differences.
A broad hem cannot fix every upper-fit problem
A supplier can show a wide opening while the upper thigh still looks narrower than the brand intended. Conversely, a roomy seat can lead into a leg that looks too narrow for the chosen direction. The outline should connect the areas; it should not rely on one impressive flat width.
Ask for an explanation of the proposed change. “Widen the opening” describes a different request from “maintain a broad line from the thigh through the lower leg.” Changing only the bottom can make a proposal look more flared. That may be desirable, but it should be a conscious choice.
A reference photograph also needs interpretation. A wide stance, camera angle or hand in a pocket can change the visible outline. Retain an ordinary standing view with the garment hanging naturally, as well as the styled image that explains the collection direction.
Build an outline map before filling a measurement chart
Use the chosen silhouette to decide which garment points need to be recorded. A manufacturer should be able to locate the same point on the next sample without guessing from a photograph.
Keep body information separate from finished garment measurements. Record the reference wearer's relevant dimensions and intended market segment, then document the garment's measuring points in its own chart. The public abstract of ISO 8559-1 describes body-measurement definitions for clothing development. It provides context for consistent body data; it is not a supplied wide-leg sweatpant pattern or a universal allowance for extra room.
For the garment outline, agree at least these references:
- Waistband condition and wearing position: say whether the chart records a relaxed flat waistband or another explicitly agreed method. Record where the sample is worn during photographs.
- Seat or hip level: identify the garment location on the drawing, rather than assuming everyone uses the same point.
- Upper-thigh level: define the exact location and direction of the flat width measurement.
- Knee reference: establish the location for this pattern; do not copy an unexplained knee mark from a different style.
- Lower-leg reference: locate a named point between knee and hem where the shape needs to be controlled.
- Leg opening and length reference: record the chosen measuring method so the lower section has context, even while its final footwear approval is still being developed.
Use a consistent unit system, such as centimetres or inches. State whether a value is a flat width, a circumference or a length. The number and the method should travel together. A flat measurement should not be compared directly with a body circumference without explaining what each represents.
A simple notation template is: “Upper-thigh width at the marked garment level: A cm flat; knee width at the defined knee line: B cm flat; lower-leg width at the marked level: C cm flat.” Replace A, B and C with the agreed measurements. These placeholders demonstrate a clear record; they are not recommended values or ratios.
Review the relationship between those points. If the thigh is increased but the knee and lower-leg proposal remain the same, ask the supplier to show the resulting outline. If the whole leg is widened, identify which areas of the upper fit should remain approved. Pattern changes can interact, so the manufacturer should explain a coordinated proposal rather than treat every number as independent.
Compare named proposals, not disconnected measurements
Suppose a brand is choosing between two straight wide-leg proposals. Proposal A has a more restrained upper section; proposal B adds visible hip and thigh volume. The brand wants the same intended waistband position and a similar broad lower-leg direction in both.
A useful comparison identifies the two sample revisions, the actual material, the reference wearer and the garment points that changed. Request matching front, side and back views. Then decide whether the added upper volume supports the collection direction or obscures it.
This is a hypothetical decision example. It does not establish which proposal will fit your customers or specify how much room they need. Its purpose is to make the comparison explainable. A list of unrelated widths cannot show whether the seat, rise and leg line work together.
Keep the material linked to the shape
Approve the silhouette in the actual material proposal. A drawing, a fabric swatch and a finished garment provide different information. The swatch helps identify the material and surface; the garment shows how that material sits in the proposed construction.
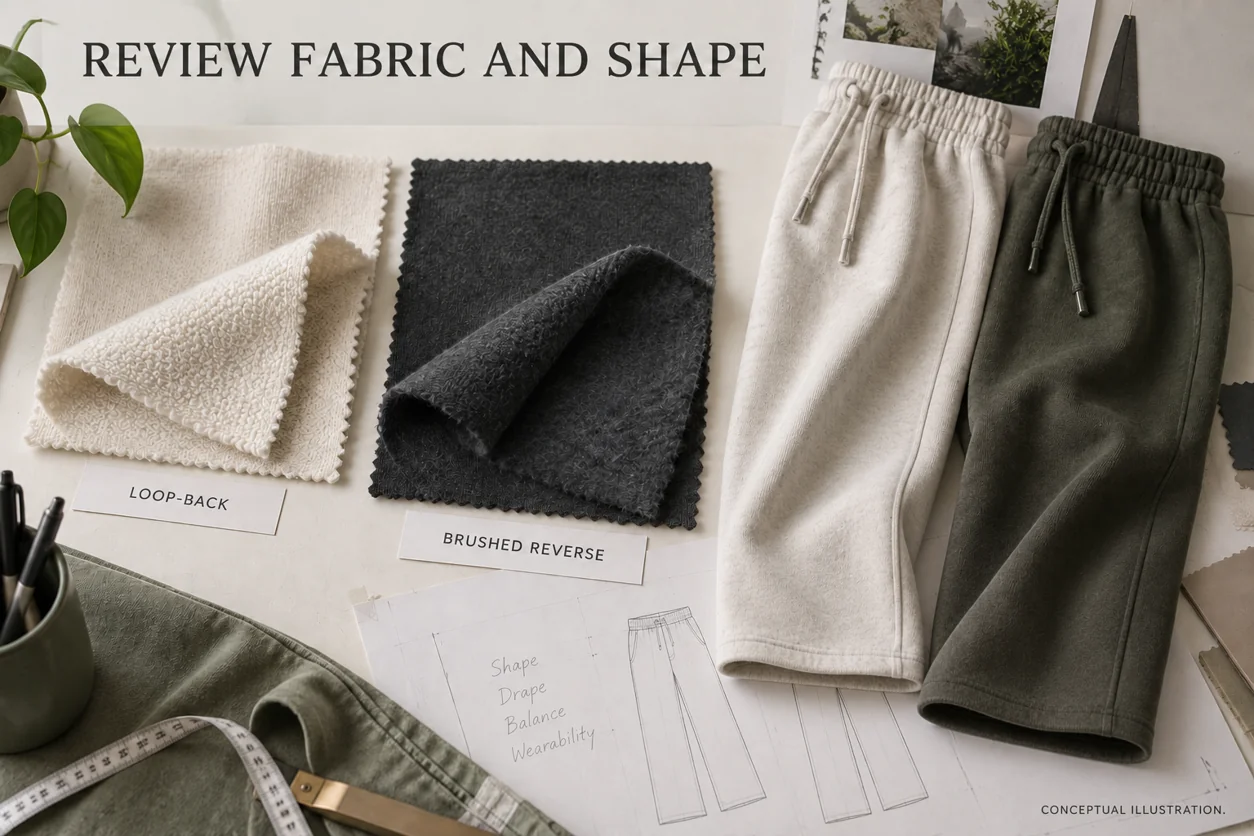
The material illustration shows two reverse-surface examples. It does not prove that one fabric creates a particular drape, lasts longer or provides a specific level of comfort.
For a meaningful material comparison, keep the intended pattern and other important conditions consistent, or document their differences. If one sample uses a different rise, leg width and fabric, the visible change cannot be attributed to fabric alone. You may be choosing between two complete garment proposals, which is valid; simply describe the comparison honestly.
Record the supplier's material reference, composition, construction and finish information. View the fabric in a complete leg, not only folded on a desk. Observe where it hangs close to the body, where it forms folds and whether those observations match the intended outline.
Our French terry and fleece guide explains the broader material choice. For this article's decision, retain the sweatpant itself as the approval reference. A hoodie made from the same fabric cannot establish the shape of a wide trouser leg.
Avoid assuming that a higher fabric weight automatically creates a better wide-leg style. Decide what the sample should look like, identify the actual material and review the result. If a substitution is proposed later, assess the relevant differences rather than treating the original silhouette approval as transferable without a check.
Inspect the upper section before blaming the lower leg
A full-length front view is useful, but it can hide a seat or rise issue. Review the sample from the back and side as well. Look at how the fabric is distributed above the knee and whether the wearer is holding the waistband at the agreed position.
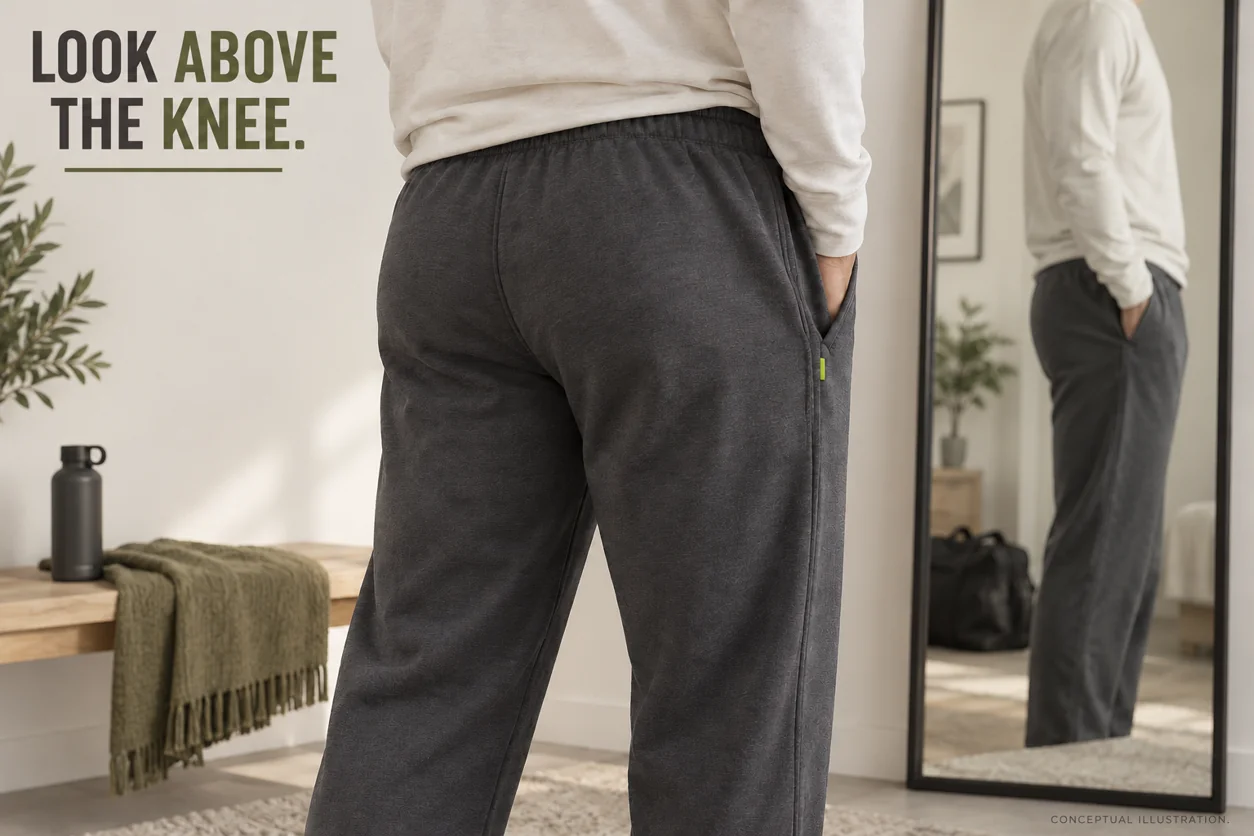
Record observations rather than diagnosing a pattern correction from one image. For example, “unwanted folds collect below the seat in the ordinary standing view” tells the supplier where to investigate. It does not prove that the back rise must be shortened or that the whole garment needs to become smaller.
Keep the approved areas visible. If the waistband position is correct and the lower-leg direction is accepted, say so while discussing the upper section. An instruction to “reduce the whole pant” can alter the silhouette you already chose.
Check the sample with pockets empty for the base outline. Then use the pockets as intended and note any difference separately. Hands or objects can change the visible side shape; the empty view and use view should not be mixed without explanation.
Let the garment move, then let it settle
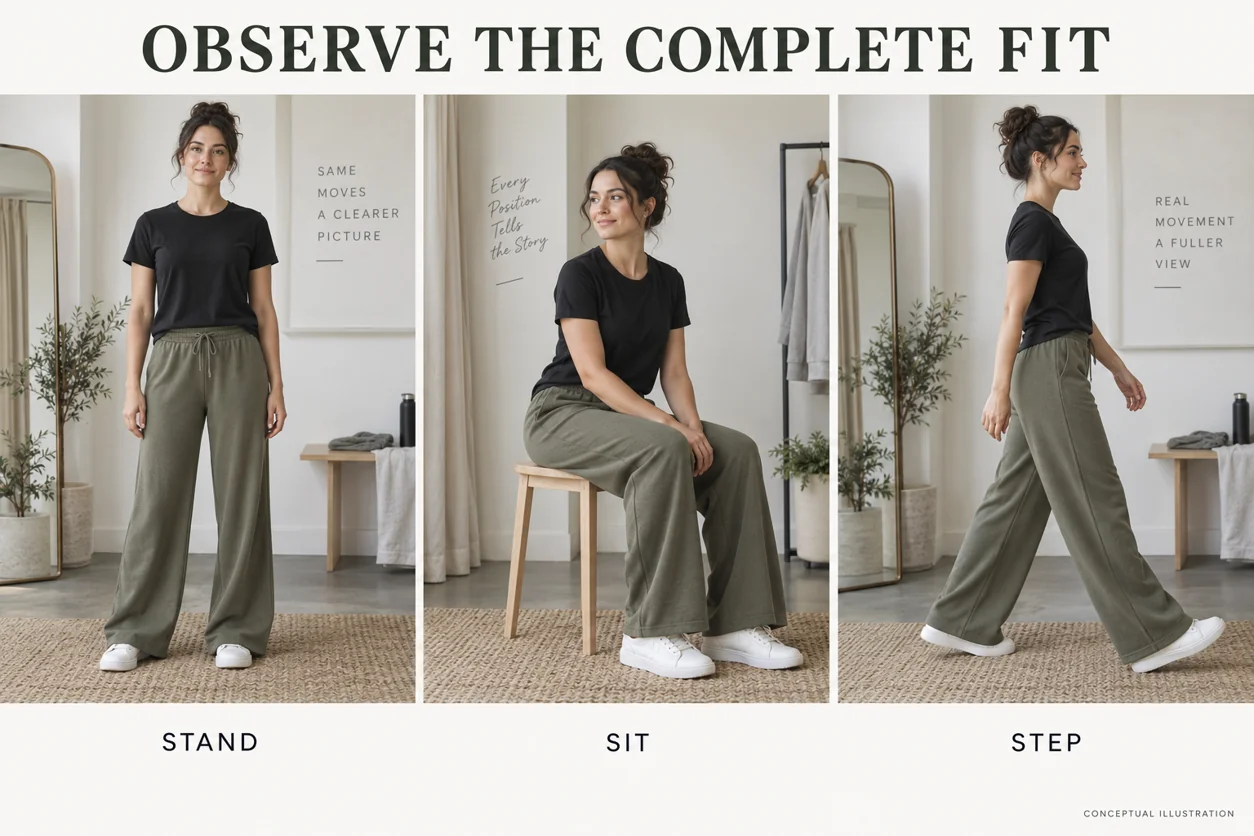
Review the actions relevant to ordinary use: standing naturally, sitting on a normal chair and taking a comfortable step. Ask the wearer where there is pressure or restriction. A broad lower leg does not, by itself, establish enough seat or thigh room.
After movement, return to the ordinary standing view. Record whether the waistband moved, where folds gathered and how the outline settled. Do not smooth away every visible change before taking the comparison photograph.
Keep the reference wearer, waistband position, care state and relevant footwear consistent between revisions. These conditions make the comparison more useful; they do not turn a studio fitting into a standardized comfort or performance test.
Length and opening still belong in the garment record. At this stage, check that they let you see the intended leg line clearly. If the garment is being held up or excess fabric hides the lower section, resolve that review condition before approving the outline. Final length and shoe relationship deserve their own focused approval, rather than being inferred from a cropped image.
Turn one visible concern into a traceable revision
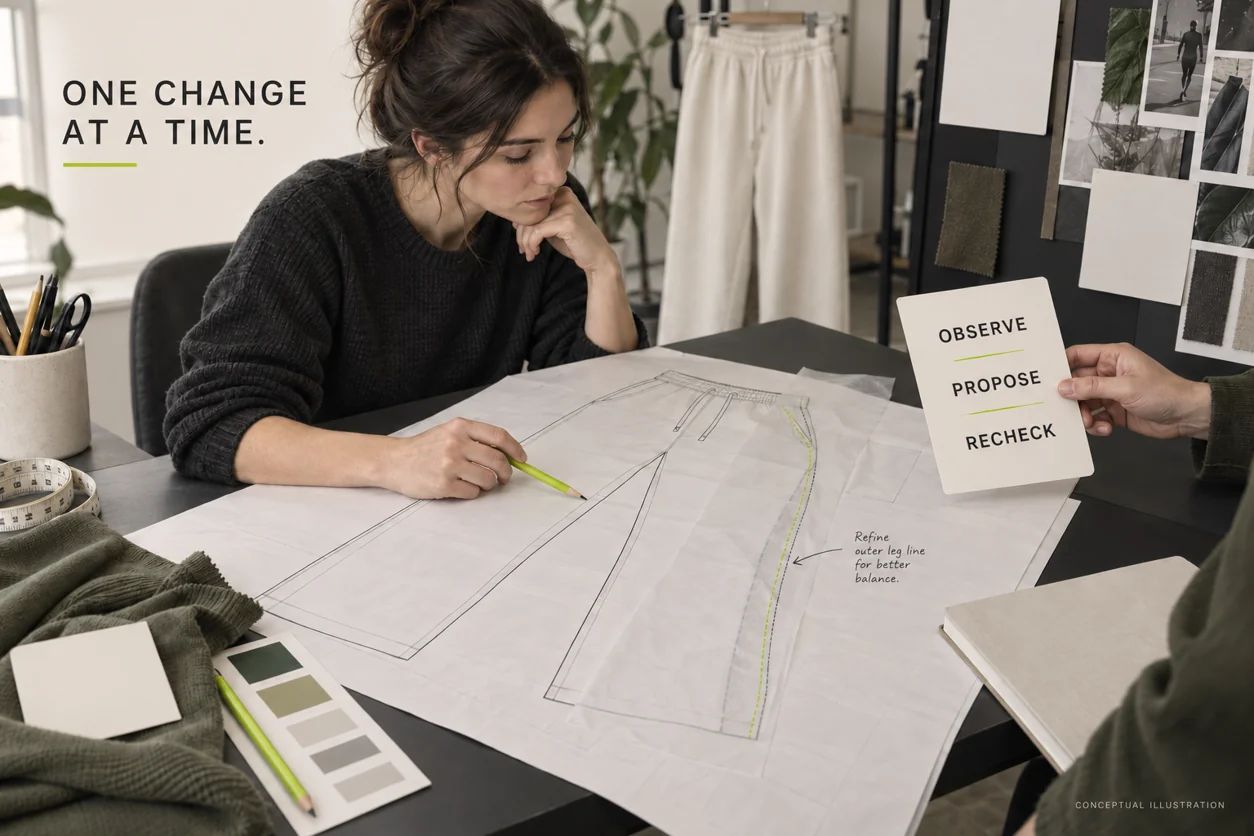
A good correction tells the manufacturer what you observed, what outcome you want and what should remain accepted. It leaves room for an appropriate technical solution while preventing unexplained changes elsewhere.
| Observation | A clearer request for the next sample |
|---|---|
| The thigh looks broad but the leg narrows more than the chosen straight-wide reference | Propose a revised thigh-to-knee-to-lower-leg line; retain the accepted waistband position and identify the changed measuring points |
| The opening is wide, but the change below the knee looks more flared than intended | Show a proposal with a steadier lower-leg direction rather than changing only the hem width |
| The upper section has unwanted folds while the lower-leg outline is accepted | Review the seat and rise relationship; state which accepted lower-leg features should remain stable |
| Two material samples look different, but their pattern specifications also differ | Label them as complete garment proposals, or arrange a controlled material comparison with relevant pattern conditions retained |
| A revision changes the intended outline in another size | Document the size-range treatment and inspect the affected sizes before extending the approval |
For example, a useful fictional comment might read: “The waist position and lower-leg direction are accepted. In the reference-size sample, the upper thigh looks narrower than our marked silhouette drawing. Please explain the proposed upper-section change, retain the accepted lower-leg direction, and provide comparable front, side and rear views with the revised measurement sheet.”
This is a communication example, not a prescription to alter one pattern line. If the supplier needs related changes, ask for that relationship to be explained and recorded.
Keep care state and size range in the approval
Where after-care review is part of the plan, label the initial and after-care records separately. Use the same identified garment measuring points and document the agreed procedure and acceptance criteria.
AATCC TM150's public summary covers garment length and width changes after home laundering and notes limitations for certain stretch fabrics. Those dimensional observations are relevant evidence to discuss; they do not establish every aspect of worn appearance, elastic recovery or comfort. Select an appropriate assessment for the actual garment with the supplier or testing provider.
Inspect whether the intended outline is still recognizable after the agreed review. A measurement result and a worn photograph answer different questions, so keep both where they are needed.
One approved size is also not the whole range. Ask how the hip, thigh, knee and lower-leg proportions are treated across sizes. Agree which additional physical samples and reference wearers are needed. An identical numerical increase at every point should not be assumed to preserve the intended silhouette for every customer.
Retain the final drawing, material reference, measuring method, accepted sample revision and relevant photographs together. A general “fit approved” message should not hide outstanding size-range or care checks.
Questions brands ask about wide-leg proportions
Is a straight leg always a wide leg?
No. “Straight” describes a comparatively steady leg direction, while “wide” describes the intended amount of visible room. A straight proposal can be restrained or broad. Show the silhouette and define its measuring points instead of relying on the name.
Can I create the whole look by widening the hem?
Not reliably. That change may make the lower section look more flared while leaving the hip, thigh and knee relationship unchanged. Review the continuous line and ask the supplier to identify the coordinated proposal needed for your chosen direction.
Should a wide-leg sweatpant also have a larger waistband?
Treat waist fit and leg shape as separate decisions that must work together. If the intended waistband position and fit are already accepted, preserve that requirement while developing the leg. Do not use a loose waistband as evidence that the wide-leg outline is correct.
How should I compare two fabrics for the same silhouette?
Identify the materials and keep the relevant pattern and review conditions consistent. If the patterns differ too, record that you are comparing two complete garment proposals. Review each worn sample before attributing the difference to a fabric name.
Prepare a wide-leg sweatpant brief your supplier can use
Send a silhouette drawing, intended wearer and size-range information, waistband wearing position, actual material proposal and clearly named garment measuring points. Mark the upper-to-lower relationship you want, identify approved features and describe any unresolved observation.
Athletic Rush develops custom apparel from Sialkot, Pakistan. Explore our jogger and sweatpant development page, then send your references to kamran@athleticrush.co or WhatsApp +923279008337 to discuss a sample brief. A clear outline, a repeatable chart and an identified worn sample give the proportion decision something concrete to approve.