 Sialkot, Pakistan
A streetwear tech pack should connect one identified design to clear garment drawings, component references, measurement instructions, decoration details and revision decisions. It should tell the supplier what is fixed, what needs a proposal and what the next sample is meant to answer. A logo and a fit photograph can start the conversation, but they do not settle those instructions on their own.
For clothing-brand buyers, the useful question is not simply whether the document looks professional. It is whether another person can find the right version, understand the intended garment and identify an unresolved decision before making assumptions.
This guide uses two fictional examples: a charcoal Transit Tee with a relaxed silhouette and a proposed front graphic, and an ecru Frame Hoodie with a pullover hood, rib finishes and a front pocket. They illustrate how to build a working brief; they are not Athletic Rush stock, verified specifications or ready-to-use production patterns.
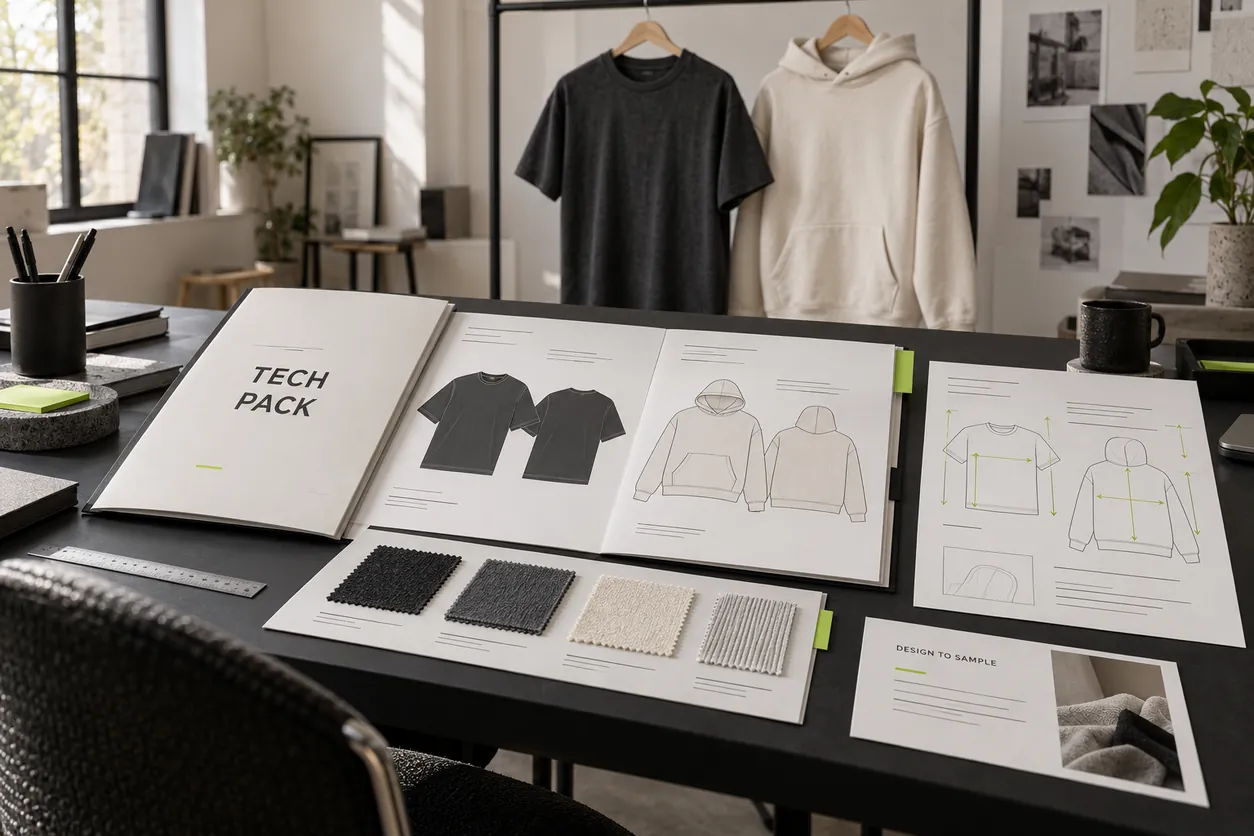
Concept illustration: the packet and garments show an educational document structure. They are not an actual customer tech pack, factory record or approved product.
Give the packet one identity and one purpose
A tech pack is a technical package for a garment. Techpacker's own guide describes core information such as technical drawings, materials, measurements, construction and revision records. Those categories are a useful starting point; the supplier still needs information appropriate to your particular style. Techpacker's tech pack guide.
Begin with a style identifier, a descriptive name, the document revision, its issue date and the person responsible for resolving questions. Keep that identity on the relevant pages and supporting files. If the Transit Tee drawing says one revision while its material sheet says another, the recipient should not have to decide which instruction takes priority.
Name the purpose of the issue: an initial development discussion, a first sampling brief, a revised sample request or a later production reference. These are different stages. A packet sent to explore construction should not silently become permission to make a bulk order.
Describe the intended wearer and use in practical terms. For the Transit Tee, explain how the hem should relate to the intended trousers, how the relaxed body should sit and whether the graphic needs to remain visible beneath an open layer. For the Frame Hoodie, describe sleeve coverage, pocket access and the relationship between the body and hem rib.
These descriptions establish the design question. They do not replace dimensions, material references or physical fitting. A short paragraph about the desired silhouette is useful when it helps the maker interpret the drawings and ask a focused question.
Mark what is decided and what is open
Distinguish a required feature from a proposed option. If the hoodie must have a front pocket but its internal construction is still being developed, state both facts. If the tee's body fabric is undecided, identify the properties and appearance you want reviewed rather than naming an unverified composition as though it has been selected.
An open question can be a legitimate part of an early tech pack. The problem is an open question disguised as a final instruction. Use a clear status beside the item and name the action needed: propose a reference, confirm feasibility, provide a swatch or revise an identified detail.
Keep commercial assumptions visible too. The technical packet can support a quotation, but included services, quantities, packing arrangements and delivery terms need their own agreed context. The custom hoodie quotation guide explains why a garment specification and the scope of an order should be reviewed together.
Show the garment from every relevant side
Draw the front and back clearly. Add a side, interior or enlarged detail where the construction cannot be understood from those views. Keep corresponding features consistent: sleeve shape, hem line, seams, openings, pocket placement and decoration should describe the same design throughout the packet.
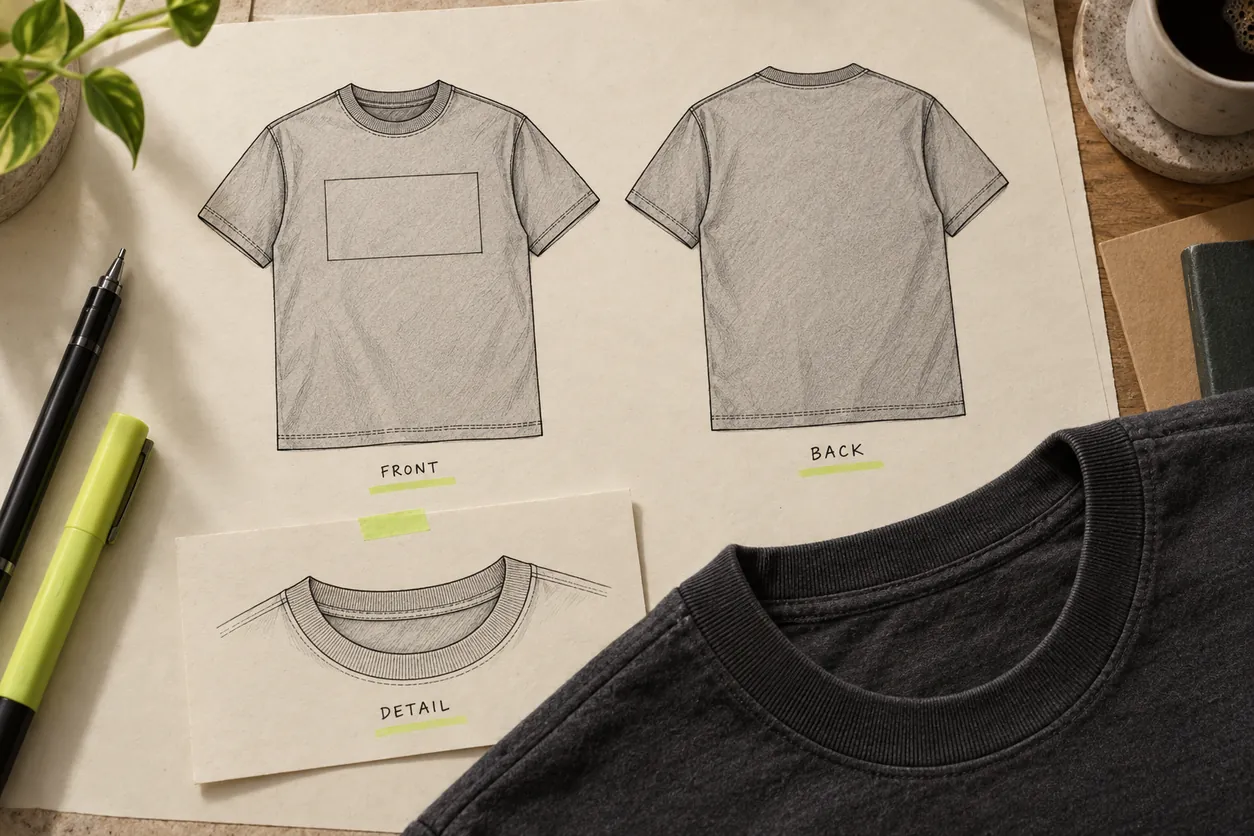
Concept drawings: these are original illustrative flats, not graded patterns, measured diagrams or instructions to cut a production garment.
For the Transit Tee, the front drawing can identify the proposed graphic area, while the back drawing establishes whether that surface remains plain. The neckline detail can show the relationship between the body and rib. A front photograph of a styled outfit may leave all three questions unresolved.
For the Frame Hoodie, show the hood and pocket on the relevant views and use detail drawings for the openings or joins that matter to the design. If a feature is visible on a drawing but absent from the component list, reconcile the two before sending the file.
Use callout identifiers that point to specific details. A short label such as “pocket opening: see detail D2” is easier to trace than several disconnected arrows with long paragraphs. The detail page should carry the same identifier and explain the feature it addresses.
Describe construction without inventing a recipe
Where the construction has been selected, identify the relevant seam, stitch, finish, trim or attachment and show its location. Where it has not been selected, ask the supplier for a proposal appropriate to the materials and intended appearance.
For example, “keep the neckline visually clean; submit the proposed inside finish with the complete tee sample” defines a development request. It does not claim that one unnamed factory method will suit every fabric. Conversely, a previously selected construction should be referenced accurately rather than replaced with the vague phrase “usual stitching.”
Discuss whether the proposed detail can be sampled in the intended assembly. A loose trim, a swatch or a drawing can help explain a choice, but the complete garment may reveal an interaction that the isolated part does not show.
Do not add confident-looking numerical stitch or process instructions merely to make the page appear technical. If a requirement is important, have the appropriate technical person establish it and identify how it will be reviewed.
Build component references that can be followed
The bill of materials, often shortened to BOM, identifies the components represented by the garment. Give each relevant component a name or reference that can be linked to its location, colourway and selected version. A body fabric reference should not be used as a substitute for the rib, thread, label or other trim information.
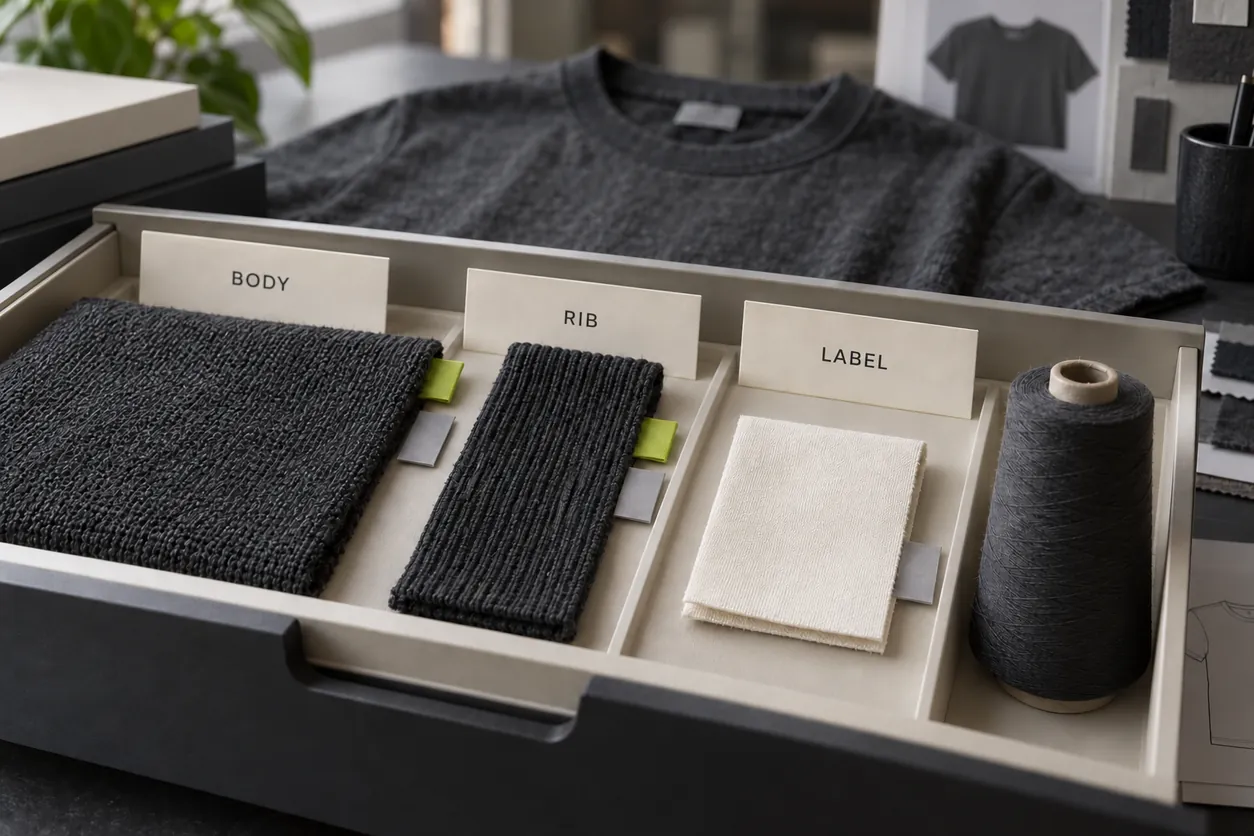
Concept materials: the textures and labels illustrate separate component records. They do not verify fibre content, fabric weight, supplier availability or performance.
Record the information that has actually been established: component identity, material specification where verified, colour reference, source or sample reference and the relevant location. If a physical swatch is the selected reference, identify it so the maker can distinguish it from an earlier candidate.
For the Transit Tee, the body and neck rib need separate references even if both are described casually as charcoal. For the Frame Hoodie, identify the body, rib, hood components, pocket construction and relevant trims. Do not presume that every component is made from the same material because the garment is one colour.
The following comparison is an illustrative packet review, not a list of specifications for available products:
| Packet area | Transit Tee example | Frame Hoodie example | Question to resolve |
|---|---|---|---|
| Design identity | Relaxed charcoal tee, identified revision | Ecru pullover hoodie, identified revision | Do all pages refer to the same style and issue? |
| Main material | Identified body reference or an explicit request for options | Identified body reference or an explicit request for options | Is this selected, proposed or still unknown? |
| Secondary components | Neck rib, thread and label references | Hem/cuff rib, hood and pocket details, trims and labels | Can each component be linked to its location? |
| Colour direction | Body and rib references kept distinct | Body, rib and relevant trim references kept distinct | What physical reference governs each selection? |
| Decoration | Front artwork, its scale and placement | Selected decoration or an explicit plain version | Which artwork and application proposal does this issue cover? |
| Sample scope | Defined sample size, assembly and review questions | Defined sample size, assembly and review questions | What must the sample represent, and what remains open? |
Treat substitutions as decisions
If the supplier proposes a different body material, identify that alternative separately. Ask which original requirement it is intended to address and what else changes with it. Do not silently replace a reference number while leaving all the related pages untouched.
A material substitution may require a revised construction proposal, a new appearance reference or another fitting review. The packet should show those dependencies as questions to resolve. It should not assume that an alternative becomes equivalent because its colour name looks similar.
For a collection, shared components can be referenced consistently across styles, but keep each style's assembly and status clear. The same rib reference appearing in two documents does not make the tee neckline and hoodie cuff the same development decision.
Make measurements usable, not merely numerous
A measurement entry needs a defined garment point, a unit, a size or sample context and a measuring method. Link the entry to a drawing or map showing its start and end points. State the garment's condition and handling relevant to that measurement.
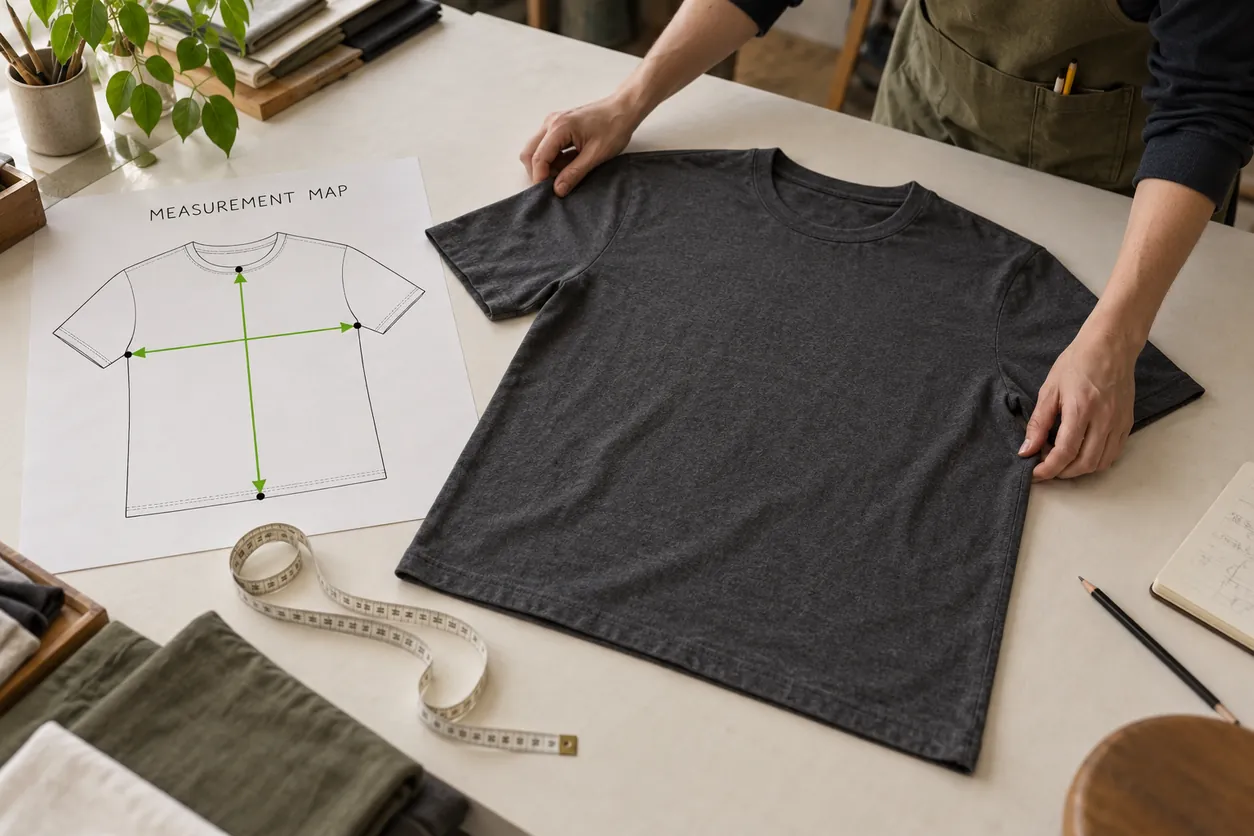
Concept measuring scene: arrows and dots demonstrate documenting a route. No dimensions, standardized procedure or measured result are supplied by the illustration.
For the Transit Tee, “length” could be interpreted from several starting points. “Chest” could mean a laid-flat width, a circumference or a body measurement. Resolve the meaning in the written method and accompanying map; a precise-looking number is still ambiguous without that context.
Use the same point identifiers on the diagram and table. Record the intended unit clearly rather than relying on the recipient to infer it from a previous project. Identify whether an entry is a finished-garment requirement, an observed sample result or a value still being developed.
Techpacker's garment spec-sheet guidance describes a measurement sheet as part of the wider tech pack and explains how callouts link measurements to the garment. The practical lesson is to cross-check the map and table rather than send either in isolation. Garment spec-sheet guidance.
Separate body data from garment data
The intended customer's body context and the garment's dimensions serve different purposes. ISO 8559-1 describes anthropometric measurement information for body size and shape profiles. Its public scope does not supply the finished dimensions for your fictional Transit Tee or Frame Hoodie. ISO 8559-1 public scope.
If a size chart describes a body, name it as body information. If a table describes the garment laid out for measurement, name it as garment information. Do not copy a body circumference into a garment-width cell without an appropriate development decision and a clear explanation of what the value means.
The desired silhouette, material behaviour and intended wearing context need to be considered in developing the garment specification. This guide prescribes no fixed ease amount, automatic grading increment or universal tolerance.
For a size range, distinguish the base sample from the other sizes. Identify the proposed size specifications and grading information, and agree what representative samples are needed. The T-shirt size-chart guide develops the relationship between size labels, garment information and range review in more detail.
State the review condition
If the garment is intended to receive a factory finish, identify the state that the specification represents. If later care requirements matter to the decision, identify the relevant evidence and reviewed state rather than combining before-care and after-care numbers in an unexplained table.
The colour and fit after-washing guide separates those outcomes and the records needed to interpret them. Refer to an identified report or sample record where appropriate; do not write “wash approved” as a substitute for the evidence.
Include agreed acceptance criteria where established. If a criterion is still open, resolve it with the relevant technical team before treating the packet as a production reference. A field copied from another template is not evidence that its limit suits this garment.
Link artwork to placement and application
Treat the artwork asset, its intended scale, its position on the garment and the proposed application as linked decisions. A preview image may communicate the design direction while leaving one or more of those decisions open.
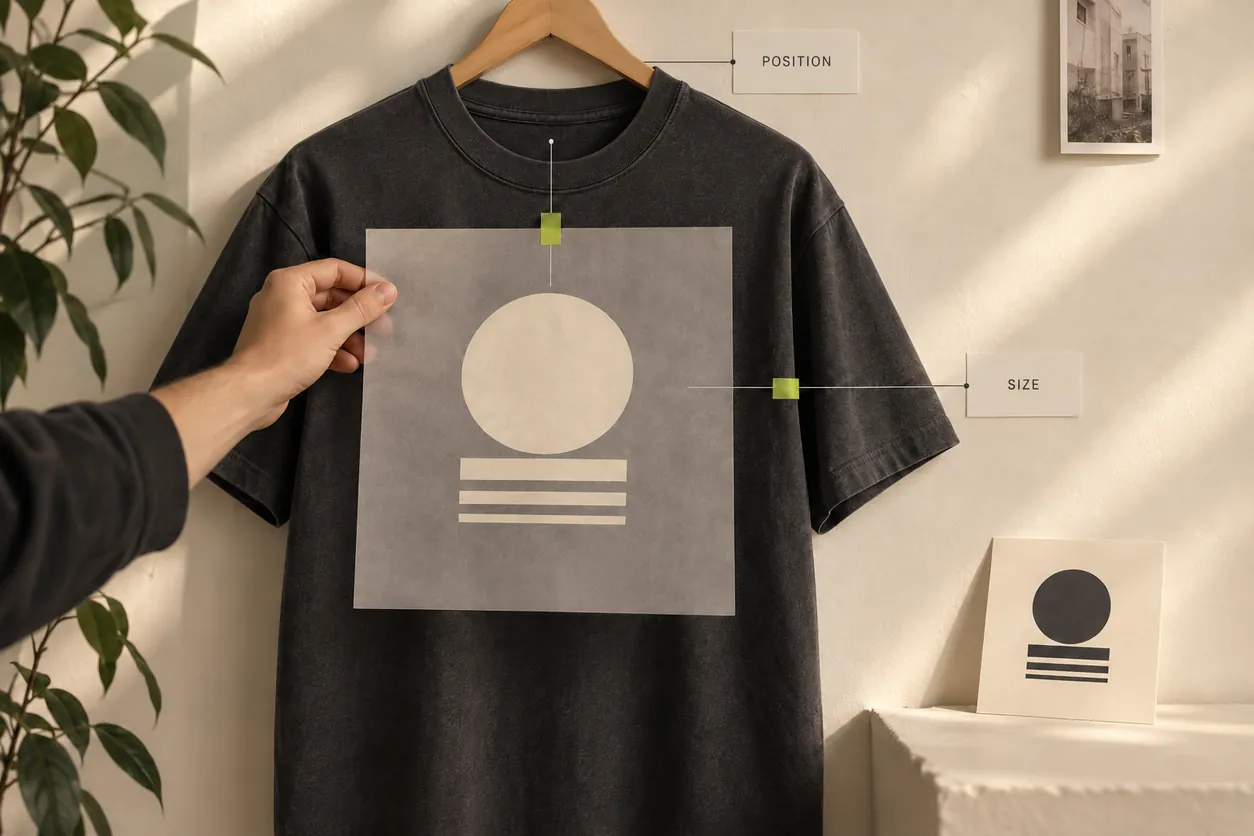
Concept placement view: the original graphic and reference tabs illustrate a brief. They are not a measured print layout, an approved artwork file or proof of a decoration method.
Identify the exact artwork revision that the supplier should use. Provide the relevant source or output file in a format the recipient can work with, and confirm what it contains. Avoid sending several assets named “final” without identifying which one governs the current issue.
Define placement from agreed garment references and show the relationship on a drawing. The position of a graphic on a photographed wearer is not necessarily a reproducible location on the laid-out garment. Camera angle, pose and styling can change the apparent relationship.
For the Transit Tee, explain whether the same graphic size is intended across the planned sizes or whether another arrangement needs development. Do not let an image enlarged for a presentation become an accidental instruction to enlarge the print on every garment.
For the Frame Hoodie, consider the selected garment's seams, pocket, hood and other relevant features when reviewing the artwork proposal. State what must stay visible and ask the supplier to identify any construction or application constraint that needs a revised sample.
Keep the chosen decoration method or proposed alternative in the record. A flat digital graphic does not establish the feel, relief, stitching appearance or care outcome of the finished application. Review the relevant complete sample and evidence for the decision being made.
Check consistency before sending the packet
Read the packet as if you were the next person receiving it. Can you connect the style, drawing, component, measurement, artwork and review request without guessing? Open the actual exported document and supporting files, not only the editable source on your screen.
Check that pages are readable, drawings have not been clipped, units are visible and file references can be located. Confirm that a reference photograph has been labelled by purpose: silhouette direction, colour context, construction detail or an identified sample. It should not accidentally overrule a written instruction.
For a first sampling issue, bring the supplier's questions into the same controlled record. A maker may need to explain a construction option or identify an unavailable reference. Capture that proposal and the buyer decision before it becomes a silent change.
Ask the recipient to confirm the style and revision received and identify unresolved questions. This is a practical handoff check, not a guarantee that a document removes every sampling risk.
Revise the packet alongside the physical sample
When a sample arrives, identify which document issue it represents and any substitutions or omissions. Review the physical garment against the relevant drawings, materials, measurements and wearing brief. Keep observations separate from guessed causes.
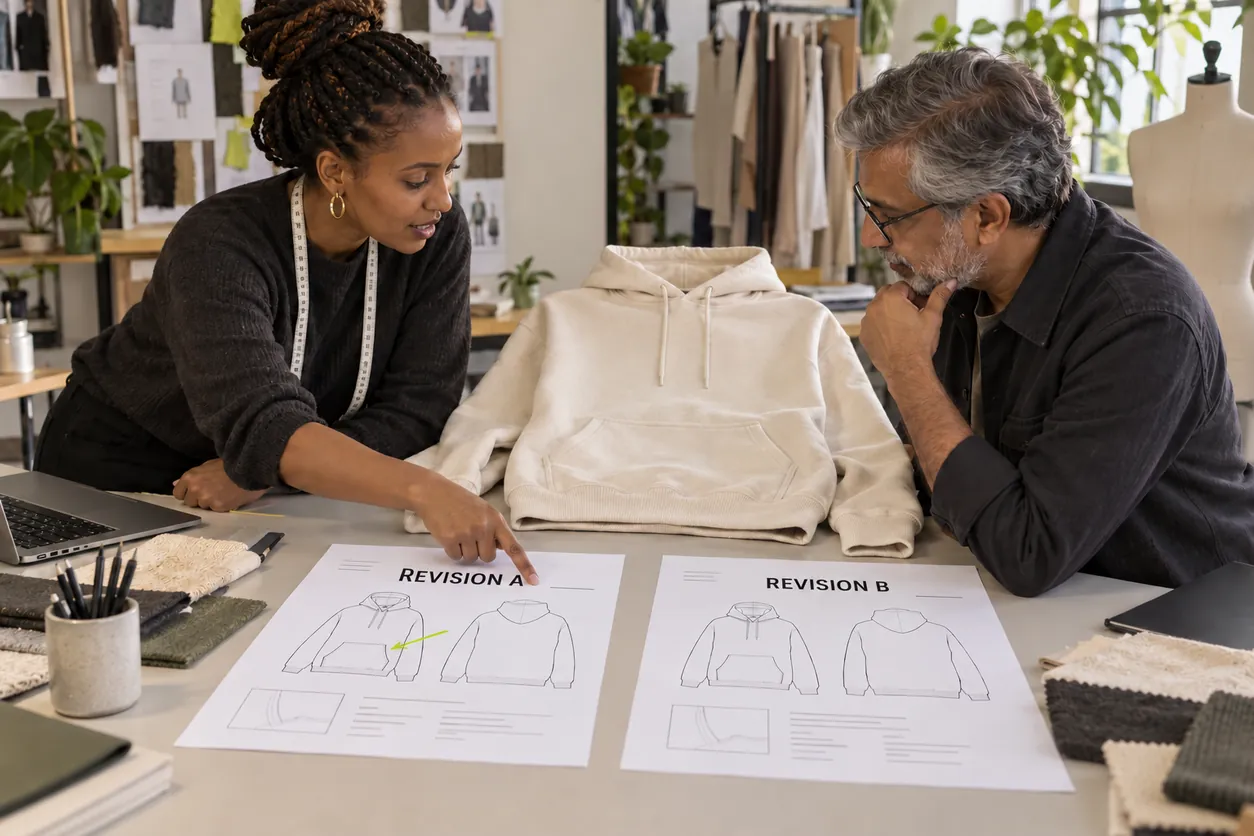
Concept handoff: the fictional people, garment and revision sheets illustrate a review conversation. They are not an actual order, approved customer document or production release.
If the Transit Tee's hem position is wrong, name the observation and ask for a defined revision. If the Frame Hoodie's pocket access is awkward, identify the wearing context and the feature needing review. “Make it better” does not tell the supplier what to retain.
Update every affected section. A changed body-length requirement may need a revised measurement entry, a drawing reference and a sample-review note. A different graphic position may require the placement page and corresponding artwork reference to change together.
| Ambiguity found | Clearer revision record | Recheck before the next decision |
|---|---|---|
| A tee length number changes but the measuring route is unclear | Identify the point, unit, start/end references and revised requirement | Confirm that the maker and reviewer use the same method |
| The hoodie pocket moves on the drawing but its note remains old | Update the affected view, detail reference and revision description | Review access and placement on the identified new sample |
| A body swatch is substituted without a new reference | Record the proposed alternative and the buyer's selection status | Check the relevant material, construction and fit questions together |
| The front graphic asset differs from the garment preview | Identify the governing artwork revision, scale and placement | Review the matching artwork and complete decorated sample |
| A message requests a change without saying what stays fixed | List the changed feature and the features to retain | Compare the new packet and sample with the previous issue |
| Several files are labelled final | Identify one governing document issue and its supporting assets | Confirm which version the recipient will use |
These examples are review instructions, not diagnoses or technical recipes. The proposed correction should be explained and checked on the appropriate identified sample.
Name the decision that closes each issue
Record what the buyer selected, what remains open and which sample or document the decision covers. A selected material direction, accepted sample dimension and production release are not interchangeable status labels.
Retain the editable source, the issued document, supporting assets, sample observations and revision history in a way your team and supplier can follow. A later reorder needs the relevant approved reference, not an old screenshot recovered from a message thread.
The useful outcome is continuity: one style identity, one current issue and a traceable relationship between the packet, the physical sample and the next decision.
Questions clothing-brand buyers often ask
Can I start with a reference garment and a logo?
Yes, they can support an initial discussion. Identify what you want retained from the reference and what should change. Develop the necessary drawings, material choices, measurement context and decoration instructions before assuming the sample maker will interpret every detail as intended.
Does a tech pack have to use a particular software package?
This guide requires no particular software. Choose a workflow that can produce readable, consistent, versioned information and supporting files your supplier can use. Check the exported result and the recipient's access, rather than assuming the software name makes the packet complete.
Can one tech pack cover an entire collection?
You can maintain shared standards and component references, but each style still needs an identifiable design, assembly, size context and revision status. A common collection mood board should not hide differences between the tee, hoodie and other garments.
What if I do not have the finished measurements yet?
State that the values need development and provide the relevant wearer context, garment reference and silhouette brief. Ask for the appropriate technical proposal and sample review. Do not fill the table with borrowed numbers and describe them as selected requirements.
Send a brief that leads to a useful next conversation
Prepare the style identity, current drawings, identified references, component list, measurement map and table, artwork information, sample scope and open questions. Check that the packet and attachments describe the same issue.
For a streetwear development enquiry, contact Athletic Rush at kamran@athleticrush.co or WhatsApp +923279008337. A useful tech pack gives the next reviewer something concrete to interpret, question and revise before a wider approval.