 Sialkot, Pakistan
 Worldwide enquiries

A T-shirt can have the right weight, artwork and oversized silhouette yet still feel unfinished around the neck. A collar that stands away, a seam that feels rough or a neck opening that becomes difficult to pull over the head can undermine an otherwise convincing sample. For a clothing brand, neckline approval deserves its own check rather than a quick glance at the front photograph.
This guide explains how to review T-shirt neck rib and stitching before approving production: define the intended appearance, inspect the finished sample, check comfort and recovery, then document what must remain consistent. It is a buyer's review method, not a universal sewing recipe or a substitute for agreed laboratory testing.
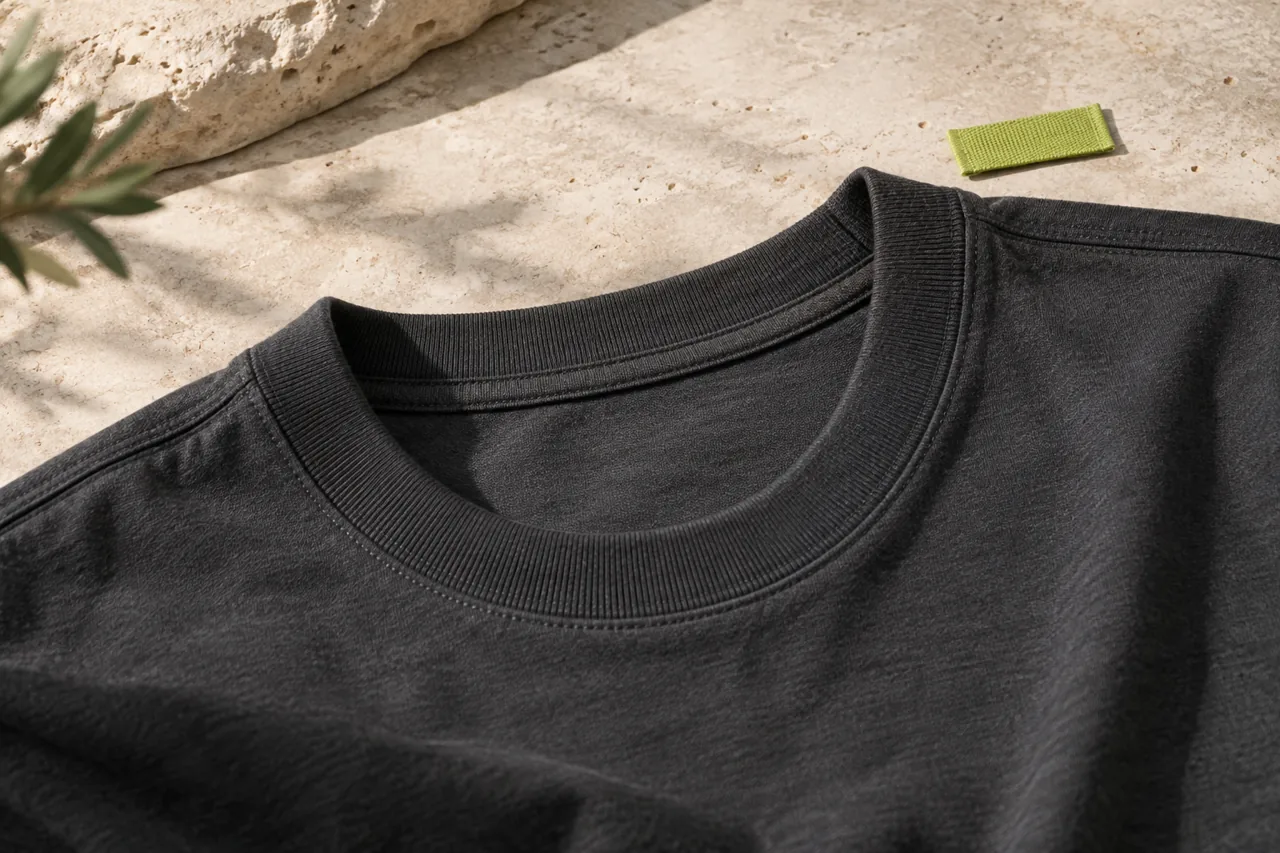
All six images are AI-generated conceptual illustrations. They explain review points and are not photographs of Athletic Rush inventory, production samples or measured test results.
Start with the neckline you want to sell
Before judging whether a collar is good, establish the intended design. A close crew neck, a wider casual opening and a substantial rib finish create different impressions. A reference image helps communicate that direction, but it cannot specify the fabric's recovery or prove comfort.
Write a short neckline brief alongside the garment specification. Identify the opening shape, visible rib width, colour relationship to the body, expected surface texture and desired stitch appearance. State whether the neck should sit close or feel more open. Include the intended customer and fit range so a sample is evaluated on a relevant wearer rather than only on a hanger.
Keep the neckline decision connected to the whole shirt. A visually heavy collar can dominate a minimal tee; a fine finish may look quite different against a substantial body fabric. Neither is automatically wrong. Review the neckline with the approved shoulder and sleeve proportions, using the drop-shoulder fit guide when that is part of your design.
The approval question is specific: does this neck opening and finish support the product we intend to sell? Avoid instructions such as “make premium rib” without an agreed sample or measurable specification.
Specify finished rib width, not just a cutting dimension
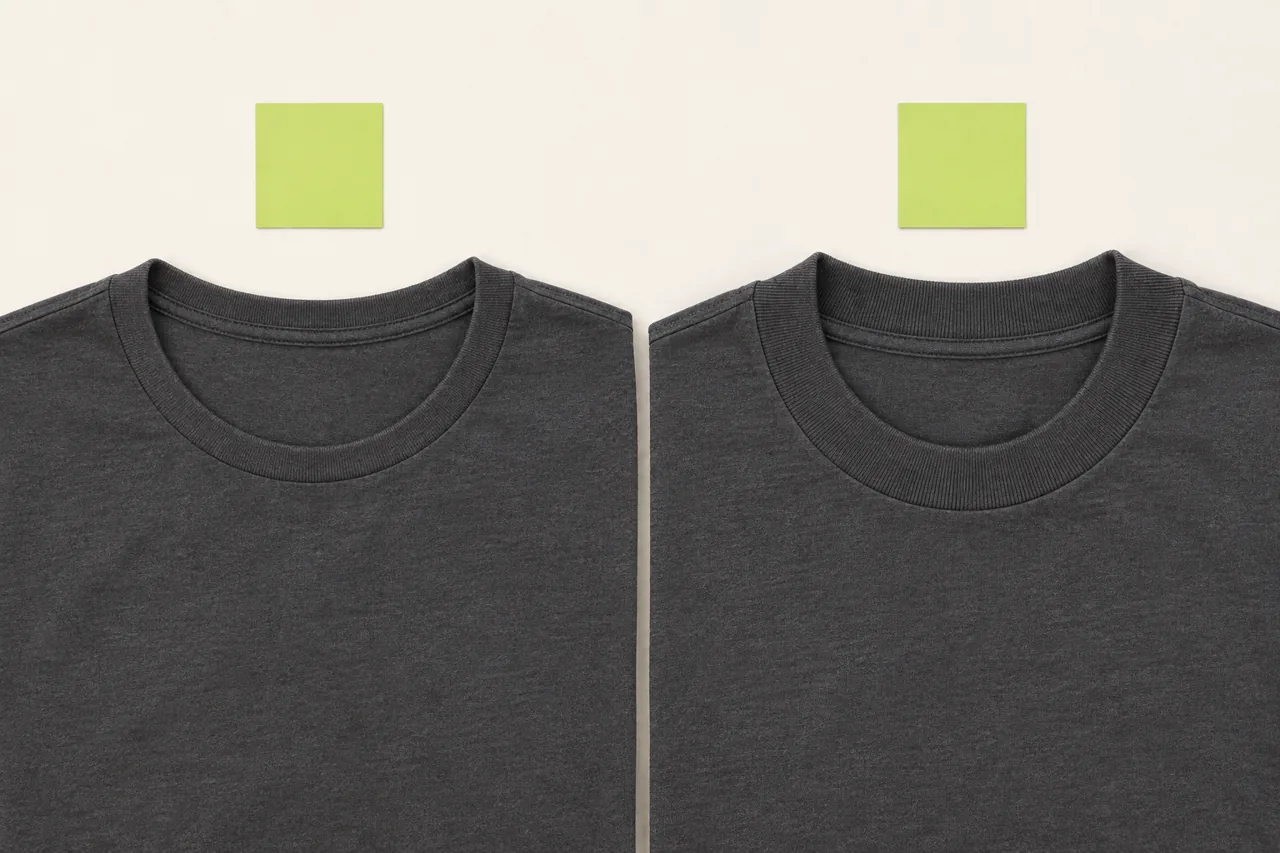
The strip used in construction and the rib visible on a completed T-shirt are different dimensions. Folding and seam allowances affect what remains visible. If the buyer measures the finished garment while the supplier refers to a cut strip, both can believe they followed the brief while discussing different things.
Record the visible finished width from the attachment seam to the folded outer edge. Agree where to measure, how the garment is laid and whether it is relaxed. Check several locations around the opening rather than relying on the easiest section. An uneven result needs investigation even when one measurement matches the target.
Also separate neckline width and depth from rib width. Widening the rib does not simply create a tighter version of the same opening; the overall pattern and assembly still need review. When comparing two samples, keep the other design variables as consistent as practical and label each revision.
| Decision | What to record | What to review on the sample |
|---|---|---|
| Finished rib width | Visible width and agreed measuring points | Consistency around the opening |
| Neck opening | Defined width and front/back depth measurements | Appearance, coverage and comfort |
| Rib material | Identified material reference and confirmed composition | Texture, stretch behaviour and return after release |
| Colour | Approved body-and-rib combination | Match or intentional contrast in consistent lighting |
| Stitch appearance | Approved seam construction and reference photos | Evenness, position and inside finish |
| Size range | Which sizes require fit or measurement checks | Comfortable entry and balanced appearance across sizes |
Use the same measurement definitions in your T-shirt size chart. A drawing showing exactly where a measurement starts is often more useful than another descriptive adjective.
Assess stretch and recovery separately
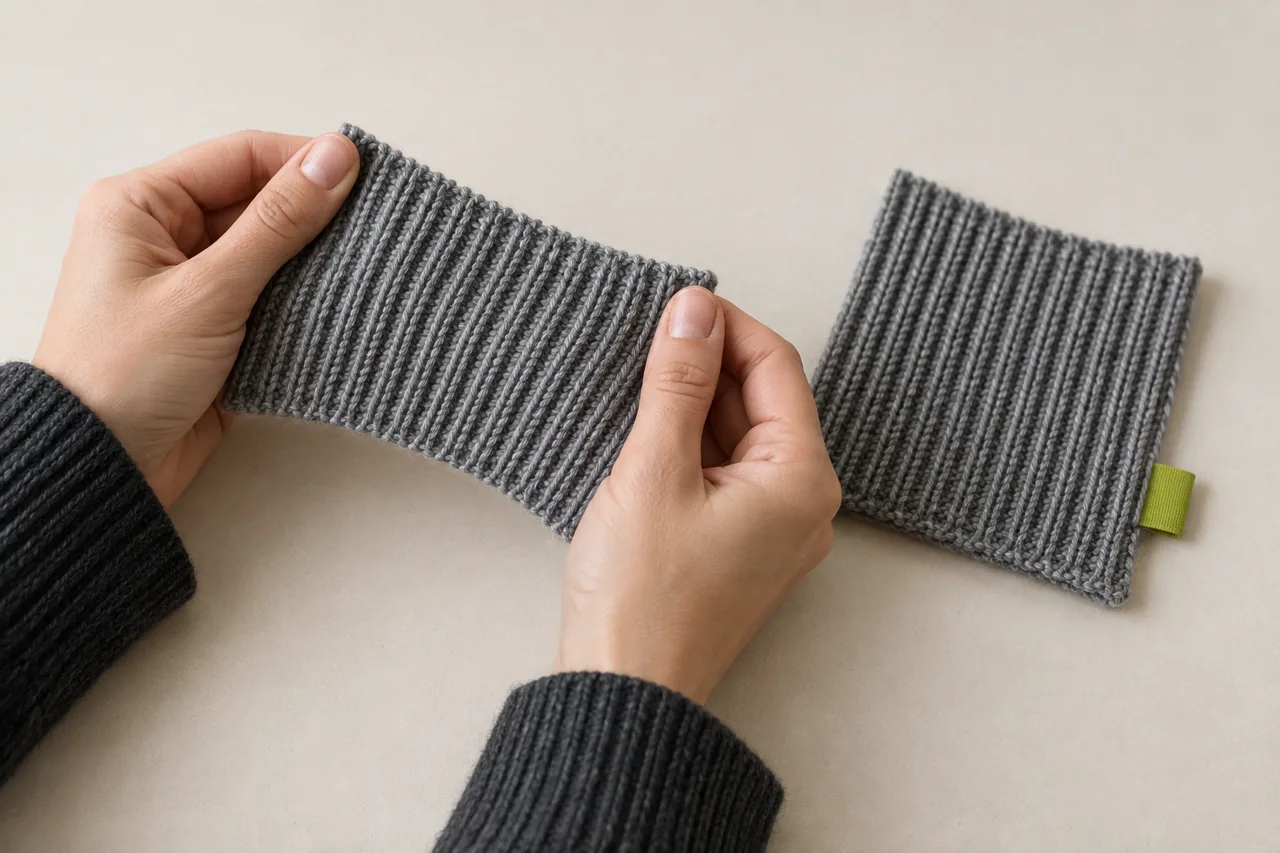
Stretch describes extension; recovery describes what happens after release. A material that extends easily is not automatically suitable for a neckline that needs to retain its intended appearance. Equally, a band that feels firm in isolation may become uncomfortable when combined with a small opening or a restrictive seam.
Seamwork's neckband guidance discusses how neckband length, fabric stretch, recovery and even distribution during attachment influence the finished result. For a buyer, the useful implication is to approve the actual rib-and-body combination rather than copying a length ratio from an unrelated garment.
Ask the supplier to identify the proposed rib, then review that material in the sewn sample. A gentle handling check can reveal obvious distortion, but it does not establish a verified recovery percentage. If your specification includes a numerical performance requirement, agree the test method, conditions and acceptance criteria with the supplier or testing provider.
For a practical sample review, photograph the relaxed opening first. Have a relevant wearer put on and remove the shirt normally, without forcing it. Allow the garment to relax and compare its appearance using the same setup. Record any change and repeat consistently on the revised sample. This is a screening observation, not proof of long-term durability.
Do not fix a loose-looking collar simply by requesting the shortest possible band. A change can affect both appearance and head entry. Request a revised sewn sample and reassess both instead of accepting an isolated strip as evidence that the problem is solved.
Inspect the seam inside and outside
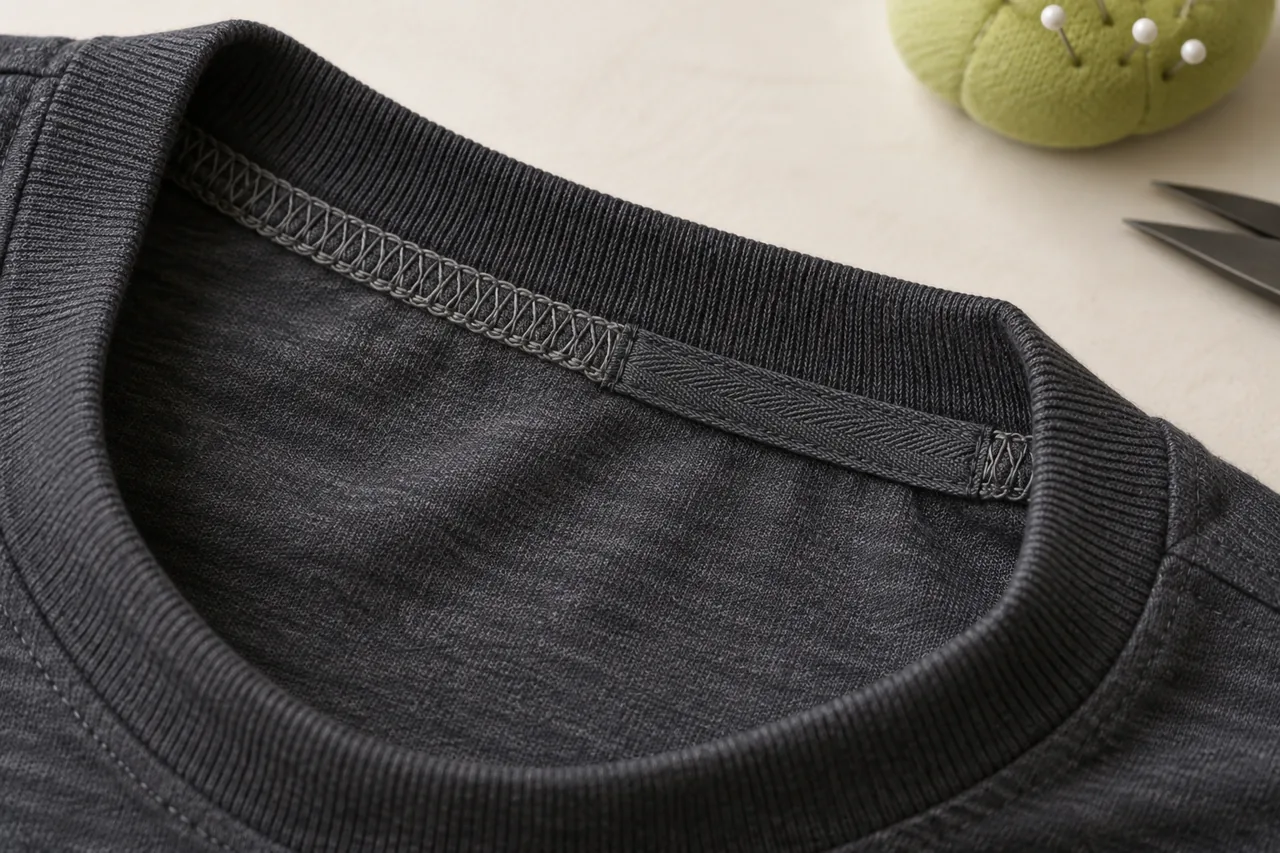
Turn the sample inside out and follow the neckline all the way around. Look at the join, shoulder intersections and any tape ends, as well as the straightforward front section. Check for loose ends, missed areas, damaged fabric and uncomfortable bulk. Compare the seam to the construction that was actually agreed; a particular tape or visible stitch arrangement is not a universal requirement for every tee.
AMANN's seam-appearance guidance identifies uniform stitch formation and freedom from visible defects such as puckering and skipped stitches as important appearance criteria. Visual quality is a starting point: it should be assessed alongside the seam's function and the garment's intended use.
On the outside, inspect the neckline while the shirt rests naturally. Does one area ripple? Does the seam wander away from the edge? Is there an obvious difference between left and right? Photograph the condition before manually smoothing it away. On the inside, lightly feel the finish where it will contact the wearer, including any label area.
Ask the supplier to diagnose repeated defects. A photograph of puckering alone does not establish whether the cause is material behaviour, handling, pattern balance or a sewing adjustment. Buyers should describe the observed result and the acceptance target rather than prescribe unverified machine settings.
| Observation | What to investigate with the supplier | Evidence to request |
|---|---|---|
| Collar stands away | Band length, recovery, opening shape and assembly | Revised sewn sample in the same size |
| Body fabric gathers near rib | Balance between band and opening; material handling | Relaxed flat and worn views |
| One section appears wavy | Local feeding, seam formation and component balance | Close-up plus full neckline view |
| Neck entry feels restrictive | Opening, band stretch and seam extensibility together | Normal wear check on the revised sample |
| Stitch gaps or broken thread appear | Stitch formation and suitability for intended extension | Corrected seam checked through normal use |
| Inside finish feels rough | Seam bulk, tape ends, label position and materials | Inside photo and physical comfort review |
| Shape changes after care | Body/rib behaviour and the agreed care conditions | Matched before-and-after measurements and images |
These are investigation routes, not diagnoses. Keep a sample on hold when the cause or correction has not been demonstrated.
Check comfort on a wearer, not only on a table

A flat-lay image cannot tell you whether a neck opening feels restrictive, rubs at the back or moves awkwardly during ordinary activity. Review it on a wearer representative of the intended fit, then check any additional sizes your approval plan requires. One acceptable middle-size sample does not demonstrate the entire size range.
Ask the wearer to look forward, turn their head and move their arms normally. Observe whether the collar shifts or pulls the surrounding fabric. Separate neckline discomfort from shoulder or chest fit: a body that is too restrictive can also distort how the top sits. The oversized versus boxy fit guide can help keep those broader silhouette decisions clear.
Record feedback in concrete terms. “Back join feels bulky against skin” is actionable. “Not premium enough” is difficult to reproduce. Photograph the same front, side and back views for each revision, with consistent posture and without pulling the garment into shape for the camera.
If a label will be added later, the unfinished sample cannot fully establish final back-neck comfort. Include the intended label and finishing arrangement in the relevant approval sample, or explicitly keep that part of approval open.
Compare before and after the agreed care process
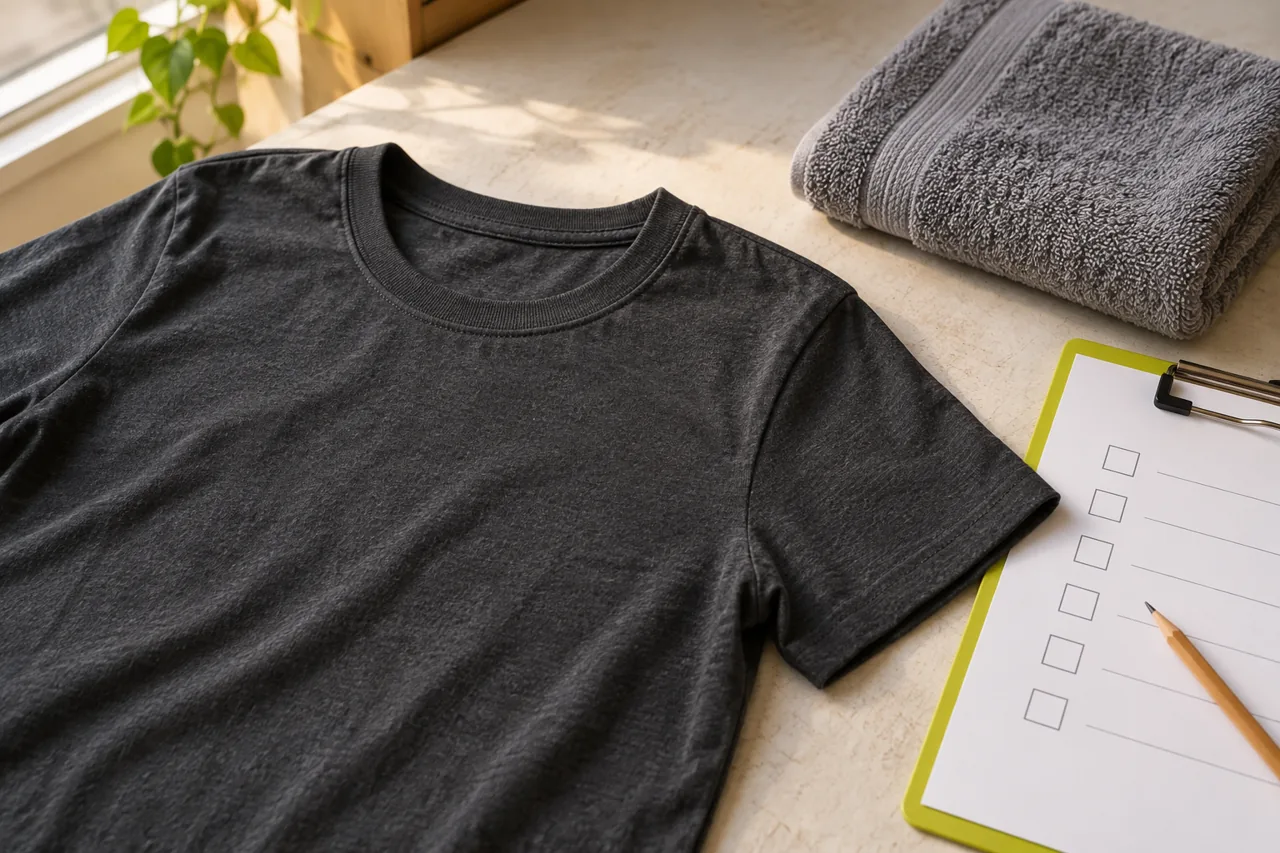
Do not judge care performance from a freshly pressed sample alone. Agree the intended care instructions and the review procedure before comparison. Record washing and drying conditions, the number of cycles used and any finishing afterwards. Otherwise, two different procedures can produce results that look comparable but are not.
Before care, identify the sample and revision, record the agreed neckline measurements and take clear photographs. After the sample has dried and relaxed under the agreed conditions, repeat the same measurements and views. Check the opening, visible rib width, seam appearance, colour relationship and comfort again.
Avoid stretching the neckline back to the target dimension before recording it. Likewise, record any pressing used so an improvement is not silently attributed to washing performance. Where a formal claim or purchasing specification depends on the result, use the appropriate agreed test rather than presenting an informal household check as a formal test result.
A successful care review applies to the sample and conditions examined. It does not establish a universal “no shrinkage” or “never stretches” promise. If the rib, body fabric, finishing treatment or construction changes, decide which checks need repeating before accepting the substitution.
Turn observations into an approval record
Keep one decision sheet for the final sample. Include the style, size, revision, body material reference, rib reference, neckline measurements, construction photos and care-review conditions. State tolerances only when agreed; do not invent a universal allowance for every garment.
Use three clear outcomes: approved, revision required or awaiting evidence. List outstanding points separately. A sample can have approved colour and unfinished neckline approval at the same time, but the production instruction must make that distinction explicit.
For example, suppose a charcoal oversized tee has the right visible rib width but the front stands away after normal wear. Record the location and condition, attach matching flat and worn views, and request a corrected sample while retaining the already accepted body proportions. When it returns, check the original complaint and confirm that head entry and seam comfort have not become worse. This is more useful than repeatedly requesting a “tighter neck.”
Before release, confirm:
- The final sample and specification use the same revision.
- Neckline measurements have clear definitions and agreed tolerances.
- The actual body-and-rib combination has been reviewed.
- Normal head entry, appearance and inside comfort are acceptable.
- Visible seam defects have been resolved or explicitly assessed.
- Care observations are recorded with their conditions.
- Required size-range checks and label details are complete.
- Any later material or construction substitution triggers an agreed review.
Retain the approved reference so a repeat order is compared against a documented decision rather than someone's memory of the original sample.
Frequently asked questions
Is a wider rib always a better-quality collar?
No. Width is a design choice. Review consistency, appearance, comfort, material behaviour and construction against the brief. A wider band does not by itself demonstrate better recovery or durability.
Can I specify the same neckband ratio for every T-shirt?
Do not assume one ratio will suit every material and opening. Ask the supplier to develop and confirm the actual sewn combination. Keep the approved dimensions and material references together so changes can be evaluated deliberately.
Does back-neck tape prove good construction?
No single detail proves overall quality. If tape is specified, check its placement, attachment and comfort. If it is not specified, evaluate the agreed alternative finish instead of treating tape as mandatory.
Can photographs replace a physical neckline sample?
They help document appearance, but they do not establish skin feel, comfortable head entry or recovery during use. For decisions that depend on those qualities, arrange a physical sample or an agreed practical evaluation.
Should we approve only the main size?
Define the size-review plan with the supplier. A main-size sample is useful, but it cannot verify every other size. Check the measurements and wear behaviour of the additional sizes identified in that plan before treating the full range as approved.
Discuss your T-shirt sample with Athletic Rush
Explore streetwear T-shirts and prepare a short brief covering your intended fit, neckline reference, body fabric, rib appearance, size range and any care-performance requirements. Include annotated sample photographs if you already have a specific concern.
Email kamran@athleticrush.co, discuss your requirements on WhatsApp, or use the quote request form. Ask for the proposed material and construction details to be confirmed for your project before approving production.