 Sialkot, Pakistan
Your first streetwear samples look good in a short creator clip, but a shopper still cannot see the back, understand the hem position or tell which color is being offered. What should you photograph before opening the product page? Build a shoot brief around the exact garment, the questions the images must answer and the views that will answer them. Keep clear product views alongside fit and styling images, then check every selected file against the sample and the option it represents.
An attractive campaign photograph and a useful product photograph can work together. They have different jobs. A mood-led portrait can establish the collection's character while hiding the sleeve, pocket or lower hem. A complete product page needs enough clear information to explain the garment without asking one dramatic image to do everything.
This guide is for U.S. startup clothing brands and creator-led streetwear drops preparing a first sample shoot. The Frame Tee, Nightshift Zip Hoodie and shoot example are fictional. All six illustrations are AI-generated educational concepts, not Athletic Rush inventory, customer projects, actual sample photographs or evidence of fit and color accuracy. This is a planning guide, not an offer of a photography service.
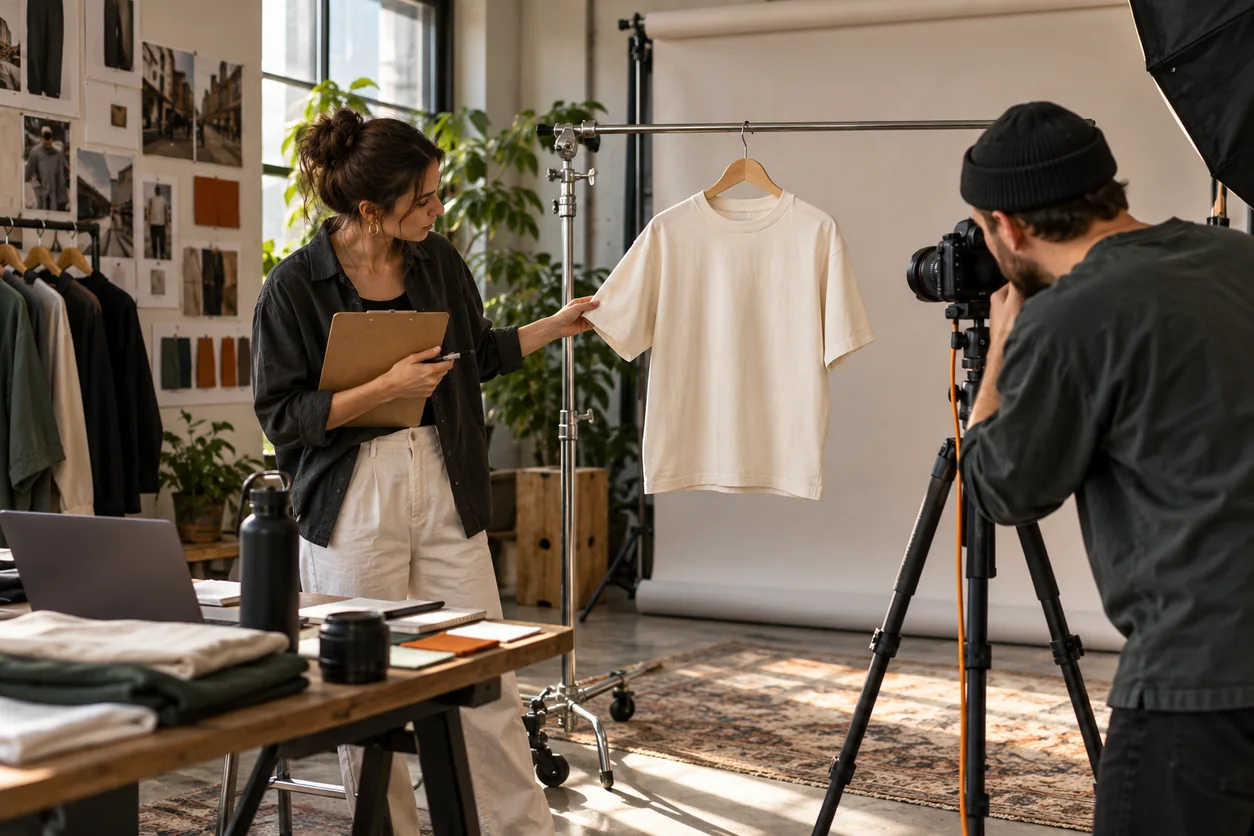
AI-generated shoot-planning concept. The people, garments and studio are illustrative and do not show an Athletic Rush customer, employee or completed product shoot.
Identify the garment before choosing the image style
Give the shoot sample a usable identity: design or style reference, sample revision, labeled size, color reference and the details still being changed. A folder called “final hoodie” is not enough if the zip length was revised after those photographs were taken. Tie the brief to the same garment instructions used by the person approving the sample.
For the fictional Frame Tee, record that the photography piece is revision R2, identify its actual labeled size and explain whether the body length and artwork are settled. If R3 later changes the hem position, the old worn image may no longer explain the garment being sold. Keep the old file, but mark its permitted use rather than silently mixing it into the new product page.
Use the Athletic Rush streetwear development hub to define the product scope. The T-shirt development page describes several fit directions; it does not make every oversized or boxy tee the same shape. Your photography brief should name the actual silhouette and sample, not just the broad category.
Separate the approval states. A sample might be suitable for discussing a campaign concept while its cuff or artwork is still open. Record that limitation. Permission to photograph a prototype is not production approval, proof that all sizes have been checked or permission to present an unfinished detail as final. The sample-to-bulk approval guide explains that separate manufacturing decision.
For a coordinated hoodie-and-tee release, use one shared visual direction but retain a separate garment record for each style. The collection-development page is a useful place to frame the range discussion. Do not let a shared mood board erase differences in fit, decoration, closures or sample status.
Turn shopper questions into a shot list
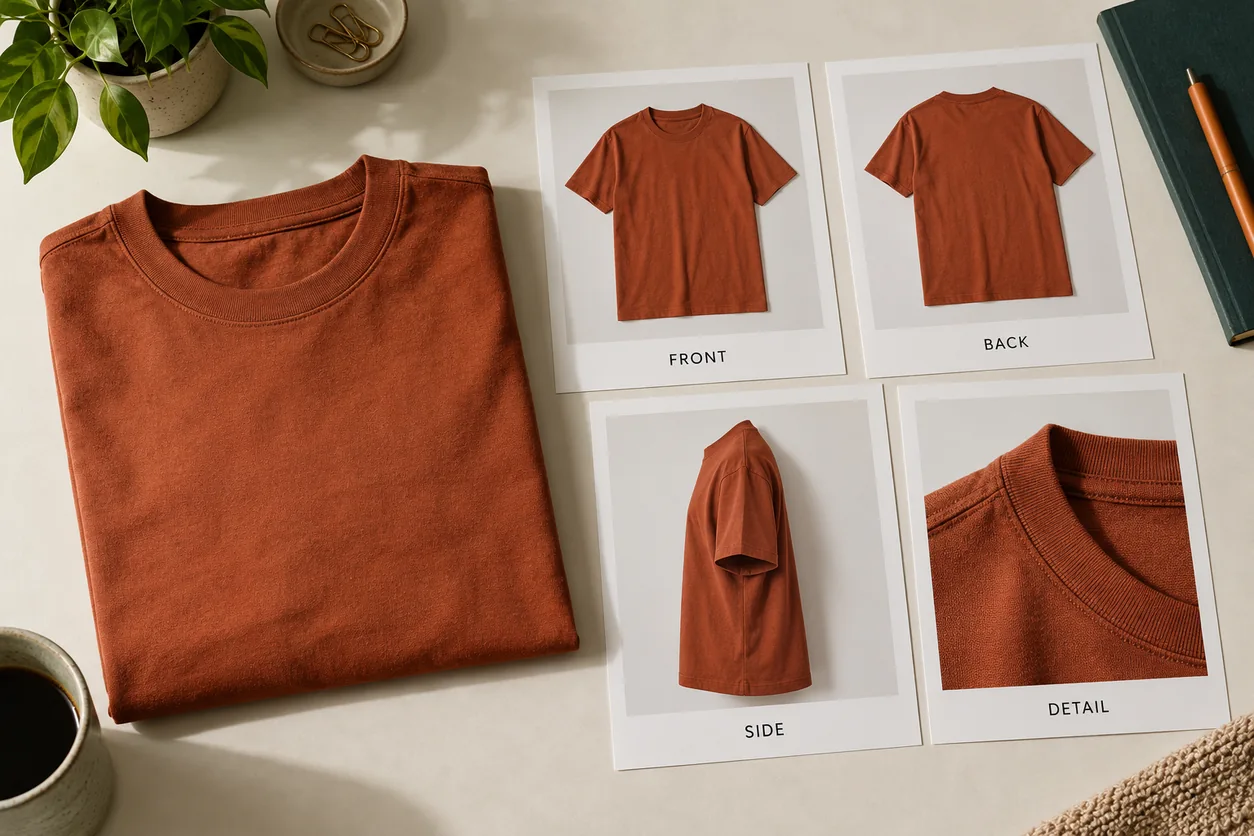
AI-generated contact-sheet concept. These cards explain view coverage; they are not photographs of an actual sampled or available product.
A shot list should describe what the image must explain, not merely say “take ten pictures.” Shopify's clothing photography guide recommends planning the intended use, garments and variations, angles, details and setup before the shoot. Apply that planning principle to your own products; it is not a required platform choice or a prediction of sales.
Start with the decisions a person cannot make from your current images. Is the back plain or printed? Where does the sleeve end? Is a pocket visible when the hoodie is closed? Does the image show the whole garment or crop away the feature the description mentions? Each unresolved question should have a proposed view and a check for whether the view actually answers it.
| Buyer question | Useful planned view | What to check before selecting it | What that image cannot establish alone |
|---|---|---|---|
| What garment am I buying? | Unobstructed full front and back | Same style, revision and correct variant; complete outline visible | Material composition or stock availability |
| How does the silhouette sit? | Relaxed worn front and side | Actual sample size recorded; posture and styling explained | Fit on every customer or size |
| Where is the hem? | View including the hem and relevant body context | No hidden tuck, lifted fabric or unexplained clipping | A garment measurement or universal fit result |
| What does the graphic look like? | Complete artwork view plus a useful detail | Correct artwork version; no crop hiding placement | Print durability or hand feel |
| How does the opening work? | Closure and pocket detail | Actual zip, fastening or pocket feature shown clearly | Long-term performance or every production piece |
| Which color or finish is this? | Identified variant under controlled, recorded conditions | File matches the named option; compare with the physical piece | Exact appearance on every screen or a physical color approval |
Treat this as a starting worksheet. A plain tee and a complex zip hoodie do not need identical detail lists. Remove redundant views and add a view when a meaningful feature is missing. The goal is useful coverage rather than a universal image quota.
In a fictional planning example, the founder lists six selected views for the Frame Tee and six for the Nightshift Zip Hoodie: twelve proposed final files. Two extra hoodie detail views make fourteen. That is a shoot-planning count, not an industry requirement, a cost quotation or the number of products or manufacturing designs. If a second color is introduced, decide which images must be photographed again to represent that actual variant.
Show fit without hiding what styling changed
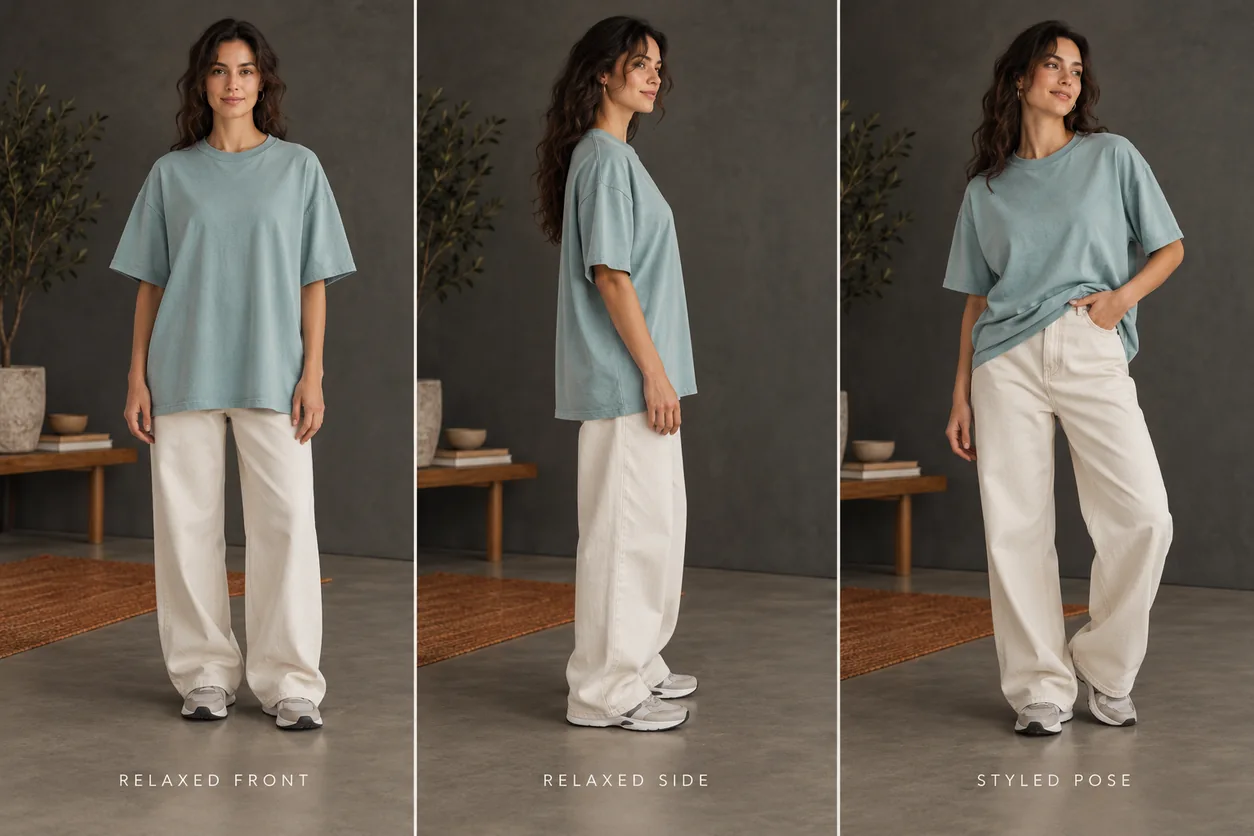
AI-generated fit-presentation comparison. It demonstrates how posing changes the visible outline; no real person was fitted or measured, and the illustrated garment is not a tested sample.
A flat lay can make the garment outline easy to see. A worn view can show where the garment sits on that wearer in that pose. A styled image can communicate an outfit. None replaces a defined measurement chart, and a photograph does not reveal a reliable chest width just because the person is standing straight.
Plan at least one useful relaxed view when fit is a selling consideration. Ask the wearer to let the garment settle naturally, keep the relevant edges visible and avoid holding the body wider or lifting the hem for that view. You can also capture deliberate styling, but keep a record of what changed: tuck, rolled sleeve, open zipper, layered garment or hidden adjustment.
For the Frame Tee, the founder wants buyers to understand a short, wide silhouette. A portrait cropped above the hem cannot explain that decision. A low-angle pose with a lifted front also changes the apparent proportions. Select a clear view that includes the shoulder, sleeve and hem, then add the more expressive campaign picture as supporting context.
Athletic Rush's actual Boxy Cropped T-Shirt — True White catalogue reference describes a wide shoulder, high-hip crop and straight hem. Those are specific features a brief can ask a photographer to show. That reference is not the fictional Frame Tee, proof of stock or evidence that a physical sample has been fitted. Use your own identified garment when preparing customer-facing photography.
If you publish model height or garment size, use information actually recorded for that shoot with the person's agreement. Do not estimate measurements from an image or present one photographed size as proof of the whole size range. Pair relevant fit context with the T-shirt size-chart guide, which keeps measurement definitions separate from visual presentation.
Check layers as well. A hoodie worn over a bulky top may sit differently from the same piece worn over a tee. State or consistently use the intended layer when the comparison depends on it. The photographer's brief should preserve the brand's chosen wearing situation rather than create an accidental before-and-after comparison between different outfits.
Give details their own frame
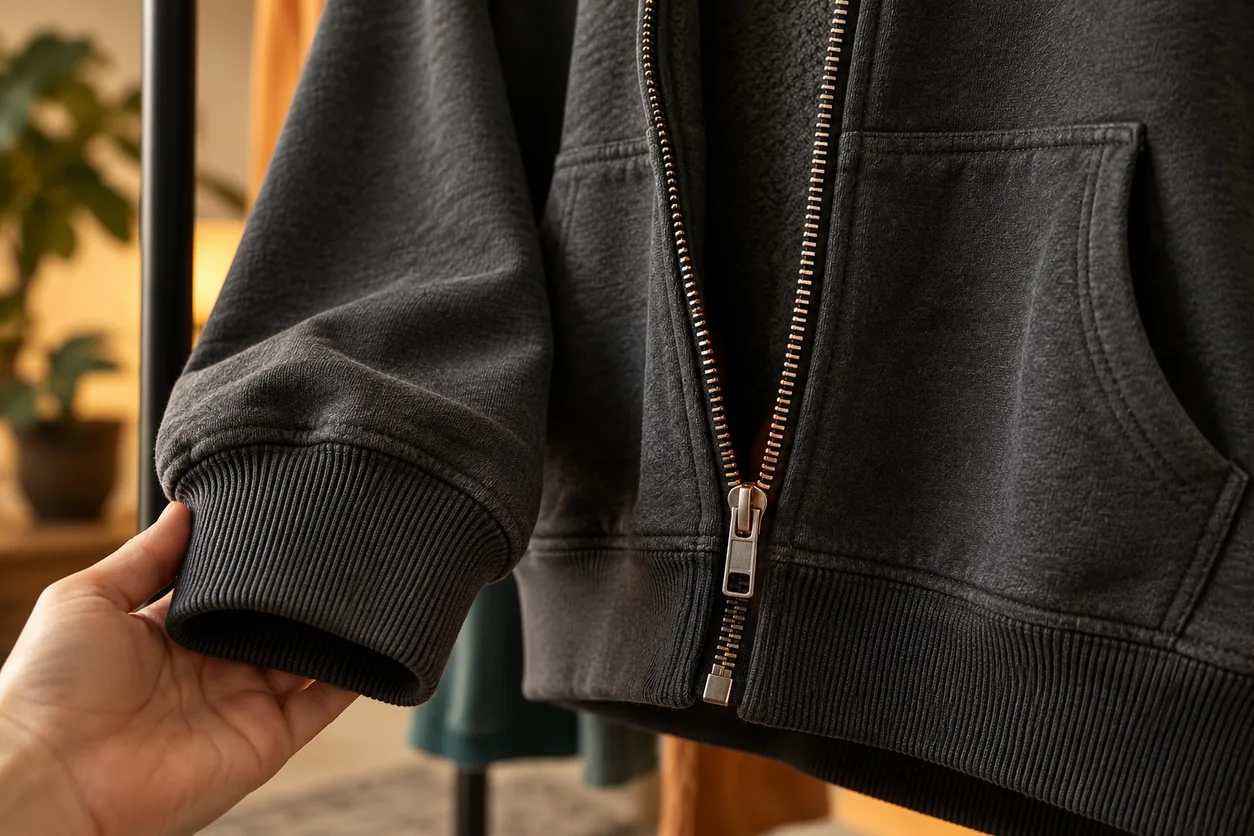
AI-generated detail illustration. The visible construction is conceptual, not a quality assessment, material specification or durability test of an Athletic Rush product.
Choose details because they answer a buyer question. A large graphic may need both a full placement view and a close image of its visible surface. A zip hoodie may need an opening view and a pocket detail. A row of near-identical front portraits can leave those questions unanswered even if the folder contains many files.
For a hoodie reference, inspect Athletic Rush's hoodie development page and the actual Oversized Zip Hoodie — True Black Stone Wash reference. The latter is a catalogue starting point with its own named finish. It is not the fictional Nightshift Hoodie, a promise of available stock or a substitute for photographing the agreed sample.
Decide whether the detail needs surrounding context. A macro of zipper teeth is hard to place if the customer cannot see the opening on the complete garment. A close print view may hide how large the artwork is relative to the body. Pair a detail with an overall view when scale or location matters; do not invent measurements from the photograph.
Describe the evidence modestly. An image can show the visible pocket shape or printed design in that shot. It cannot demonstrate softness, fabric weight, wash resistance or seam strength. Use confirmed specifications and the relevant physical checks for those statements. If artwork placement is still unresolved, use the large T-shirt print-placement guide to settle the sample instruction before preparing final product imagery.
Prepare garments in a way that suits the actual material and agreed care instructions. Remove loose props and distractions, and check whether a fold is hiding a feature. Do not change a garment's intended finish merely to make it photograph like a different product. Photograph an open issue for internal review if necessary, but keep that record separate from a selected sales image and avoid editing the issue away to imply it was corrected.
Control the representation without claiming perfect color
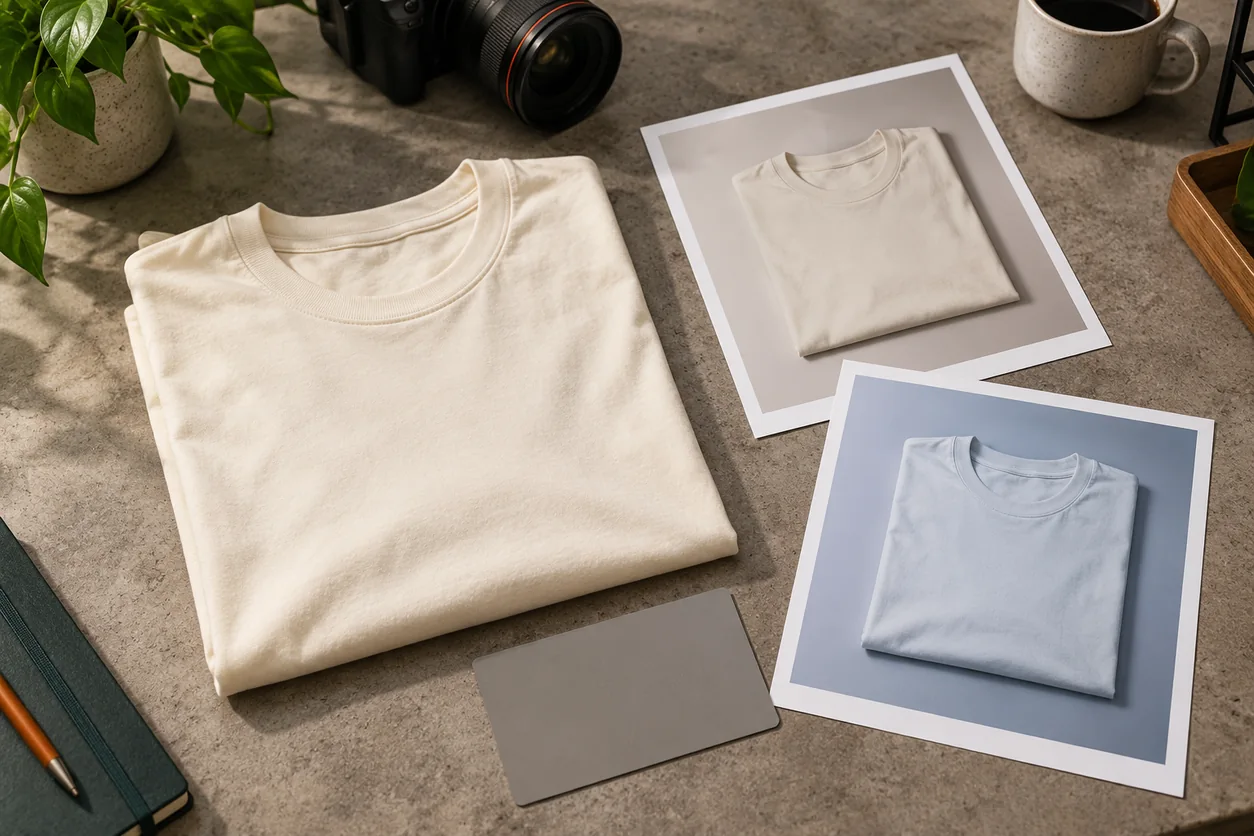
AI-generated color-representation concept. The card and photographs illustrate a comparison process, not a calibrated test or a verified color match.
Use a repeatable setup for the images you intend people to compare. Record the lighting arrangement, camera position and relevant settings rather than trying to recreate them from memory. Review a test frame before working through the whole rail. Make sure the neck edge, graphic, seam or other important detail is visible at the intended viewing size.
Shopify's product-photography help page explains white balance as compensation for the color of the lighting, recommends consistency of camera position and advises evaluating test pictures. Those are useful setup principles, not proof that a screen image will exactly match a textile under every light. Choose settings for the actual scene rather than copying a camera setting as a universal recipe.
In the fictional cream-tee example, one photograph looks cooler than the physical piece under the review conditions. Do not immediately rename the product “ice white” or change the garment specification. First check the image workflow and the reference being compared. Record whether the concern comes from the garment, lighting, capture, editing or display as an open question; a photograph alone may not isolate the cause.
Keep textile approval separate. If the actual material or garment shade is unsettled, use the physical color-sample approval guide. Do not recolor one tee image into several sale variants and treat those outputs as evidence that every physical color has been sampled or photographed.
Agree the retouching boundary before editing. Cropping, background cleanup and a reviewed exposure correction are different from changing the body width, moving the hem, replacing a zipper or inventing surface texture. Keep original files and note substantive edits so the person releasing the images can compare them with the source garment. A visually tidy image should still represent the product it claims to show.
Match files to their destination before release
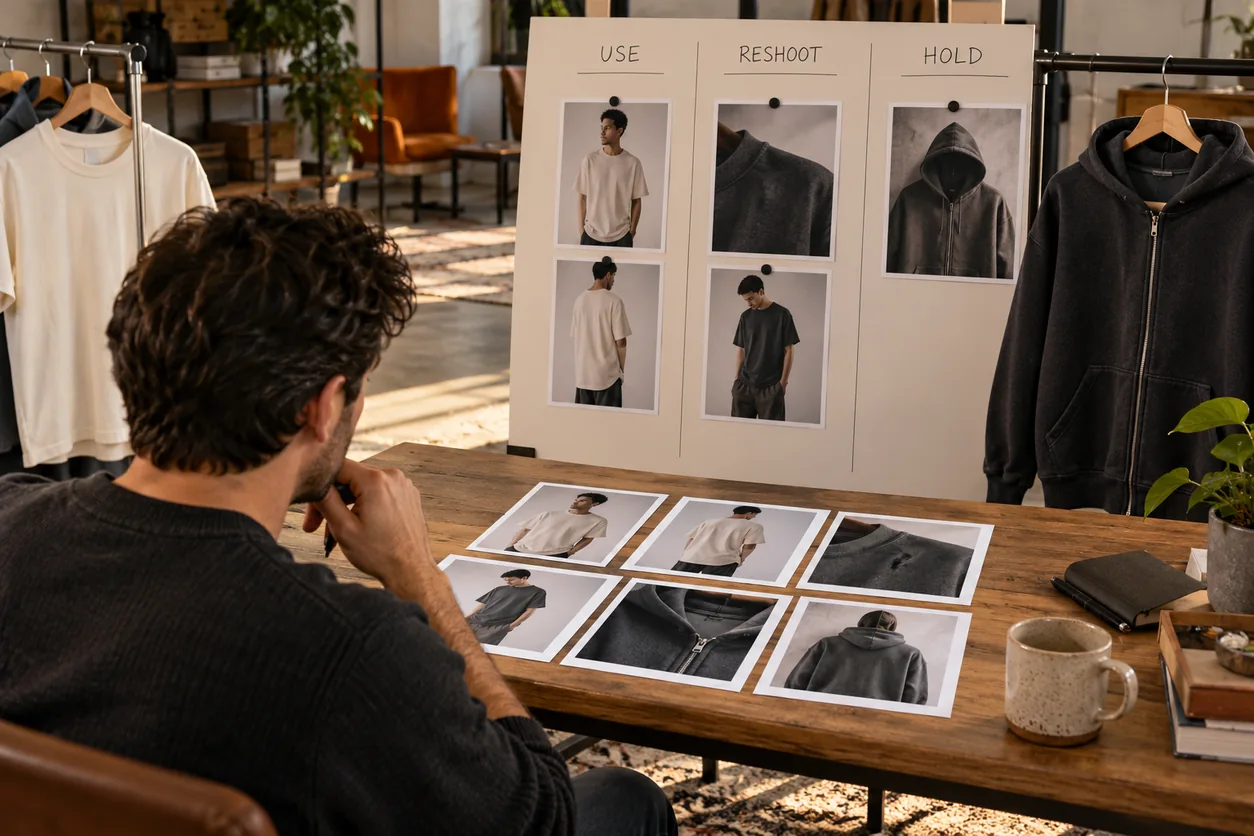
AI-generated image-review concept. The board shows a proposed decision process, not actual publication approval or a customer project.
Your product page, campaign layout and a marketplace or product feed may have different image requirements. Ask where each file will be used. Do not assume that adding a promotional graphic to a campaign image makes the same file suitable as a product-feed main image.
For brands using Google Merchant Center, its image-link requirements call for a clear representation of the exact product and restrict promotional overlays and generic stand-ins. It also distinguishes primary and supplementary views and addresses variant-specific imagery. That scope is Merchant Center product data; it is not a universal rule for every editorial illustration or a claim that Athletic Rush operates your feed. Check the current destination rules before exporting.
An explanatory AI concept can be useful in a planning article like this one. It is not proof that a sale garment exists, that a sample matches the artwork or that a buyer will receive the illustrated item. Customer-facing imagery and any synthetic elements need honest context and a destination-appropriate review. Do not remove source or editing information merely to make a generated image look like a documentary sample photo.
| Review observation | Specific next action | Release state |
|---|---|---|
| The front is clear, but the back graphic is missing | Capture the correct revision's complete back view | Hold that product image set until coverage is resolved |
| The hem is hidden by a tuck | Add a relaxed view including the hem; retain styling as supplementary | Recheck the fit explanation |
| A detail belongs to an older zip sample | Identify the current piece and reshoot the changed feature | Keep the old file out of the new product set |
| The file is assigned to the wrong color option | Correct the mapping using the actual garment identity | Check each affected option before release |
| Compression makes the graphic edges blotchy | Adjust the export and inspect it at its intended display size | Review the new export before use |
| One file has an unresolved material or edit question | Name the owner and evidence needed to answer it | Hold the disputed file rather than guess |
Use descriptive file names and keep a mapping between garment identity, view and final destination. A pattern such as frame-tee_r2_cream_M_back_v1 is a fictional naming example, not a required system. Preserve the original file and distinguish a new export from a new physical sample revision.
Check the actual page on desktop and a phone-sized view. Look at the first image, the visible crop, the zoom or detail behavior if present, the variant selection and whether the chosen file matches the accompanying copy. Optimize web copies while retaining suitable source files. Smaller files can help loading, but overcompression that hides the feature defeats the reason for including the image. Do not treat one file-size target as a guarantee of good page performance.
Copy this first-drop shoot brief
Streetwear product-photography brief
Brand and use: [U.S. product page, lookbook or another named destination].
Garment identity: [design reference, sample revision, color reference and actual labeled size].
Sample status: [approved details, open changes and restrictions on use].
Questions to answer: [silhouette, hem, back, print, pocket, closure or another specific detail].
Required views: [view, question answered and coverage check for each garment].
Worn context: [agreed styling and layers; recorded size/model context if used with consent].
Setup: [lighting, background, camera position and test-frame review].
Editing boundary: [permitted cleanup and product changes that must not be invented].
File handoff: [originals, exports, naming, garment/variant mapping and destination requirements].
Decision owner: [who selects, who checks product accuracy and who resolves held files].
Changes after the shoot: [which sample revision or variant change triggers another review or reshoot].
For a manufacturing discussion, attach the actual garment brief and explain which details must be settled before the shoot. Use the Athletic Rush quotation and development enquiry to discuss the sample, rather than assuming the studio illustration or a catalogue image is already the product you will receive. Confirm any requested sample-photograph arrangements separately; this guide does not promise a photography package.
Questions new streetwear brands ask
Can I photograph a prototype before every detail is final?
You can plan a shoot around its known status, but record what is still open and how the files may be used. If a later change affects what customers see, review the affected photographs and copy. A prototype image is not manufacturing approval or evidence of a final physical variant.
Do I need expensive equipment before I can make a useful image set?
Start by defining the views and testing the equipment you have. A clear, stable setup and a useful shot list matter to the result. Check focus, lighting, visible details and the final display rather than assuming an equipment price proves image quality. Professional help may suit the scope, but no budget or service price is assumed here.
Can a worn photograph replace the size chart?
No. It shows a specific garment on a specific wearer in a particular pose and styling context. Keep defined garment measurements and any genuinely recorded fit context available separately. Do not infer other sizes or customer fit from one image.
What should happen if the sample changes after photography?
Compare the change with the selected files. A revised body length may affect full and worn views; a changed zipper may affect its detail image. Identify what must be reshot, what remains accurate and which files stay on hold. Preserve the old revision record rather than mixing versions without explanation.
Settle the garment, then brief the shoot
Athletic Rush develops and manufactures apparel in Sialkot, Pakistan, serving U.S. clothing-brand enquiries. Current terms are 30 pieces per design, with one to three colors and mixed sizes within that same design; each different design requires its own 30 pieces. Samples take 4–6 working days. Bulk production takes 8–10 working days for orders up to 100 pieces; larger orders depend on quantity. Shipping time is separate. Confirm the applicable start conditions and sample-review plan for your project.
Send the garment reference, intended fit, artwork version and open sample questions through the Athletic Rush sample-development enquiry, email kamran@athleticrush.co, or contact Athletic Rush on WhatsApp. The next useful step is an identified sample brief and a clear record of what still needs approval. That gives your future shoot a product to explain, rather than asking photographs to resolve unfinished garment decisions.